Would you like to save this recipe?
By submitting you agree to receive this recipe and occasional emails. Unsubscribe anytime.
Materials
- Fabric: cotton or linen, plain and soft (easy to find)
- Embroidery hoop: 4 to 6 inches for a cozy scale
- Embroidery floss: 2–6 strands in colors you love (substitute-friendly)
- Embroidery needles: size 7 or 8 for general work
- Washable fabric marker or water-soluble pen: for tracing the handprint
- Tracing paper or transfer paper: optional for direct transfers
- Lightweight stabilizer: fusible or tearaway, optional for thin fabrics
- Small sharp scissors: for thread and fabric trimming
- Iron and ironing board: to flatten fabric and set stitches softly
- Needle threader: optional, helpful if threading feels fiddly
- Fabric glue or small piece of felt and a hot glue gun: for backing or ornaments
- Frame or decorative hoop: for display or gifting
Instructions
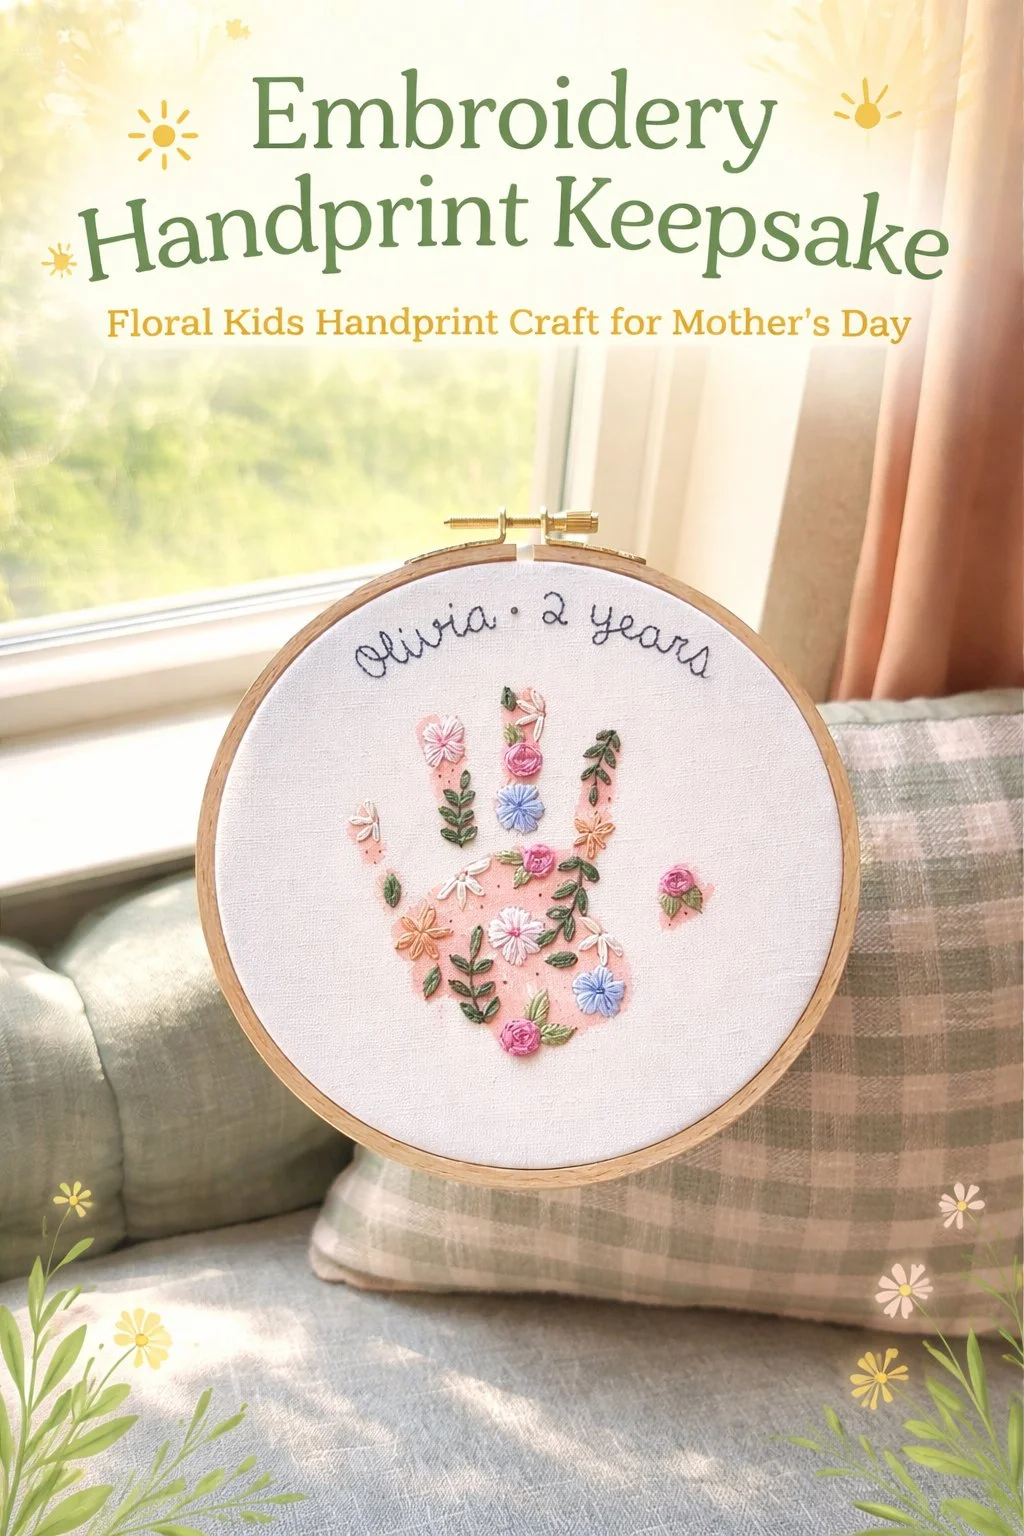
- Prepare your fabric. Place fabric in the hoop and tighten until it feels drum-like. Iron fabric first if it has folds; smooth surface helps tracing.
- Make the handprint. Ask the person to press their hand gently on fabric with light fabric-safe paint or use a washable pen. Be calm and steady; encourage stillness for a clear print.
- Trace the handprint outline. Use a water-soluble pen to carefully trace around the dry print. Keep your line simple; you will refine it with stitches.
- Add a light stabilizer if needed. Fuse or place a tearaway behind fabric to give support while stitching. This prevents puckering and keeps the design crisp.
- Choose your stitch for the outline. I like a backstitch for clean lines; it gives definition and stays flat. Thread two or three strands of floss for a gentle, visible line.
- Begin stitching the outline. Start at one side and work slowly around the fingers and palm. Keep stitches even and breathe slowly as you move.
- Fill the hand if you wish. Use satin stitch or long-and-short stitch for soft, filled areas. Work from one finger to the next to keep texture consistent.
- Add small details. Stitch tiny pads, a heart, or initials with a contrasting color. Small accents help personalize and draw the eye.
- Check tension frequently. Keep thread neither too tight nor too loose so fabric stays smooth. If a stitch pulls, gently ease it back, then continue.
- Secure and tidy the back. Tie off thread with small, neat knots and trim ends close. Use a small piece of felt glued to the back for a finished look.
- Finish for display. Trim fabric leaving an even border if framing, or keep inside the hoop for a hoop display. Iron lightly under a clean cloth to flatten without crushing stitches.
- Rest and reflect. Hold the finished piece and notice its weight and texture. Take a photo for a set of memories and tuck the keepsake into its place.
Last Step: Don’t forget to leave a rating and comment below! It helps other readers find the best recipes — and it helps us too!