Would you like to save this recipe?
By submitting you agree to receive this recipe and occasional emails. Unsubscribe anytime.
Materials
- Clear jar or glass (mason jar or recycled jar) — easy to find, clear sides help observation.
- Vegetable oil or light mineral oil — holds the upper layer; substitute-friendly with light oils.
- Warm water — helps dissolve salt; not hot.
- Table salt — simple, plain salt works best; fine or coarse both work.
- Food coloring — choose vibrant colors for a stronger effect.
- Small bowl or cup — for mixing the colored water.
- Teaspoon and measuring cup — for gentle measuring and pouring.
- Tray or towel — optional, to catch small spills and keep the space calm.
- Adult supervision if children are involved — safety first for small parts and food coloring.
Instructions
- Pour warm water into the jar until it fills about one third. Gently feel the warmth in the jar and notice the glass coolness against your fingers.
- Add 3 to 4 drops of food coloring to the warm water in the jar. Watch the color bloom and slowly swirl it with the jar’s tilt if you like.
- Slowly pour vegetable oil on top of the colored water. Pour in a thin steady stream so the oil settles as a distinct layer and the boundary stays calm.
- In a small bowl, mix a teaspoon of colored water with a pinch of salt to form dampened salt clumps. The salt should cling to the colored water without dissolving right away.
- Use a spoon to gently drop the salt-sprinkled colored water clump onto the oil surface. Listen to the tiny patter of salt landing and watch the colored droplet start to sink.
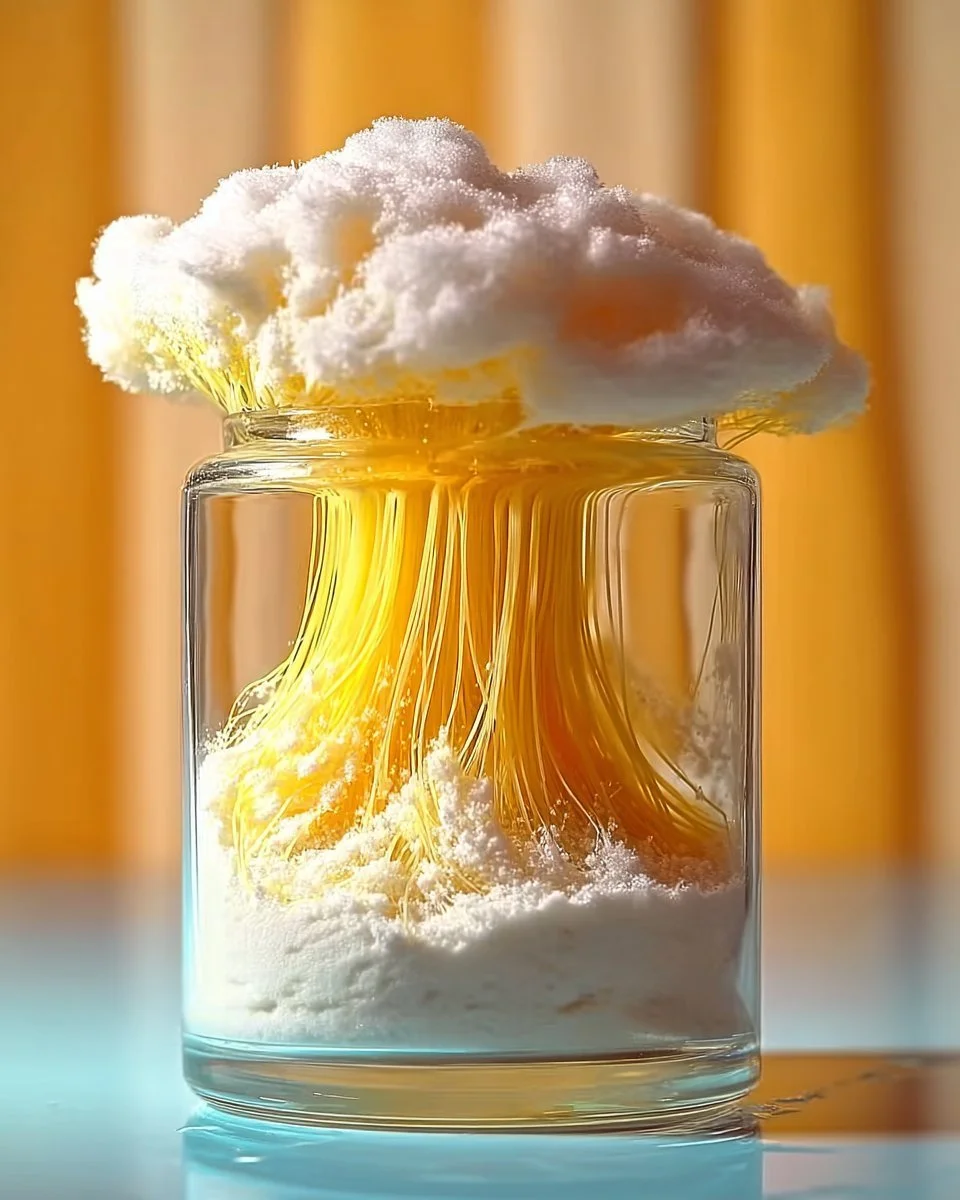
- Watch as the salt pulls the colored water through the oil into the lower water layer. Notice the slow pull, the stretching of the droplet, and how it breaks into smaller globes.
- Wait as the salt dissolves in the lower water and the colored water rises back into the oil layer. The return is gentle; the colors travel up as lightened bubbles or streams.
- Repeat with different colors and salt amounts to create a calm dance of rising and falling. Each time, pause and breathe with the experiment. The motion feels rhythmic and soft.
- When you finish, set the jar on a tray and allow the layers to settle overnight. Let the quiet pattern sit on your shelf as a small, living sculpture of motion.
Last Step: Don’t forget to leave a rating and comment below! It helps other readers find the best recipes — and it helps us too!