Would you like to save this recipe?
By submitting you agree to receive this recipe and occasional emails. Unsubscribe anytime.
Materials
- Clear contact paper (easy to find in craft stores)
- Fresh flowers (local or from your garden)
- Scissors (for trimming petals)
- A soft cloth (to clean surfaces)
- Natural twine or string (for hanging)
- Optional decorative elements like glitter or beads
- Heavy book (to press flowers flat)
Instructions
- Start by choosing your flowers. Select a variety of colors and shapes that inspire you. The process of picking them is already part of the enjoyment.
- Gently wash and dry the flowers to ensure they are clean and free from any dirt or bugs. The fresh scent will delight your senses as you prepare.
- Lay out a piece of clear contact paper on a flat surface, sticky side up. This will serve as the base for your suncatcher.
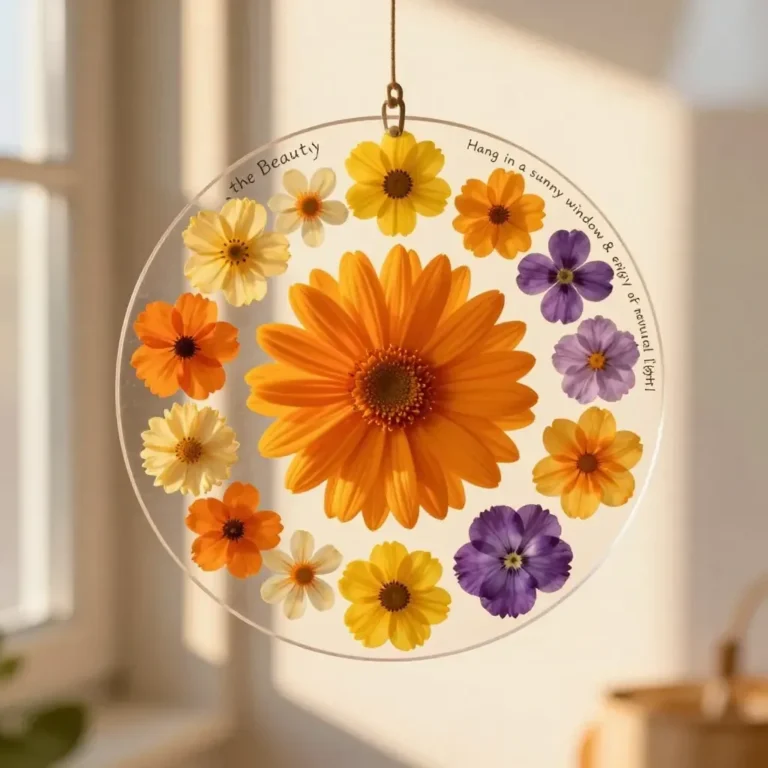
- Arrange the flowers on the contact paper. Allow your creativity to flow as you layer different colors and shapes, considering how they interact with one another.
- Once you’re satisfied with your arrangement, carefully place another sheet of contact paper on top. This sandwich-like structure will hold your flowers in place while protecting them.
- Use scissors to trim away any excess paper around the edges, leaving a slight border for stability.
- To add a personal touch, consider decorating the edges with twine or beads, enhancing the suncatcher's charm.
- Find a sunny spot in your home, and hang your new creation where it can catch the light, perhaps near a window or in a favorite cozy nook.
Last Step: Don’t forget to leave a rating and comment below! It helps other readers find the best recipes — and it helps us too!