Would you like to save this recipe?
By submitting you agree to receive this recipe and occasional emails. Unsubscribe anytime.
Materials
- Clear plastic bottles (empty water or soda bottles work well)
- Warm water
- Food coloring (variety of colors for layering)
- Glitter or small metallic beads (optional, for a touch of magic)
- Oils (like baby oil or mineral oil, for a different effect)
- Filler items (such as small toys, beads, or shells)
- Funnel (to aid in pouring)
Instructions
- Prepare Your Work Area Choose a quiet space where you can work comfortably. Gather your materials and enjoy the visual joy of arranging them before you.
- Select Your Bottles Choose the bottles you want to use. Clear plastic bottles are often ideal, as they showcase your beautiful creations well.
- Fill the Bottles with Warm Water Using a funnel, fill the bottles with warm water, leaving some space at the top. This space allows the contents to move freely.
- Add Your Color Choose your food coloring. Add a few drops of your chosen color to the warm water. Watch how the color disperses as it mixes. This is your chance to experiment.
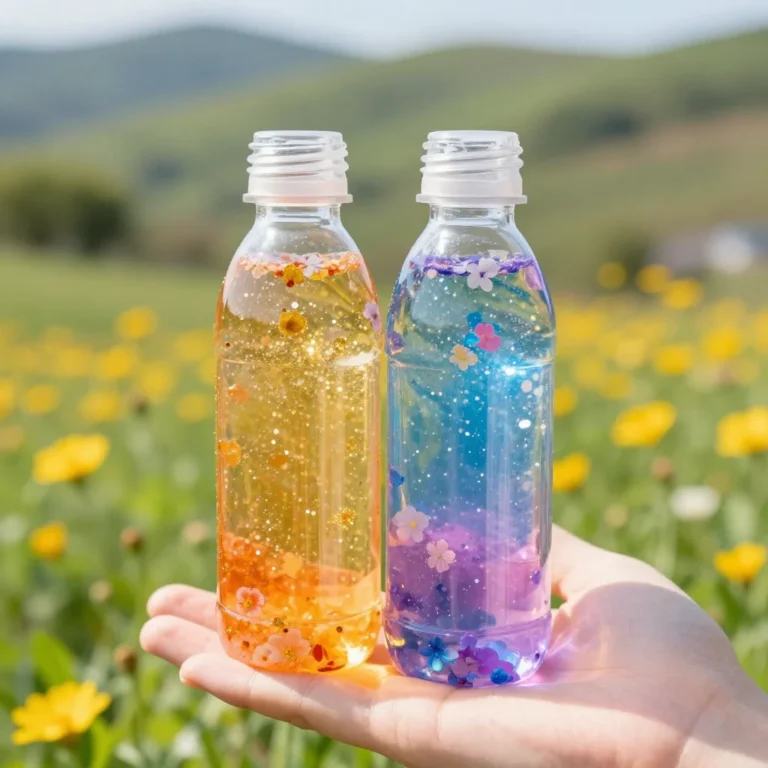
- Mix in Glitter or Beads If you’re using glitter or beads, sprinkle them into the bottle now. Imagine how they will dance and catch the light when you move the bottle.
- Introduce the Filler Items Add the small toys or shells. These can include meaningful items, making the sensory bottle personal and unique to your experiences.
- Oil Layer (Optional) If you want an interesting texture, add a small amount of oil. It creates a lovely, slow-moving effect that enhances your sensory bottle’s experience.
- Seal the Bottle Carefully screw on the bottle cap. You may want to secure it further with tape to avoid spills, ensuring the contents stay inside.
- Create Movement Now for the fun part! Gently shake or tilt the bottle to observe the movement of the objects inside. Take a moment to enjoy this sensory experience.
- Display Your Bottle Find a cozy spot to display your sensory bottles. Consider places where you can appreciate them, like a reading nook or a relaxation corner.
Last Step: Don’t forget to leave a rating and comment below! It helps other readers find the best recipes — and it helps us too!