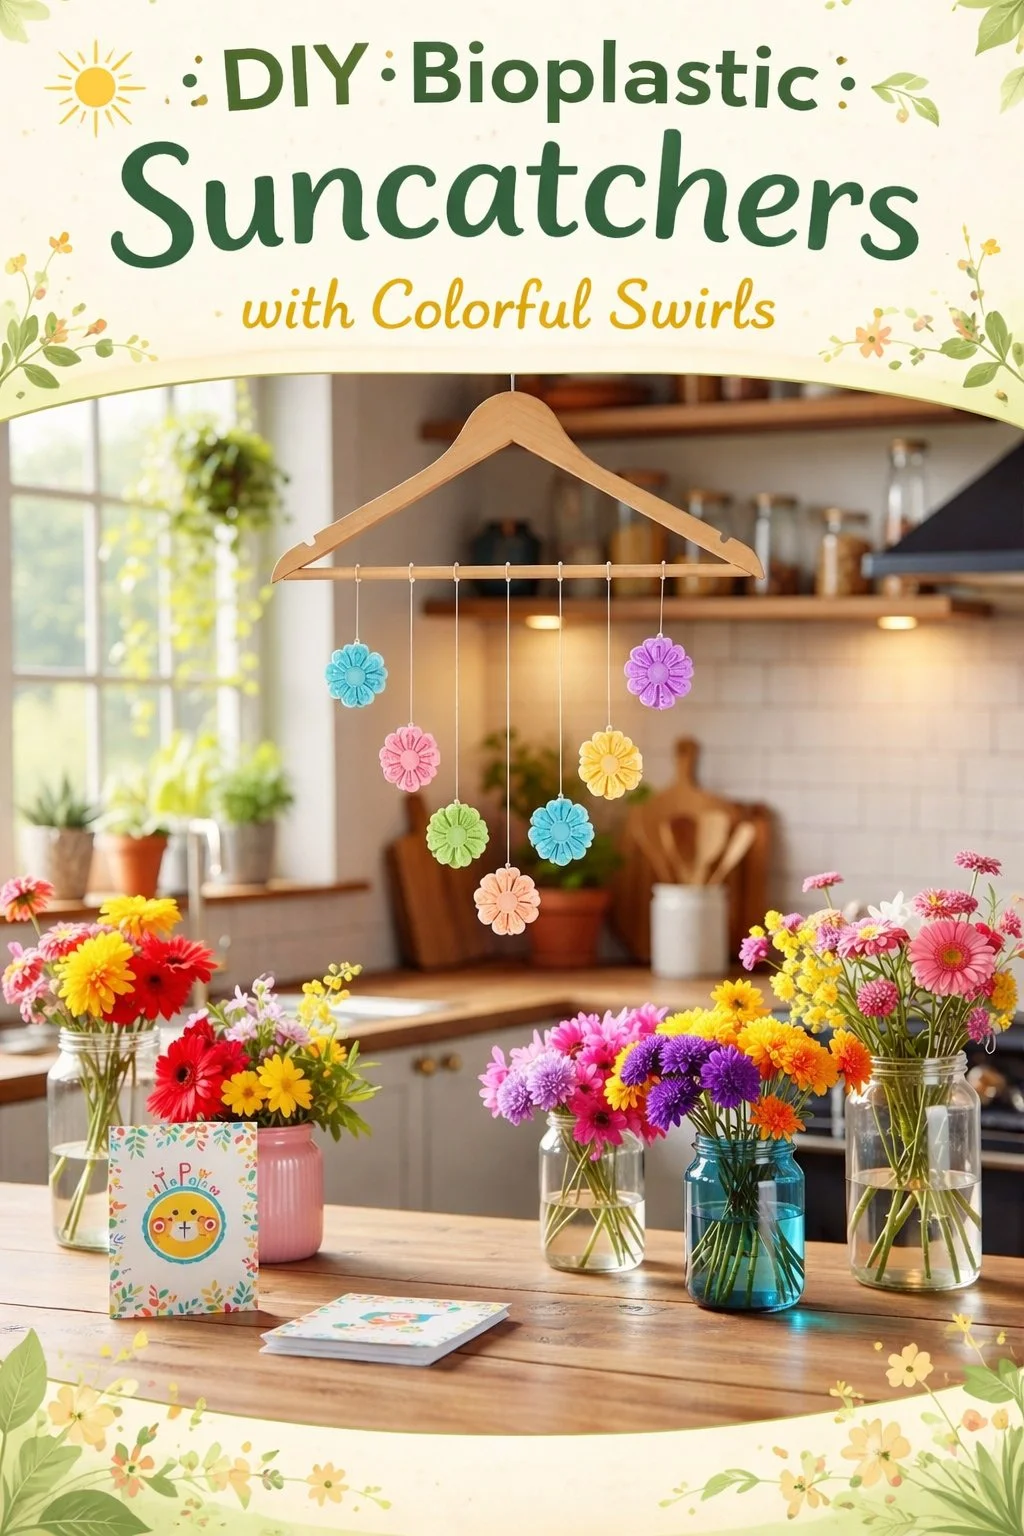
Would you like to save this recipe?
By submitting you agree to receive this recipe and occasional emails. Unsubscribe anytime.
Materials
- Gelatin powder, plain or unflavored (easy to find)
- Glycerin, food grade if possible (helps keep the sheet flexible)
- Warm water
- Food coloring or liquid watercolors (small amounts go a long way)
- Small glass bowls and a spoon for mixing
- Nonstick baking paper or silicone mats (for smooth release)
- Cookie cutters or small rings for shapes (optional)
- Straw or skewer for making holes for hanging (simple and safe)
- Small brushes or droppers for adding color (optional)
- Tweezers for placing small decorations like petals (optional)
- A flat, dust-free place to let the suncatchers dry
Instructions
- Measure and heat the water.Warm one cup of water until it feels comfortably hot but not boiling.Pour into a glass bowl that you can hold with both hands and set nearby.
- Add gelatin slowly.Sprinkle two tablespoons of gelatin over the warm water.Stir with a gentle, steady motion until the powder softens and no dry bits remain.
- Stir in glycerin.Add one teaspoon of glycerin and stir until fully mixed.Glycerin helps the final sheet stay soft instead of cracking.
- Test a small drop.Take a tiny drop on a spoon and let it cool to skin temperature.This test helps you sense the thickness before you color or pour.
- Prepare your work surface.Lay nonstick paper or a silicone mat on a flat tray.Place cookie cutters or shape guides where you plan to pour.
- Mix color in separate small bowls.Put a tiny drop of food coloring into a few separate bowls with a spoonful of the gelatin mix.Using separate colors lets you control intensity and swirl gently.
- Pour the base film.Pour a thin circle of the plain gelatin mix onto the paper to make a base.Work slowly. The base keeps bright colors from sinking through.
- Add color drops.Drop small amounts of the colored mixes onto the base, close to but not touching the center.Let the colors sit and spread a little before you move them.
- Create swirls with a skewer.Gently drag a skewer through a few drops to make soft, flowing swirls.Keep the motion slow and calm to avoid mixing colors into mud.
- Make a hole for hanging.While the film still feels warm and soft, press a straw gently through the edge where you want a hole.Hold steady and lift the straw straight out to leave a clean opening.
- Add tiny decorations.If you place petals or glitter, use tweezers and press lightly onto the sticky surface.Work slowly so each item settles without trapping air beneath it.
- Let the pieces dry.Move the tray to a flat, dust-free spot and leave the pieces to dry for 24 to 48 hours.Check them gently after a day. They should lift easily when firm.
- Peel and trim.When the sheets feel firm and slightly bendable, peel them from the paper.Trim edges with scissors for a tidy finish.
- Soften in hands if needed.If a piece feels stiff, hold it between your palms for a moment. Your warmth will soften it.That slight flexibility helps the suncatcher hang without breaking.
- Hang and enjoy.Thread a simple string or ribbon through the hole and hang near a sunny window.Watch the way light moves through the colors and enjoy the calm pause it creates.
Last Step: Don’t forget to leave a rating and comment below! It helps other readers find the best recipes — and it helps us too!