Would you like to save this recipe?
By submitting you agree to receive this recipe and occasional emails. Unsubscribe anytime.
Materials
- Cornstarch (1 cup) (easy to find)
- Distilled water (1 cup) (helps make a clear bioplastic)
- White vinegar (1 tablespoon) (a small amount helps with flexibility)
- Glycerin (1 teaspoon) (optional, adds softness)
- Food coloring or natural pigments (small drops or powders) (optional)
- Small silicone molds or cookie cutters (substitute with a smooth, heat-safe surface)
- Nonstick baking mat or parchment paper (keeps pieces from sticking)
- A small saucepan and a wooden spoon (sturdy and smooth)
- Measuring spoons and cups (simple, accurate)
- Thin string, fishing line, or flexible wire (for hanging)
- Small dried flowers, leaves, or translucent paper (optional embellishments)
- Scissors and a hole punch or a small skewer (for making hanger holes)
- Notes: glycerin is optional but helpful if you want a slightly softer finished piece. Use silicone molds for even shapes, or work freeform on parchment for more organic pieces.
Instructions
- Gather everything and set up a calm workspace with good light.Take out your saucepan, measuring tools, and any small decorations.Arrange a sheet of parchment or a silicone mat to cool pieces on.
- Mix cornstarch and water in the saucepan.Stir slowly until the mixture looks smooth and slightly milky.Add the vinegar and glycerin, and watch the liquid settle.
- Heat the mixture over low to medium heat, stirring constantly.The sound will shift to a very soft bubbling as it thickens.Keep stirring to prevent lumps and to feel the texture change under the spoon.
- When the mixture becomes glossy and pulls together, remove from heat.It should look like a clear gel that coats the spoon smoothly.Work quickly but gently while it is still warm and pliable.
- Add color or pigments now, folding them in with smooth strokes.A drop or two goes a long way; mix until the shade looks even.If you use botanicals, place them on your mat before pouring.
- Spoon or press the warm bioplastic into molds or onto parchment.Use a damp spatula to smooth edges and flatten to the thickness you prefer.Remember the piece will shrink slightly as it dries.
- If you want to embed petals or tiny objects, press them lightly into the surface.Avoid trapping air pockets; press evenly so the pieces lie flat.A gentle tap with a clean tool helps settle them into place.
- Make a small hole for hanging while the piece is still soft.Use a skewer or a small straw and hold it steady for a clean hole.If the material resists, wait a few minutes; it becomes easier to shape as it cools.
- Let the suncatcher dry slowly at room temperature for 24 to 72 hours.Check its feel; it should move from tacky to firm and slightly flexible.Flip it once during drying if you want even drying and to prevent warping.
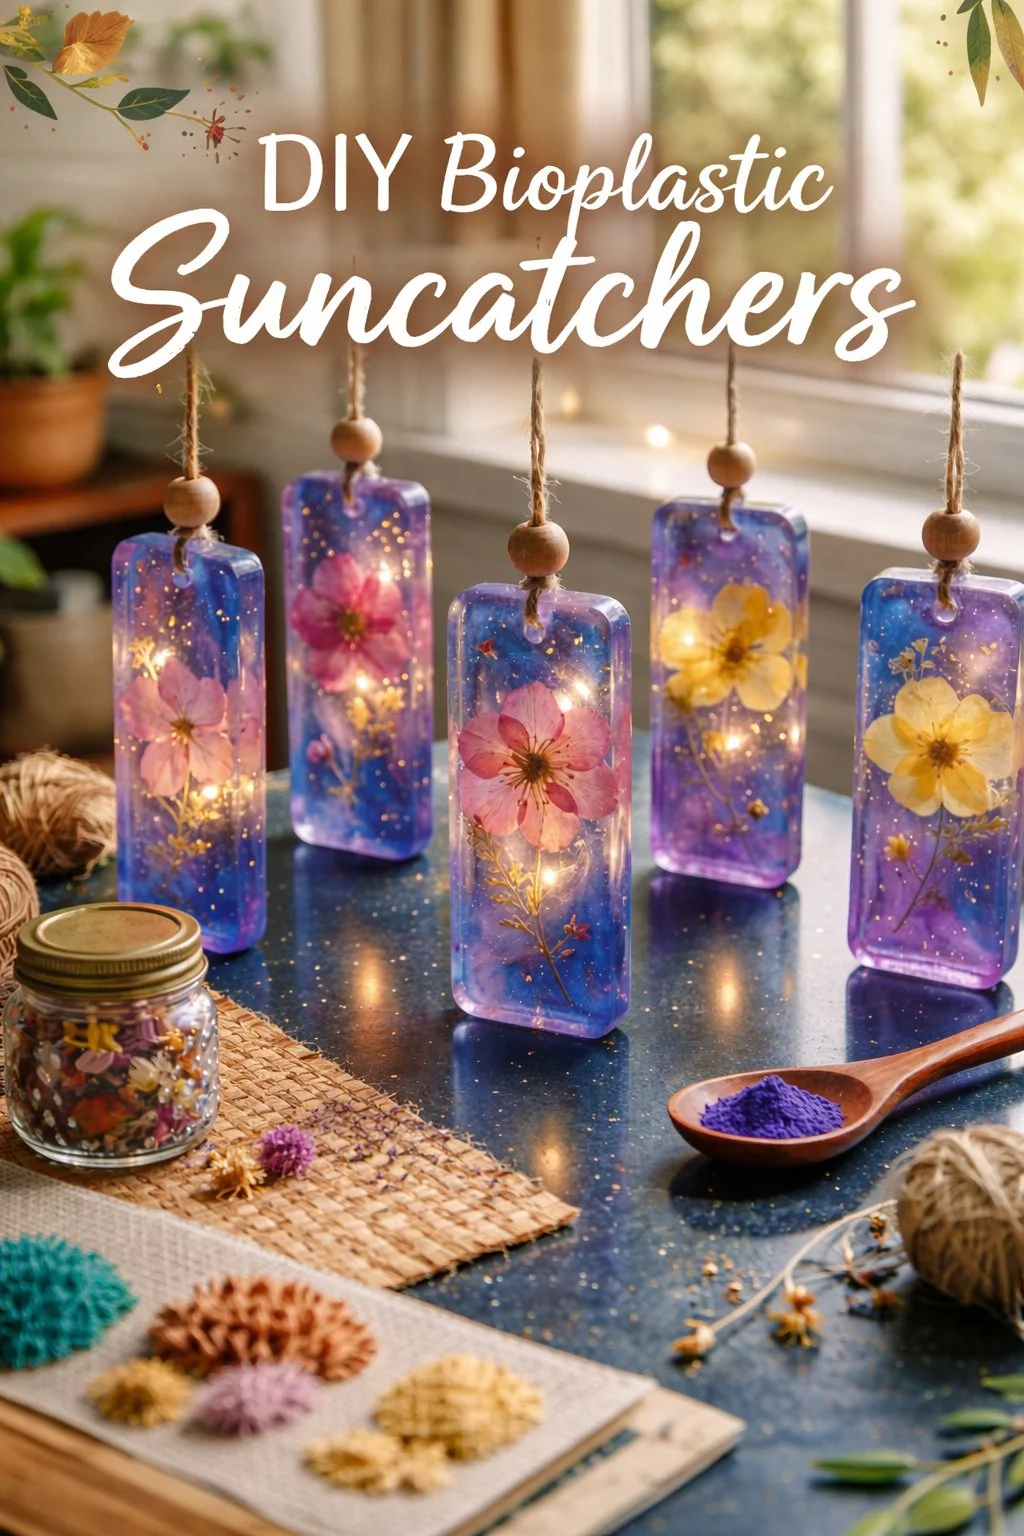
- Trim edges and thread string once the piece is fully dry and cool.Test the hanger by lifting gently to be sure the hole holds.Hang in a window and notice how light moves through the thin, handmade sheet.
Last Step: Don’t forget to leave a rating and comment below! It helps other readers find the best recipes — and it helps us too!