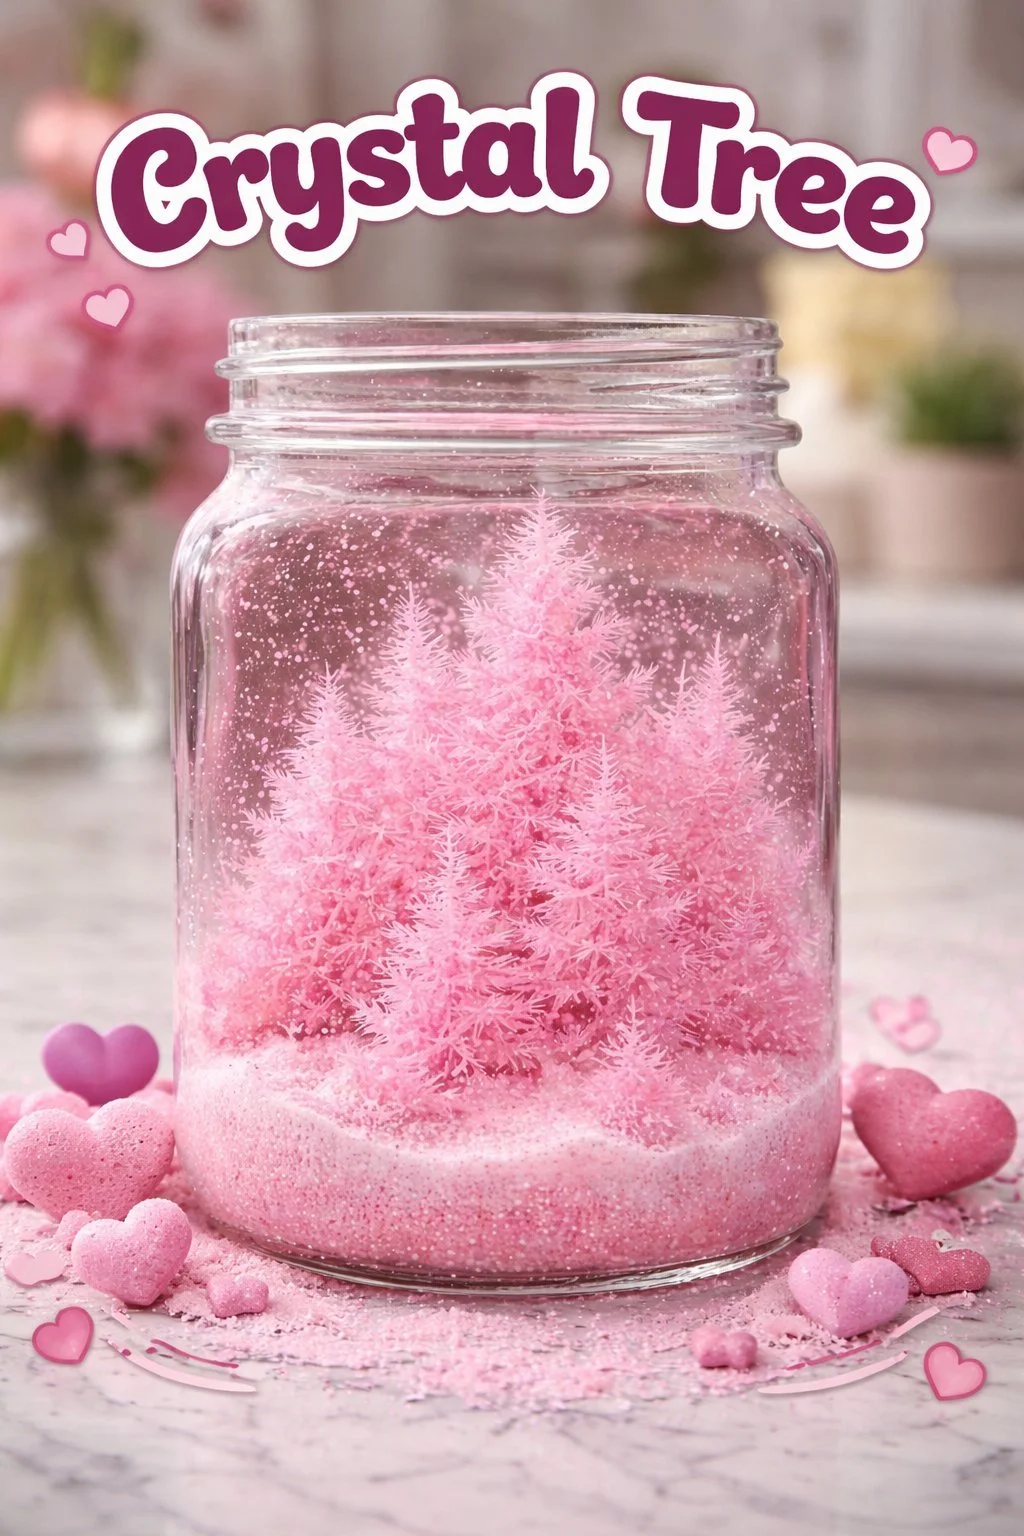
Would you like to save this recipe?
By submitting you agree to receive this recipe and occasional emails. Unsubscribe anytime.
Materials
- Thin craft wire, about 18-22 gauge, easy to bend and hold shape
- A small glass jar or bottle, clean and clear (easy to find)
- A heat-safe mixing cup or jar for warming water
- Hot water from a kettle, not boiling (use caution)
- Crystal-forming mix (baking soda or a simple crystal packet; substitute-friendly)
- Clear glue or white craft glue for anchoring, optional for added security
- Small pebbles or marbles to weight the base, optional
- Tweezers or chopsticks for placing crystals, helpful for small pieces
- A spoon or stir stick, smooth and simple
- A tray or shallow dish to catch spills, soft to the touch
- Paper towels and a small bowl for discarded water, safety and neatness
- A pair of needle-nose pliers for shaping wire, for steady control
- An old towel to protect your work surface, cozy and absorbent
Instructions
- Make the wire frame.Bend the wire into a trunk with many small branch tips.Twist the base so it fits snugly into your jar, holding it upright.
- Prepare a calm work area.Lay an old towel and set the jar in the center.Have all supplies within reach so you move smoothly.
- Warm the water gently.Pour hot, not boiling, water into your mixing cup.Let it cool two or three minutes until it is warm to your wrist.
- Mix the crystal solution slowly.Add your chosen crystal mix to the warm water a little at a time.Stir in gentle circles until the powder dissolves and the liquid looks clear.
- Pour the solution into the jar.Set the wire frame into the jar so the base rests comfortably.Make sure branches do not touch the jar sides too much.
- Anchor the frame if needed.Add a few pebbles or marbles around the base to steady the trunk.This keeps the tree upright and steady as crystals form.
- Find a quiet place to let it rest.Move the jar to a spot with soft light, not direct sun.Cover it lightly if pets or drafts might disturb it.
- Watch the first crystals form.Check after a few hours to notice tiny beads along branch tips.Pay attention to where crystals like to start; often tips or rough spots.
- Return slowly and mindfully.Glance at your tree once or twice a day, not often more.Each check becomes a small ritual of presence.
- Add layers for a fuller look.Once the first layer forms, you can mist lightly to encourage more growth.Use tweezers to reposition fragile pieces if needed, with small, steady movements.
- Finish with glue if you want permanence.When the crystals look like you want, add tiny dots of clear glue at joins.Let the glue dry fully before moving the tree.
- Trim and refine.Use pliers to snip excess wire and tidy the silhouette.Gift with a small card that notes the date and the calm moment you made it.
Last Step: Don’t forget to leave a rating and comment below! It helps other readers find the best recipes — and it helps us too!