Would you like to save this recipe?
By submitting you agree to receive this recipe and occasional emails. Unsubscribe anytime.
Materials
- Pipe cleaners, medium thickness, assorted colors (easy to find at craft stores)
- Small plastic or glass beads, clear or colored (optional: seed beads are lovely)
- Fine gauge floral wire or thin craft wire (for structure)
- Small egg shape template or a foam egg base (optional, substitute-friendly)
- White glue or craft glue that dries clear (PVA glue works well)
- Borax, water, and a shallow jar for crystal growth (optional if doing crystal coating)
- Small clothespins or clips (to hold shapes while drying)
- Craft scissors or wire cutters (safety first)
- Tweezers (useful for bead placement)
- A tray or saucer to hold the project and catch glue or crystals
Instructions
- Gather a small workspace with natural light and a tray to catch mess. Take a breath and settle. Lay out your colors and beads so they are easy to reach.
- Twist two pipe cleaners together for strength if you want a firmer egg base. Feel the soft fuzz and the slight resistance as the wires twist. This core will hold the curve.
- Bend the twisted pipe cleaners into an egg shape, forming a gentle oval. Adjust with your fingers until the shape feels balanced and comfortable in your hand.
- Secure the ends by wrapping a short piece of thin craft wire around them. Press the wire lightly so it sits snug against the pipe cleaner but does not poke the skin.
- Add beads by threading them onto small sections of pipe cleaner or sliding them into loops. Notice the sound of beads touching and the slight weight as each bead slips into place.
- Fill in gaps with short lengths of pipe cleaner, wrapping them around the base shape. The extra fuzz gives a surface for glue and crystals to cling to.
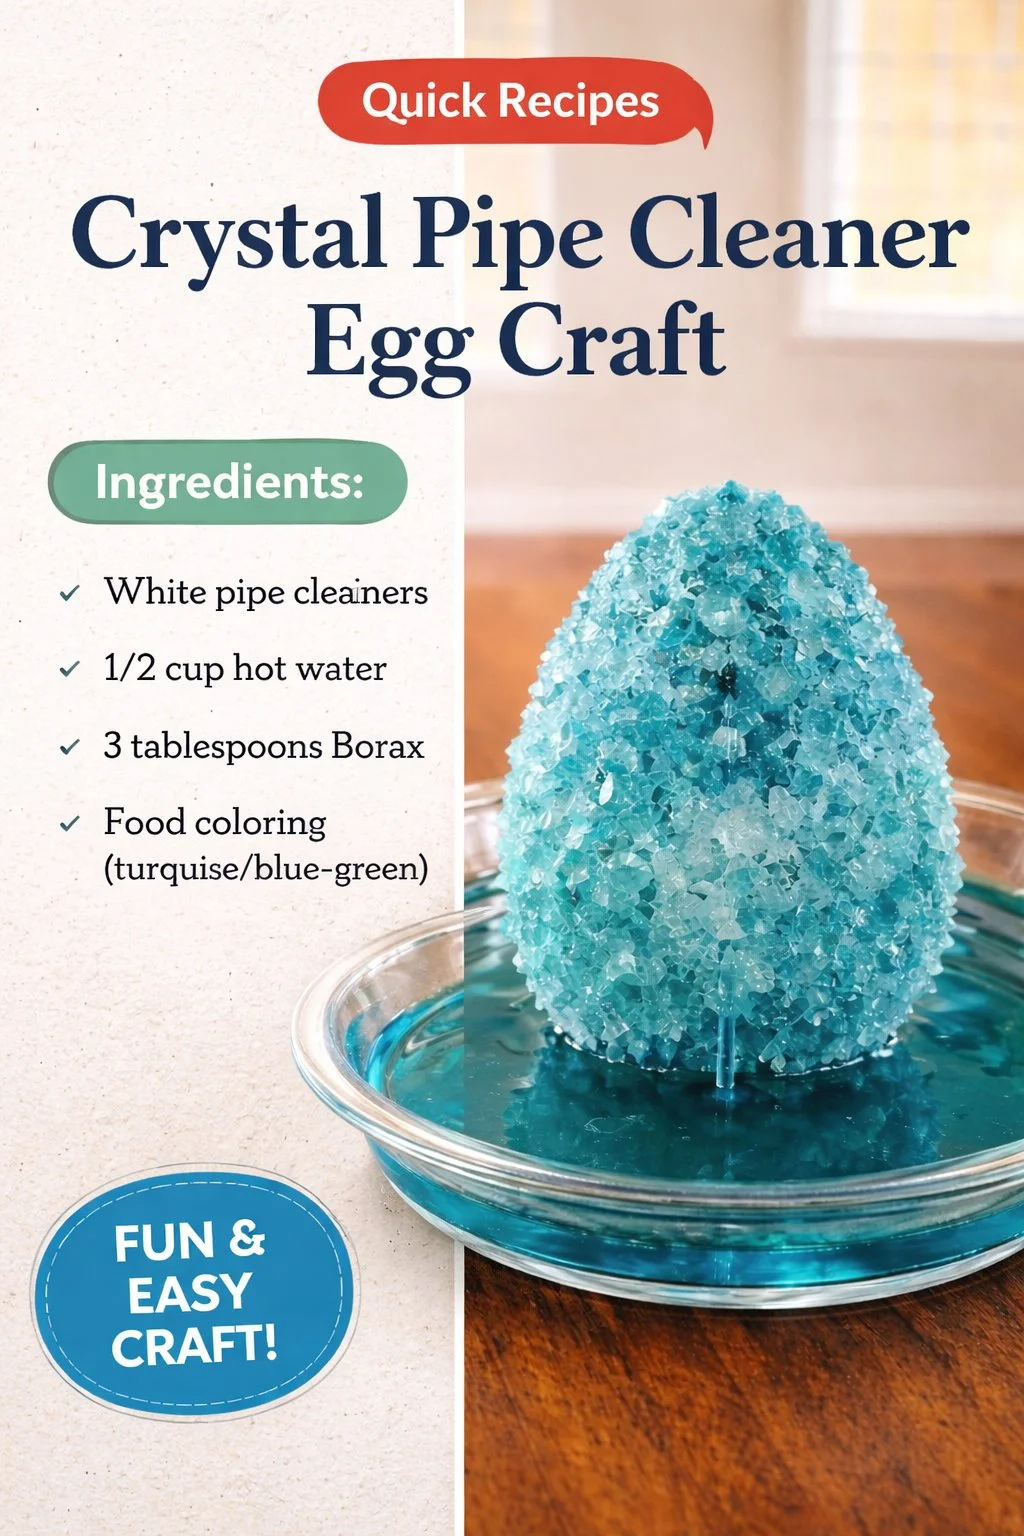
- If you plan to grow crystals, prepare a Borax solution: two to three tablespoons per cup of very warm water. Stir slowly until the powder mostly dissolves. Warmth helps dissolve Borax, so use water you can safely handle.
- Dip or brush clear PVA glue on the fuzzy surface where you want crystals to form. Apply in a thin, even layer. Glue provides initial grip and a smooth place for crystals to take hold.
- Sprinkle beads or tiny rhinestones onto the glue while it is wet for instant sparkle. Press gently with tweezers if a bead needs nudging. Let this layer dry to the touch.
- For crystalline growth, gently lower the glued piece into the Borax solution so the glue-covered area is submerged. Use tweezers or a clip to keep the piece steady. Avoid stirring the solution afterward.
- Let the piece sit undisturbed for several hours or overnight. Watch from a distance if you wish. You may notice small crystals forming along edges after a few hours.
- Remove the piece carefully and let it dry on a tray. Patience here pays off. Drying slowly keeps the crystals intact and the fibers soft.
- Trim any stray wire ends with wire cutters and tuck them inward so the piece feels smooth. Run your fingers lightly along seams to make sure nothing pokes.
- If you prefer not to use Borax, glue on a scatter of glitter or small rhinestones and let dry fully. This makes a gentle sparkling surface without needing a soaking step.
- Add a small loop of thin wire at the top if you want to hang the egg as an ornament. Secure the loop and twist the ends underneath so it sits flat when hung.
Last Step: Don’t forget to leave a rating and comment below! It helps other readers find the best recipes — and it helps us too!