Would you like to save this recipe?
By submitting you agree to receive this recipe and occasional emails. Unsubscribe anytime.
Materials
- Heart-shaped mold or cookie cutter (metal or silicone; silicone feels softer in hand)
- Borax powder or baking soda (borax gives larger, glossier crystals; baking soda offers a softer, matte look)
- Spoon for stirring (wood feels warm; metal sounds bright)
- Clear glass jar or heat-safe container for each heart (easy to find)
- String or thin wire to suspend the heart (strong enough to hold weight when wet)
- Pencil or chopstick to rest across the jar rim (simple and steady)
- Hot water (careful handling; use a kettle or adult supervision when heating)
- Food coloring or liquid dye (optional; a few drops go a long way)
- Gloves and eye protection (optional; a gentle safety habit helps you feel secure)
- Paper towel and small tray for drying (to catch drips and keep the space tidy)
- Small bowl for mixing (optional; handy if you pre-mix color)
Instructions
- Prepare your workspace and tools. Lay down a towel, set jars on a tray, and gather your heart form and string. Wear gloves if the water feels too hot for comfort.
- Heat water until warm to hot but not boiling. Pour it into your jar and note the gentle steam. Warm water helps powders dissolve more readily.
- Add borax or baking soda slowly and stir. Add spoonfuls until the powder stops dissolving and the solution looks nearly saturated. You will feel resistance as you stir.
- If you use dye, mix a tiny amount into a small bowl of the solution and return it to the jar. Color will tint the crystals subtly if you keep it light.
- Tie a short piece of string around the top of your heart mold and secure the other end to a pencil. Make sure the heart can hang in the center of the jar without touching sides.
- Lower the heart into the solution and rest the pencil across the jar rim. Watch for a slow hush as the heart settles and tiny bubbles form along its edges.
- Leave the jar undisturbed in a warm, draft-free spot for several hours or overnight. Check once or twice without jostling; you may see faint specks of crystalline growth early on.
- When crystals feel firm and the heart holds a sheen, lift it gently from the jar. Let excess solution drip back into the jar, then place the heart on a towel or tray to dry.
- If you see any soft spots, you can repeat the dip in a new saturated solution for a second layer. Each dip adds depth and texture, and the process teaches you how much surface the crystals like.
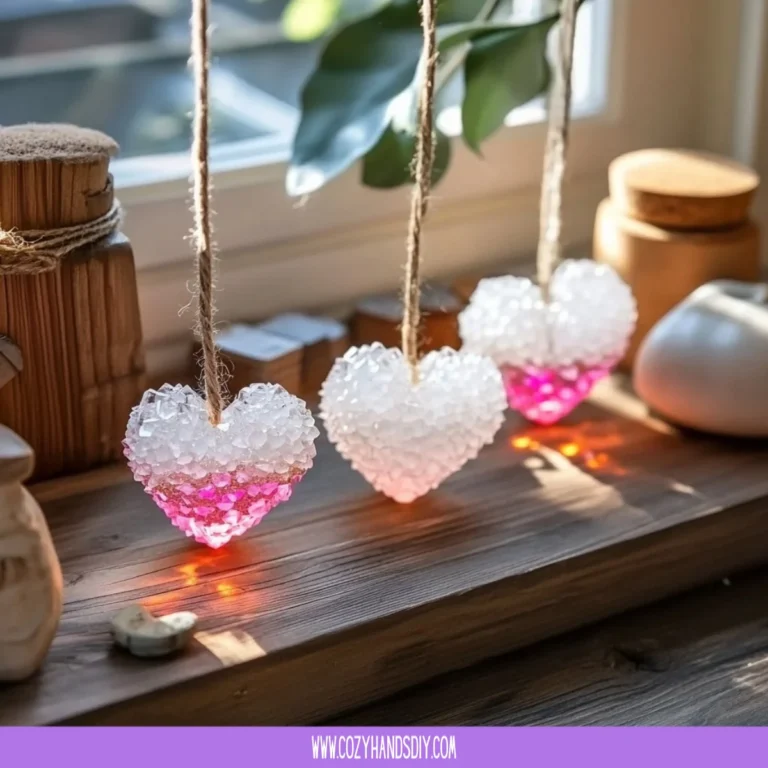
- Once dry, hang your crystal heart by a window or nestle it in a shallow dish where light can pass through. Take a moment to notice light refracting and feel the quiet presence you made with your own hands.
Last Step: Don’t forget to leave a rating and comment below! It helps other readers find the best recipes — and it helps us too!