Would you like to save this recipe?
By submitting you agree to receive this recipe and occasional emails. Unsubscribe anytime.
Materials
- Baking soda, plain sodium bicarbonate, easy to find
- Hot water, near boiling helps dissolve the baking soda
- Clear jars or shallow dishes, for mixing and holding your bases
- Twigs, cardboard shapes, or floral foam for the forest bases
- Food coloring or liquid watercolor, optional for gentle color
- Small tray or baking sheet to protect your surface
- Tongs or chopsticks, optional for careful placement
- Gloves, optional if you prefer not to handle sticky mix
- Paper towels and a cloth for tidy hands and spills
- Masking tape or string, optional to secure shapes
Instructions
- Prepare your space and base.Set a tray on the table and arrange twigs or shapes upright.Keep paper towels nearby to catch drips and protect the surface.
- Heat water and measure baking soda.Warm water until it feels hot but not dangerously boiling.Slowly stir in baking soda until it will not dissolve anymore.
- Add gentle color if you like.Drop one or two drops of food coloring into the mixture.Stir slowly to spread the color without making bubbles.
- Place your base into the solution.Hold a twig or shape and lower it into the jar so crystals can cling.Leave part of the base above the liquid to catch light as crystals grow.
- Find a quiet waiting spot.Move your jars to a place with steady air and soft light.Avoid open windows or fans that blow dust into the solution.
- Watch for the first signs of growth.Look for tiny sparkles and thin threads forming overnight.Note how the crystals prefer the edges and join into clusters.
- Let the crystals develop slowly.Allow 24 to 48 hours for good growth, checking gently now and then.If needed, refill gently with more solution to encourage growth.
- Remove and dry with care.Lift bases slowly and let excess liquid drip back into the jar.Pat dry with a paper towel and let air finish the drying.
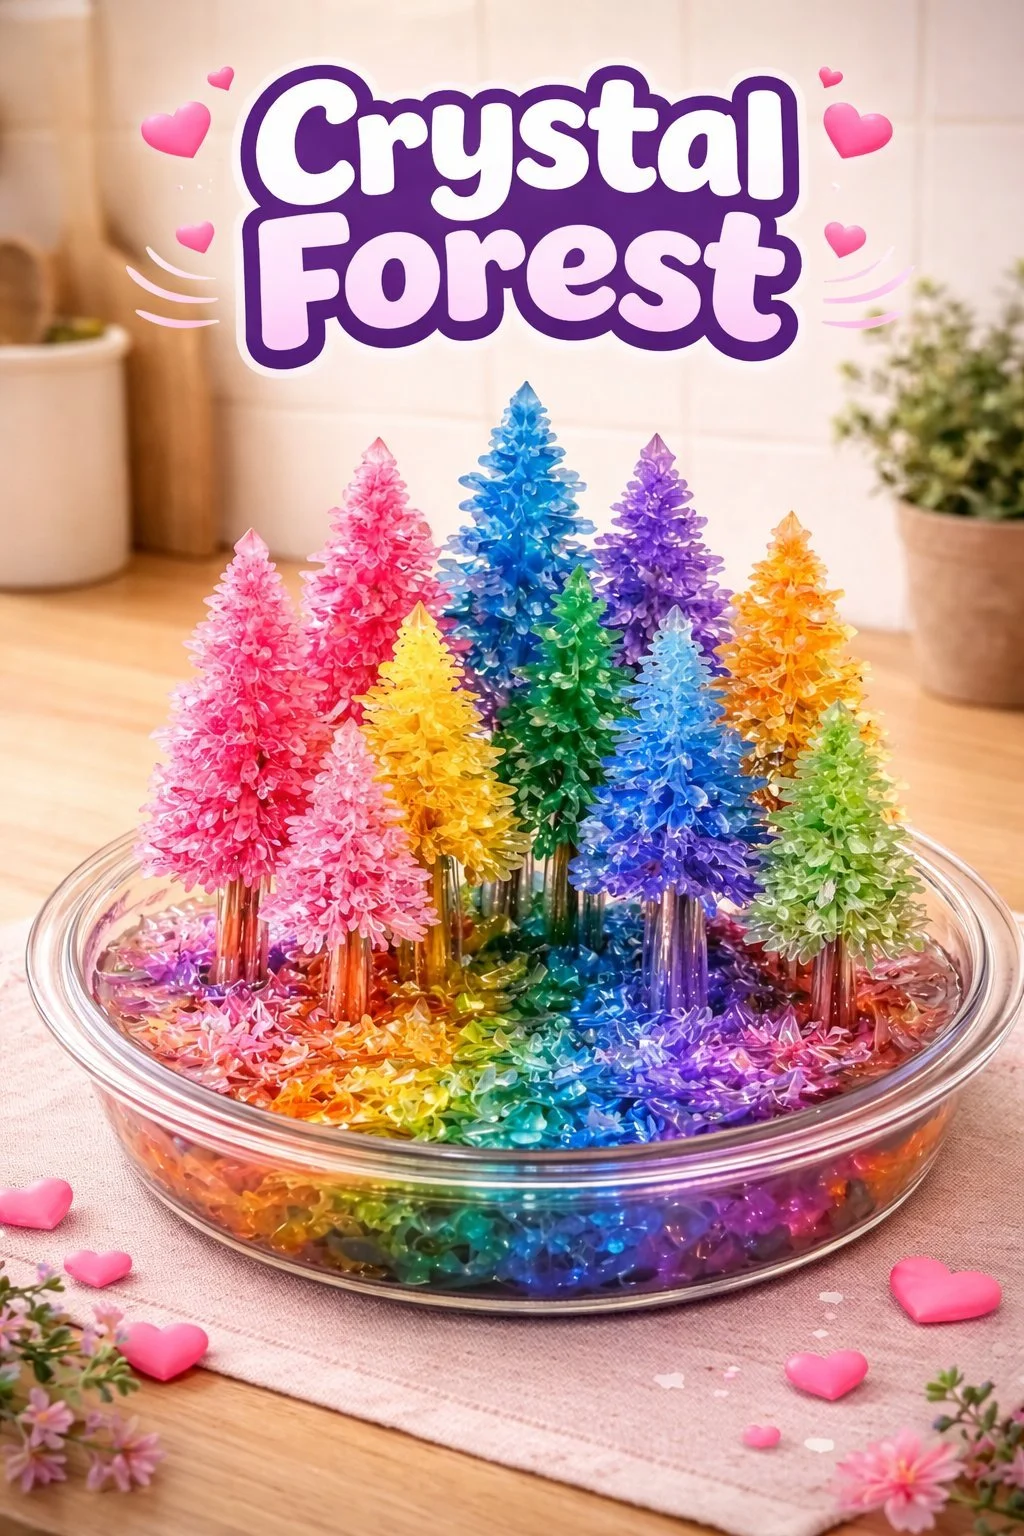
- Arrange and enjoy your forest.Place your finished pieces on a plate, near a window, or in a glass dome.Take slow breaths and notice how the light moves through the crystals.
- Clean up thoughtfully.Dispose of leftover solution down the sink with plenty of water.Wipe your workspace and store leftover supplies in a dry place.
Last Step: Don’t forget to leave a rating and comment below! It helps other readers find the best recipes — and it helps us too!