Would you like to save this recipe?
By submitting you agree to receive this recipe and occasional emails. Unsubscribe anytime.
Materials
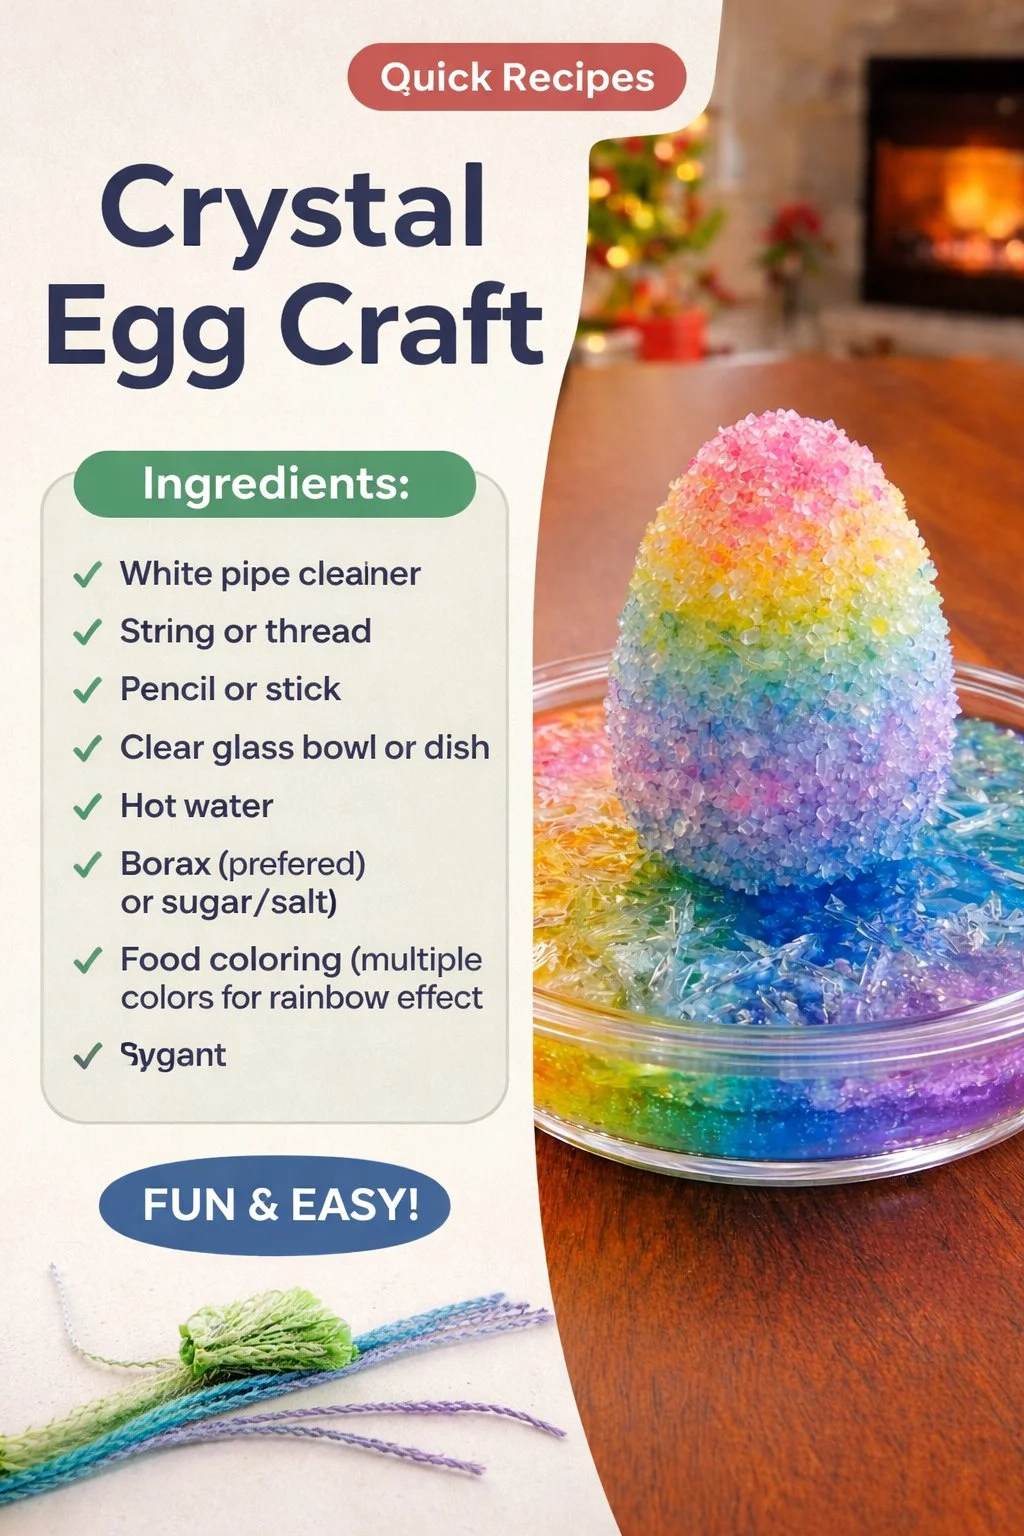
- Clean eggshell halves, washed and dried
- Borax powder or alternative crystal-forming salt such as alum or Epsom salt (borax is common; alternatives are listed below)
- Hot water, nearly boiling but handled with care (use adult supervision if children help)
- Small glass or ceramic bowls to hold eggs (easy to find)
- A spoon for stirring (metal or heatproof)
- Food coloring or liquid watercolors for subtle color if you want (optional)
- Tweezers or a soft pair of tongs for moving eggs gently (optional)
- Thin wire or small wooden skewers to suspend crystals inside deep bowls (optional)
- Gloves and eye protection if you prefer for handling hot or strong solutions (recommended for safety)
Instructions
- Prepare your eggshells. Gently crack eggs near the top and separate halves with care. Rinse and let them dry on a soft towel. The inner surface should feel chalky and dry before you begin. Handle shells with cushioning between your fingers and a towel to avoid accidental breaks.
- Warm water until steam rises, but do not leave it boiling. Pour measured hot water into a heatproof bowl. The warmth helps dissolve the mineral thoroughly. Hold the bowl steady on a heatproof surface.
- Measure borax or your chosen mineral. For a basic solution, use about three tablespoons of borax per cup of hot water. Stir until the powder fully dissolves. The solution should look clear and slightly syrupy.
- Add a drop or two of food coloring if you want tinted crystals. Stir gently to distribute color. Use muted tones for a calm, natural look. Bright colors work too if you prefer a playful feel.
- Arrange your eggshells in small containers that hold them steady. You can nestle them in salt, rice, or soft fabric to keep them upright. Stability reduces spills and keeps crystals forming where you want them to.
- Carefully pour the warm solution into the eggshells, filling them halfway or as you like. Pour slowly and listen for the tiny settling sounds as solution meets shell. Move with a steady hand.
- If you want suspended crystals, tie a short length of thin wire across the shell and dip the wire into the solution. Crystals will begin to form along the wire as well as the shell interior.
- Set the filled shells on a tray to catch any drips and place them in a quiet, undisturbed spot. Cover them lightly with a paper towel if dust or pets might reach them. Keep the area still.
- Wait patiently. Crystals often form along the inner edges first and then grow inward over 12 to 24 hours. Check gently after a few hours to admire the first sparkles. A slow reveal feels mindful and sweet.
- When the crystals look as you wish, remove the shells by lifting them carefully and letting excess solution drip back into the tray. Use tweezers or a soft grip to protect the delicate formations.
- Dry the finished eggs in a warm, dry place. Let them sit until all moisture evaporates and the crystals harden. Handle them minimally while they set to keep edges crisp and shimmering.
- If you plan to seal the crystals, apply a light clear-drying varnish or spray from a distance. Test a small corner first. Sealing will reduce shedding and make the piece more durable.
- Clean your work area with warm water and dispose of leftover solution responsibly. Follow local guidelines for disposal. Wipe surfaces with a damp cloth to remove residue.
- Store finished eggs gently in a box lined with soft tissue or cotton to protect fragile growth. Label the box if you keep several designs to preserve their memory and care tips.
Last Step: Don’t forget to leave a rating and comment below! It helps other readers find the best recipes — and it helps us too!