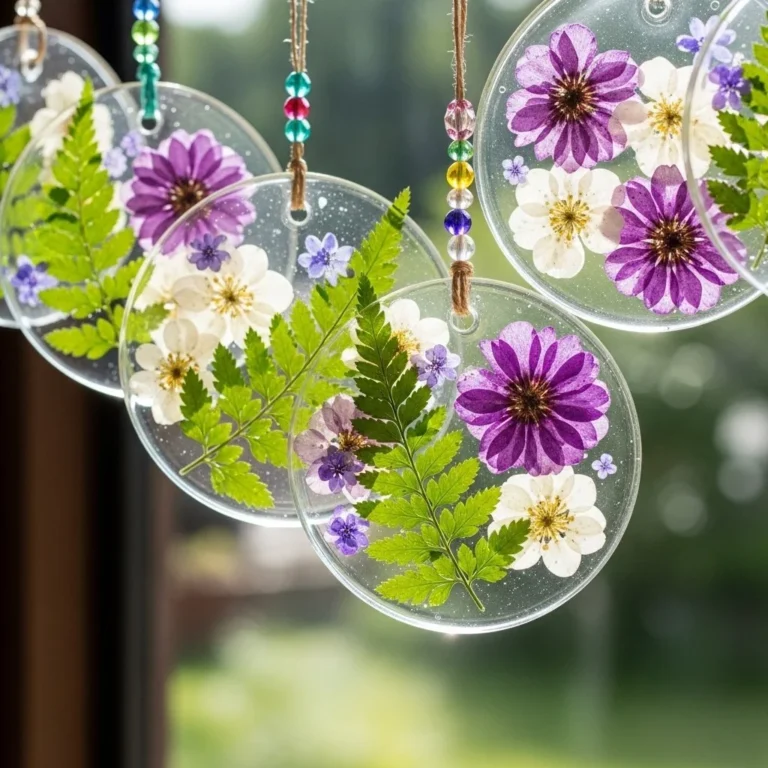
Would you like to save this recipe?
By submitting you agree to receive this recipe and occasional emails. Unsubscribe anytime.
Materials
- Cornstarch, 1 cup (easy to find; acts as the binding and bulk)
- Water, about 1/2 cup (softens the cornstarch, lets it form a paste)
- White glue or natural PVA, 1/4 cup (optional; adds strength and flexibility)
- Glycerin, 1 teaspoon (optional; keeps preserved pieces slightly flexible)
- A few drops of clear glue or diluted Mod Podge for sealing (optional)
- Fresh petals, well-dried leaves, or small whole flowers (test one first)
- A small mixing bowl and spoon (wood or silicone feels warm and gentle)
- A fine paintbrush or small silicone spatula for spreading (soft touch)
- Wax paper or silicone mat for drying (nonstick and forgiving)
- Kitchen scale or measuring cups (simple accuracy helps repeatability)
- Clean scissors and tweezers for delicate placement (optional)
- Soft towel to work upon (comfort and catch stray bits)
- A shallow tray to dry pieces in a well-ventilated space (stability and air)
Instructions
- Prepare your workspace and petals. Place a soft towel and mat on a flat surface. Lay petals out single layer to remove dust and let them air a few minutes.
- Measure cornstarch and water. Put 1 cup cornstarch in the bowl. Slowly add about 1/2 cup water while stirring to avoid lumps.
- Stir into a smooth paste. Mix in steady circular motions until the mixture feels like thick cream. Pause and feel the texture; it should hold a light peak but remain spreadable.
- Add glue and glycerin if using. Stir in 1/4 cup white glue for strength and 1 teaspoon glycerin for flexibility. The mixture will gain a slight translucence and feel more cohesive.
- Test with a spare petal. Press a small scrap petal into a dab of paste to see how it behaves. Adjust the mix: add a tablespoon of water for more spread, or a teaspoon of cornstarch for stiffness.
- Arrange a working surface for pressing. Lay a sheet of wax paper on the mat. Spoon a thin layer of paste onto the paper where you will press a petal.
- Press petals gently into the paste. Use tweezers or fingers to lay a petal face down. Smooth paste lightly over the back with a brush so edges sit snugly.
- Shape and thin edges. Tap the edges with a damp finger or brush to remove excess paste. Thin edges dry clearer and more natural; keep the center slightly thicker for support.
- Let pieces dry slowly. Move the tray to a well-ventilated spot away from direct sun. Leave overnight or up to 48 hours depending on size and humidity.
- Finish with a seal if desired. When completely dry, dust lightly with a soft brush to remove loose starch. Apply a thin coat of clear glue or diluted Mod Podge to strengthen and reduce powdery feel.
Last Step: Don’t forget to leave a rating and comment below! It helps other readers find the best recipes — and it helps us too!