Would you like to save this recipe?
By submitting you agree to receive this recipe and occasional emails. Unsubscribe anytime.
Materials
- White PVA school glue (about 1/4 cup) — easy to find
- Warm water (about 1/4 cup) — tap water works fine
- Borax powder or a borax-based solution (safety note below) — optional alternative listed
- Food coloring or liquid water-based dye — use small drops for bright color
- Measuring spoons and cups — precise but forgiving
- Small mixing bowl — shallow works well for stirring
- Spoon or stir stick — for gentle mixing
- Baking cup liners or small molds (optional) — for shaping and drying
- Scissors or a small funnel (optional) — if you use molds or pipettes
- A tray or towel to catch drips — easy cleanup makes the project calm
- Gloves (optional) — for sensitive skin or young crafters
Instructions
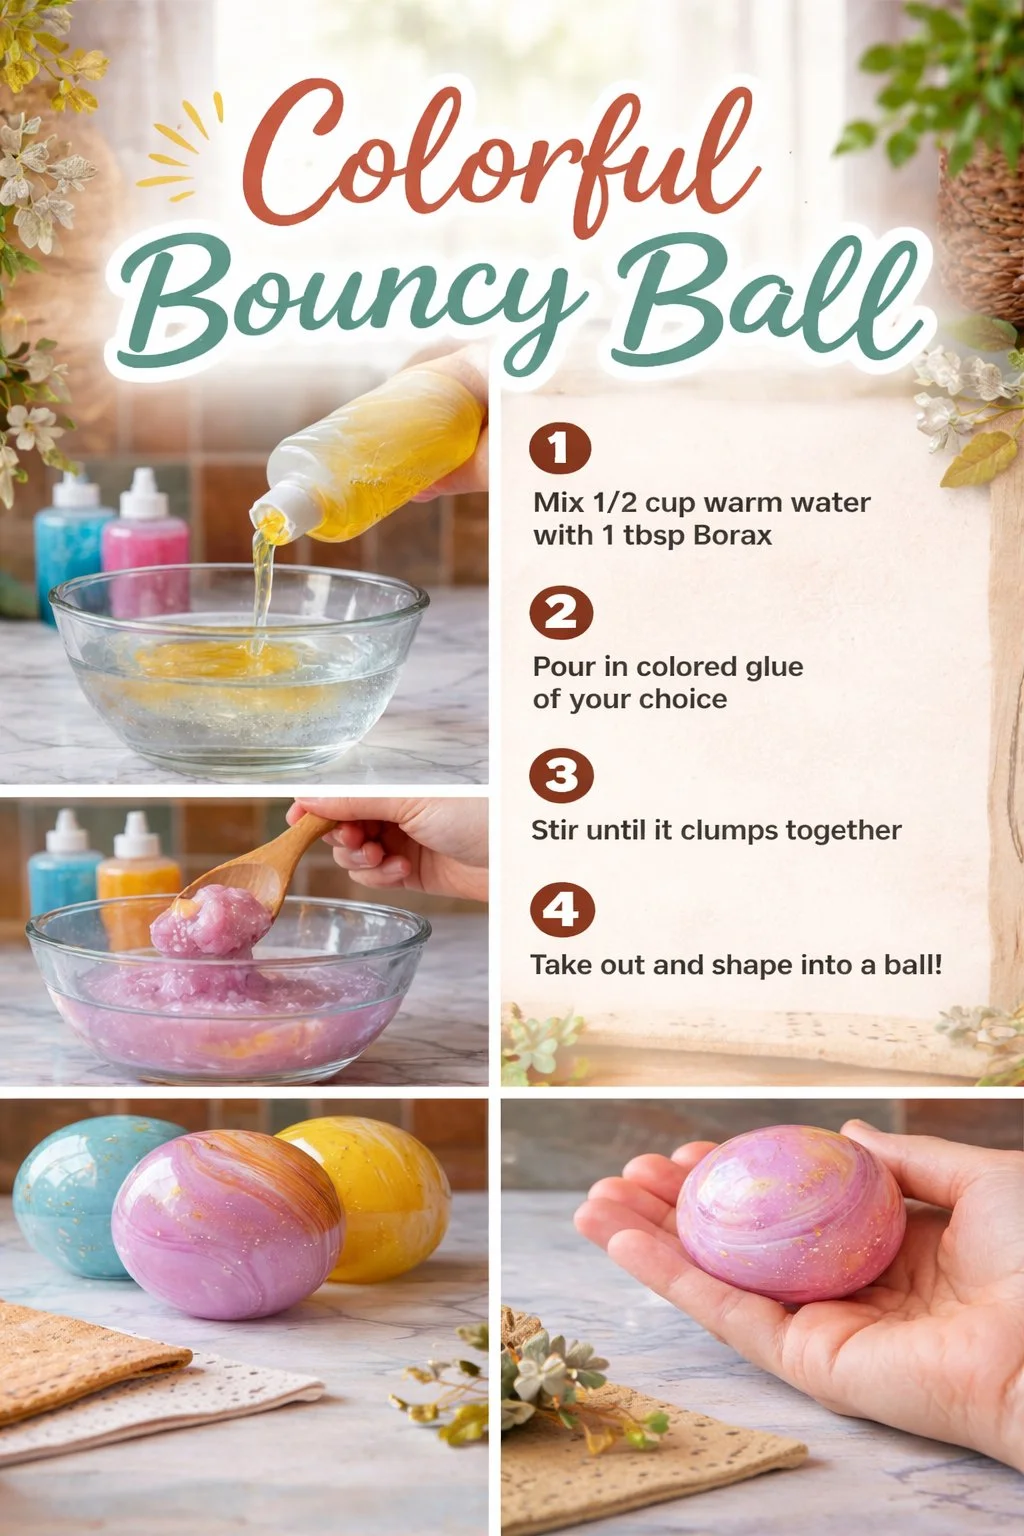
- Measure one quarter cup of white glue into your mixing bowl. Stir slowly with a spoon until the glue feels smooth and glossy in the bowl.
- Add about one quarter cup of warm water and stir until thin and even. The mixture should move gently like syrup, and the glue will dilute to a glossy fluid.
- Drop one or two small drops of food coloring into the center. Watch the color spread like a watercolor bloom; stir with soft, circular motions.
- Make a borax solution by dissolving one teaspoon of borax in one cup of warm water. If you prefer a gentler option, prepare a small cup of liquid starch or use contact lens solution instead.
- Add borax solution to the glue mix one teaspoon at a time, stirring after each addition. You will feel a change: the mixture will grab the spoon and become thicker and more elastic.
- When the mixture begins to pull away and form a loose pellet, scoop it out. Use gloved hands or dry hands to knead; the feeling shifts from sticky to springy.
- Roll the pellet between your palms with slow, gentle pressure. Keep rolling until the surface smooths and the ball feels firm and bouncy to the touch.
- If the ball stays sticky, sprinkle a small pinch of cornstarch and knead again. Cornstarch helps dry the surface without making the core hard.
- Let the finished ball rest on a paper towel for an hour to firm up. Test the bounce gently; it will improve as the polymer continues to set.
- Add small designs by rolling the finished ball over a dry bit of pigment or by pressing tiny beads into the surface.
Last Step: Don’t forget to leave a rating and comment below! It helps other readers find the best recipes — and it helps us too!