Would you like to save this recipe?
By submitting you agree to receive this recipe and occasional emails. Unsubscribe anytime.
Materials
- Baking soda (easy to find)
- White vinegar (common household item)
- Liquid dish soap or gentle liquid castile soap (creates creamy bubbles; substitute-friendly)
- Food coloring or liquid watercolors (choose gentle, washable colors)
- Small cups or shot glass-sized wells (for color)
- A shallow tray or baking sheet with raised edges (contains spills)
- A mixing bowl (plastic or glass)
- A sturdy spoon or spatula (for mixing)
- Optional: pipettes or droppers (for controlled color placement)
- Optional: measuring spoons (useful if you like repeatable amounts)
- Optional: safety goggles and gloves (handy for extra-careful children)
Instructions
- Place your tray and mixing bowl on a flat surface. Keep a towel nearby. Let light fall softly across the tray.
- Spoon 1 cup of baking soda into the bowl. Run your fingers gently through the grains. Notice the dry, powdery texture.
- Add 2 to 3 tablespoons of liquid soap to the baking soda. Stir slowly until the mixture becomes thick and slightly glossy. The soap helps create stable foam that carries color.
- Add a small splash of water, one tablespoon at a time. Mix until the texture becomes a paste that still holds some air. You want something scoopable but not runny.
- Spread the paste into the tray in a low, even layer. Smooth with the back of a spoon. Leave soft peaks for the foam to lift.
- In small cups, mix a few drops of food coloring with a little vinegar. Use separate cups for each color. Dilute with a splash of water if you prefer paler tones.
- Arrange the color cups around the tray for easy reach. Take a moment to breathe and notice the smells. Observe the contrast of bright color against pale paste.
- With your spoon, make shallow wells or pockets in the paste where you want the foam to erupt. These will guide the flow of bubbles. Think of them as tiny launchpads for color.
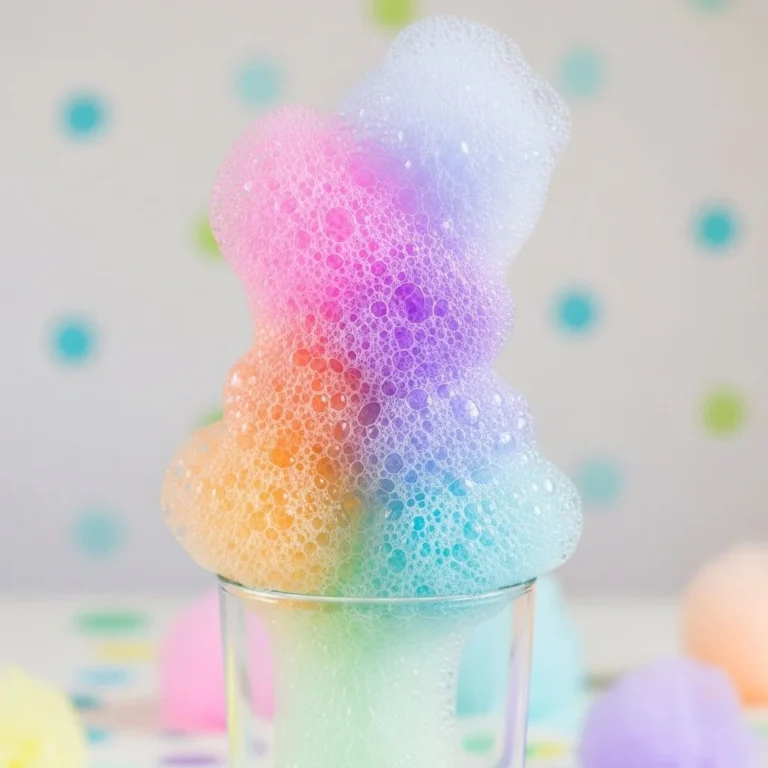
- Pour the colored vinegar into a well slowly. Watch the first fizz begin at the point of contact. Step back slightly to just observe.
- If you like, use a dropper to add color directly into the foaming point. Slow drops create layered color ribbons. Faster pours make blended waves.
- Repeat with other colors, spacing the pours so each eruption has room. Pause between pours to enjoy each bloom. Listen to the fizzing and feel the warm breath of chemistry.
- When the foam settles, you can gently press it with a spoon to explore texture. Capture photos or keep it as a short-lived sensory play. When finished, rinse the tray and tools with warm water.
Last Step: Don’t forget to leave a rating and comment below! It helps other readers find the best recipes — and it helps us too!