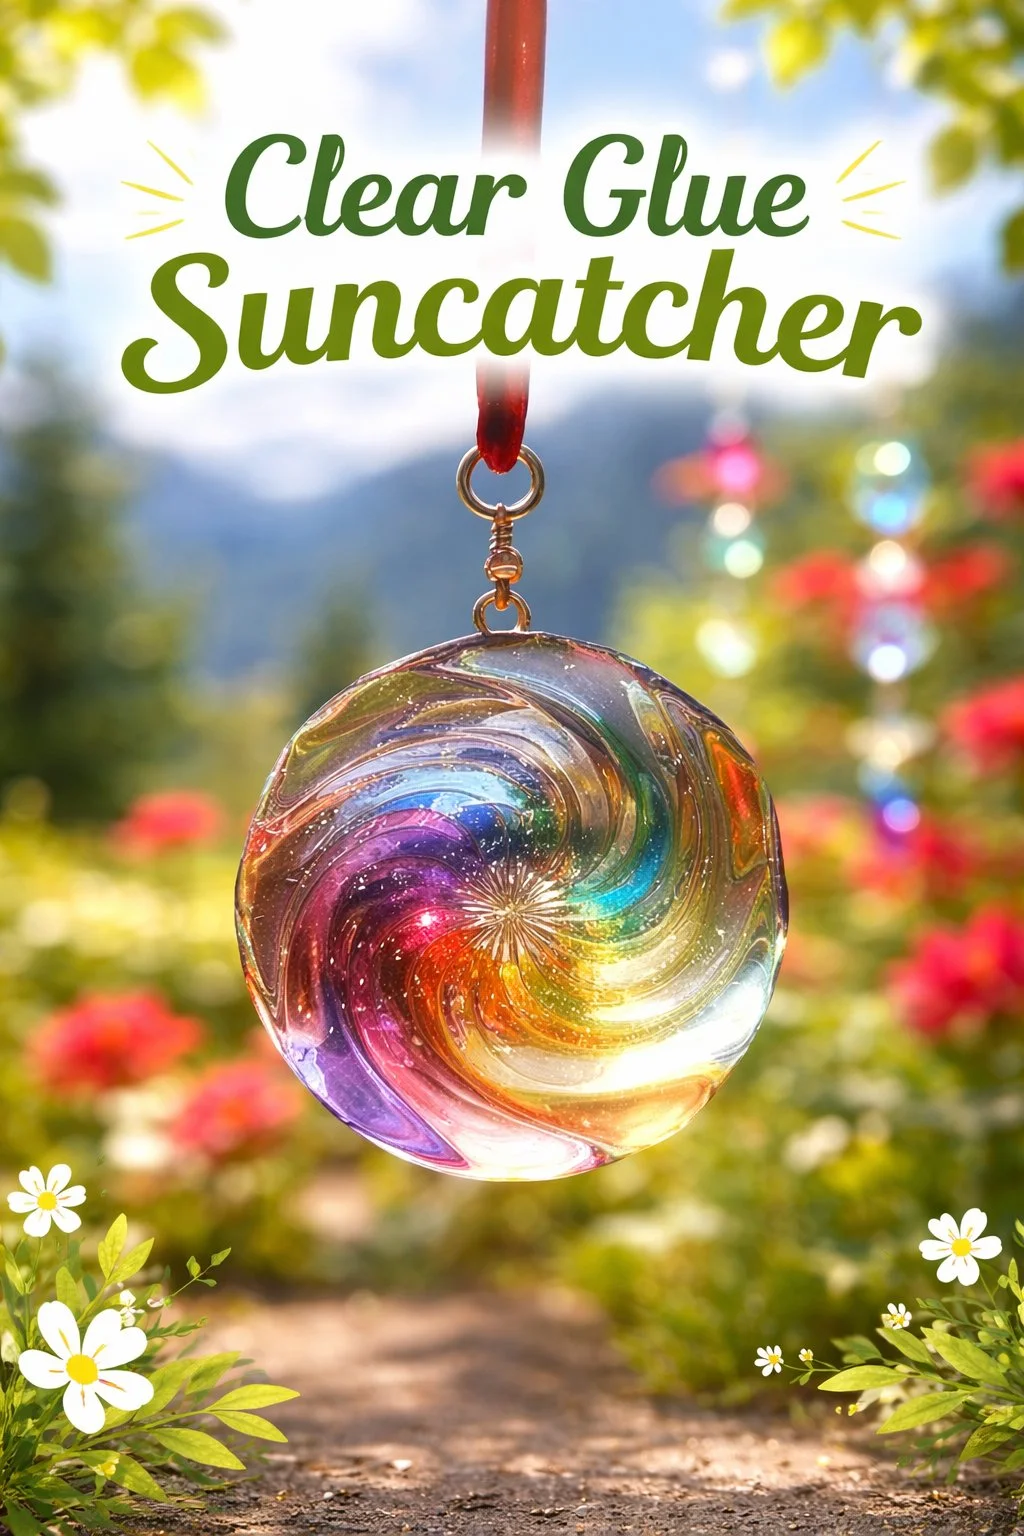
Would you like to save this recipe?
By submitting you agree to receive this recipe and occasional emails. Unsubscribe anytime.
Materials
- Clear school glue (bottle or craft glue), easy to find at most stores
- Baking sheet or shallow tray (nonstick or lined with parchment), substitute-friendly
- Parchment paper or silicone mat, optional for easy release
- Small mixing cups or disposable containers
- Stir sticks or popsicle sticks
- Clear hair spray or glossy acrylic spray (for sealing, optional)
- Small decorative items: dried flower petals, glitter, sequins, tiny beads, or tissue paper pieces
- Food coloring, liquid watercolor, or alcohol ink for tinting (a few drops go a long way)
- Toothpicks for tiny placement adjustments
- String, ribbon, or a suction cup hook for hanging the finished piece
- Scissors and a craft knife for trimming edges, used carefully
- A warm, dry spot with good airflow for drying safely
Instructions
- Prepare your workspace. Lay parchment on a tray and set your cups and stir sticks nearby. Keep a cloth at hand for soft, quick cleanups.
- Pour clear glue into a small cup. Use enough to make the size of suncatcher you want. Notice the viscous, glassy surface as it pools.
- Add a drop or two of color. Stir slowly until the tint spreads. Watch how color blends and how few drops keep the clarity.
- Transfer the tinted glue to the lined tray. Pour gently in a slow, steady stream to avoid big bubbles. Let the glue form a smooth puddle.
- Smooth edges and shape gently with a stir stick or the back of a spoon. Work with small, careful touches. The motion should feel soft and steady.
- Place decorations one at a time. Use a toothpick to tuck tiny items so they sit just beneath the surface. Notice how the glue holds and supports each piece.
- Remove any visible bubbles with a quick pass of a toothpick. Small taps on the tray can coax bubbles to the surface. Breathe as you work; gentle motions help more than forceful ones.
- Let the glue sit in a warm, dry place. Drying can take several hours to a day, depending on thickness. Check in occasionally and enjoy the slow change.
- Once firm, peel the suncatcher gently from the paper. If the edge sticks, slide a thin craft knife carefully under the rim. Move slowly and with attention.
- Trim the edges and punch a small hole near the top. Thread string through and knot it. The piece should hang freely and catch light with soft clarity.
- Optionally seal the front with a light coat of clear spray to add a glossy finish. Spray outdoors or in a ventilated area. Let it cure fully before hanging.
- Hang the suncatcher in a window or near a light source. Watch the tiny details come to life as sunlight moves across the piece.
Last Step: Don’t forget to leave a rating and comment below! It helps other readers find the best recipes — and it helps us too!