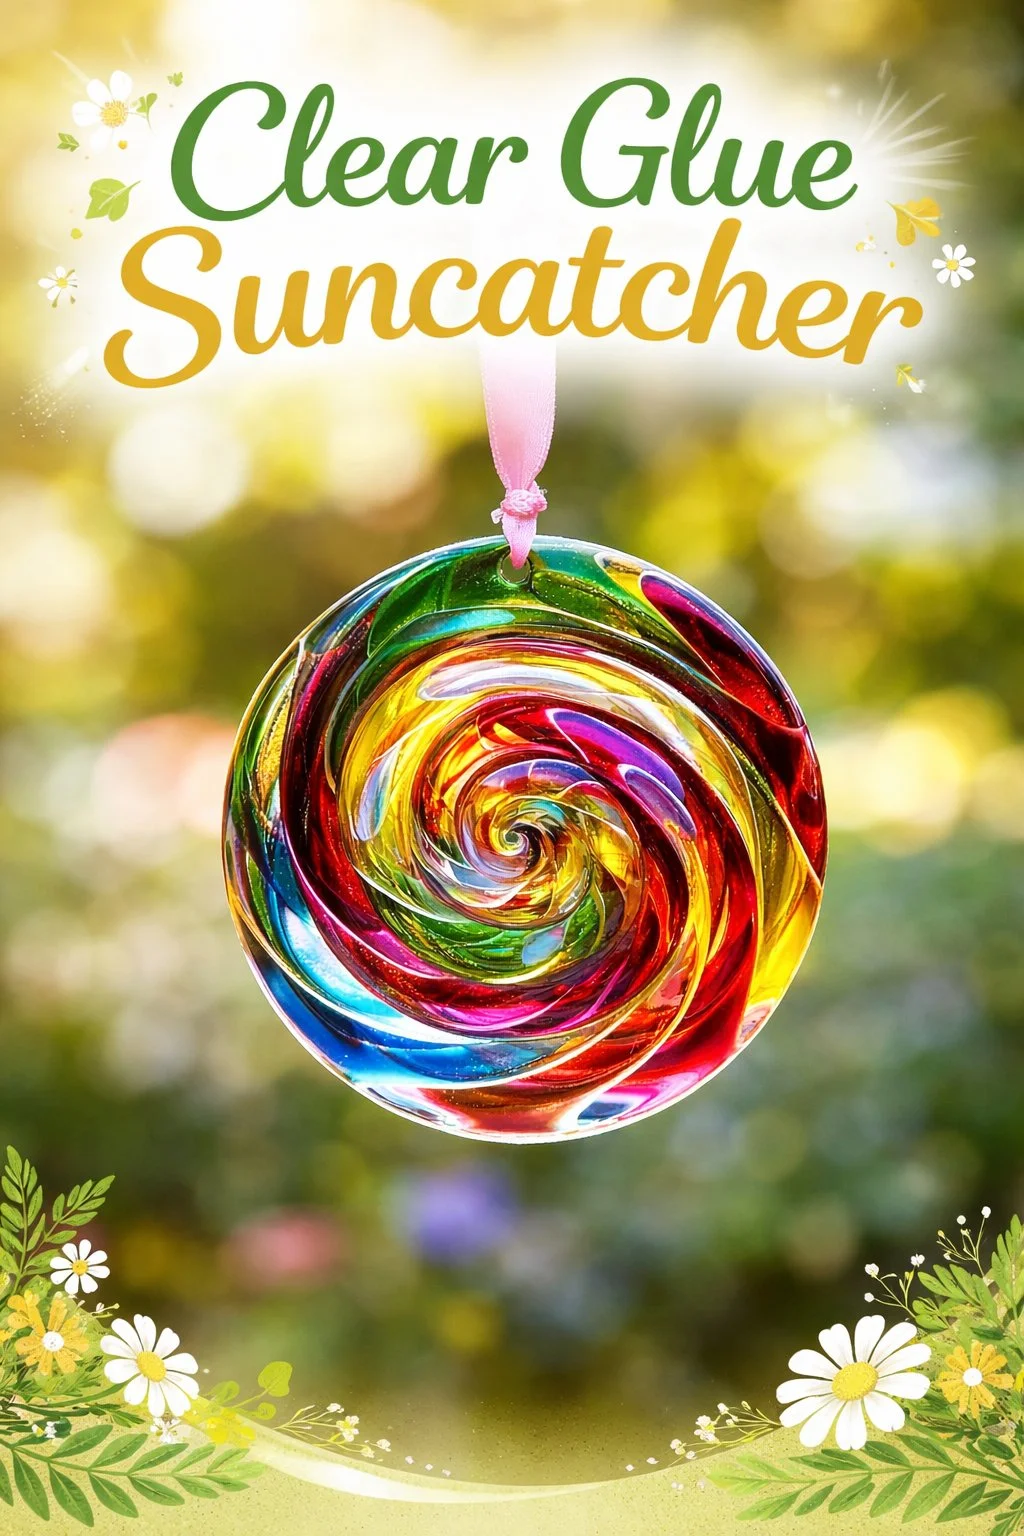
Would you like to save this recipe?
By submitting you agree to receive this recipe and occasional emails. Unsubscribe anytime.
Materials
- Clear craft glue (thick, clear-drying glue, easy to find)
- Disposable shallow dishes or silicone molds (choose a shallow shape)
- Stir sticks or wooden skewers (smooth and simple)
- Food coloring or liquid watercolors (optional, a few drops)
- Small pressed flowers, sequins, or translucent beads (optional)
- Clear packing tape or wax paper (for releasing finished pieces)
- A sheet of cardboard or a protected tray (to carry the piece while it cures)
- Gloves (optional, if you prefer not to get glue on your fingers)
- A pipette or small squeeze bottle (optional, for controlled drops)
- A small brush or toothpick (for nudging elements or removing air bubbles)
Instructions
- Prepare your surface and molds. Line a tray or table with wax paper. Keep everything near a window so you can test light as you go. Wear gloves if you prefer a tidy tactile experience.
- Pour a small pool of clear glue into a shallow mold. Move slowly and let the glue settle without ripples. Notice the glossy surface and the way it catches light.
- Add a drop or two of liquid watercolor if you want color. Use a pipette to keep drops small and delicate. Watch the color thread through the clear glue like washed silk.
- Place pressed flowers, beads, or glitter onto the glue gently. Use a toothpick to nudge pieces into place with soft taps. Listen for the slight settling sound as items sink a little.
- Remove visible air bubbles with a toothpick or by tapping the mold. Small bubbles add charm; you do not need to remove them all. The movement of your hand calms you and smooths the surface.
- Cover with a sheet of clear packing tape for a flat finish, if desired. Lay the tape gently to avoid trapping new air pockets. The tape helps the surface dry shiny and smooth.
- Let the piece cure in a warm, still spot for several hours. Avoid moving it while the glue firms up. Notice how the gloss shifts to a softer sheen as it sets.
- Unmold carefully. Peel from the edge and lift slowly. If the piece resists, allow more drying time. Hold it up to the light and breathe in that small, bright moment.
Last Step: Don’t forget to leave a rating and comment below! It helps other readers find the best recipes — and it helps us too!