Would you like to save this recipe?
By submitting you agree to receive this recipe and occasional emails. Unsubscribe anytime.
Materials
Materials Needed
- 5 pieces Old CDs Easy to find, preferably in good condition
- 1 piece Scissors For cutting the CDs into shapes
- 1 tube Strong adhesive (like hot glue or craft glue) Ensure a strong bond for the project
- 1 set Paints (acrylics work beautifully) Opt for colors that resonate with you
- 1 set Brushes (various sizes for detail) Different sizes can help with intricate designs
- optional as needed Optional embellishments (glitter, sequins, or beads) Add extra sparkle to your butterflies
Instructions
Preparation
- Begin by prepping your workspace, ensuring you have all your materials close at hand.
- Clean the old CDs with a soft cloth to remove any fingerprints or dust.
Crafting
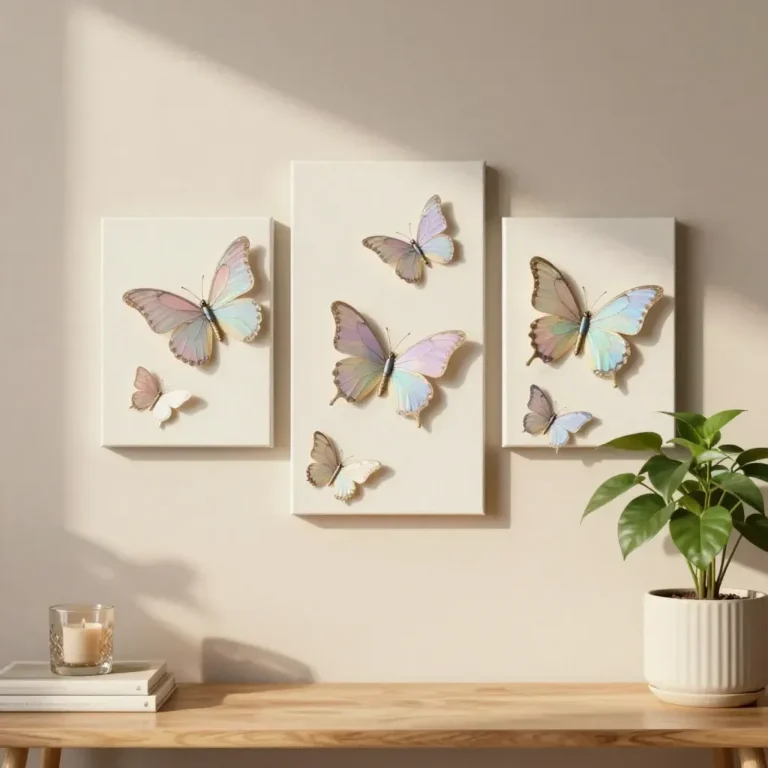
- Use scissors to carefully cut the CDs into butterfly shapes.
- Apply a layer of adhesive to the CD butterfly shapes and start painting them.
- Allow the painted butterflies to dry thoroughly before adding any embellishments like glitter or sequins for extra sparkle.
- Once everything is dry, arrange your butterflies in a visually pleasing pattern on your wall or a canvas.
- Use additional adhesive to secure them in place.
Finishing Touches
- Take a moment to appreciate your workmanship once your CD Butterfly Wall Art is complete.
Last Step: Don’t forget to leave a rating and comment below! It helps other readers find the best recipes — and it helps us too!
Tips & Notes:
Customize your butterflies by varying the sizes or using different colors and patterns. Keep your workspace organized for a calm crafting experience.