Would you like to save this recipe?
By submitting you agree to receive this recipe and occasional emails. Unsubscribe anytime.
Materials
- Stained glass sheets (various colors)
- Copper foil tape (easy to find at craft stores)
- Soldering iron (and solder)
- Glass cutter
- Safety goggles
- Ruler (for measurements)
- Design template (optional for beginners)
- Clear sealant (to protect your finished piece)
Instructions
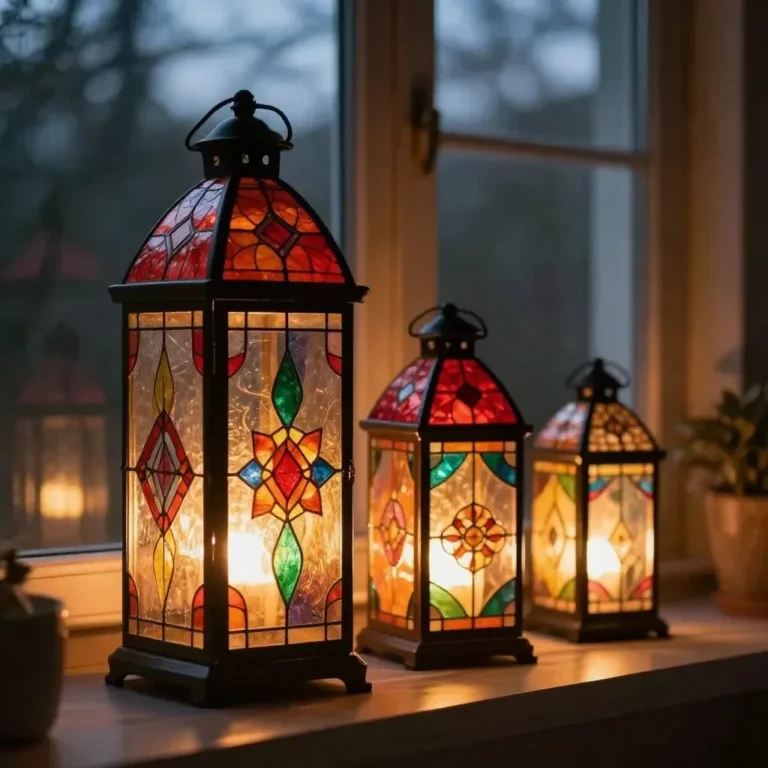
- Design Your Lantern: Start by sketching your design on paper. Determine the shape and how to incorporate different colors. This will guide your cutting and assembly.
- Cut the Glass: Using the glass cutter and ruler, carefully cut out the shapes of your design. Remember to wear your safety goggles for protection.
- Apply Copper Foil: Once all the pieces are cut, use the copper foil tape to cover the edges of each glass piece. This will help to bond the pieces together with solder.
- Solder the Pieces: Heat your soldering iron and carefully solder the seams where pieces meet. Take your time, allowing the solder to flow and secure your lantern.
- Clean and Seal: Once completely assembled, clean your lantern with a glass cleaner to enhance clarity. Apply a clear sealant if desired to protect it from moisture.
Last Step: Don’t forget to leave a rating and comment below! It helps other readers find the best recipes — and it helps us too!