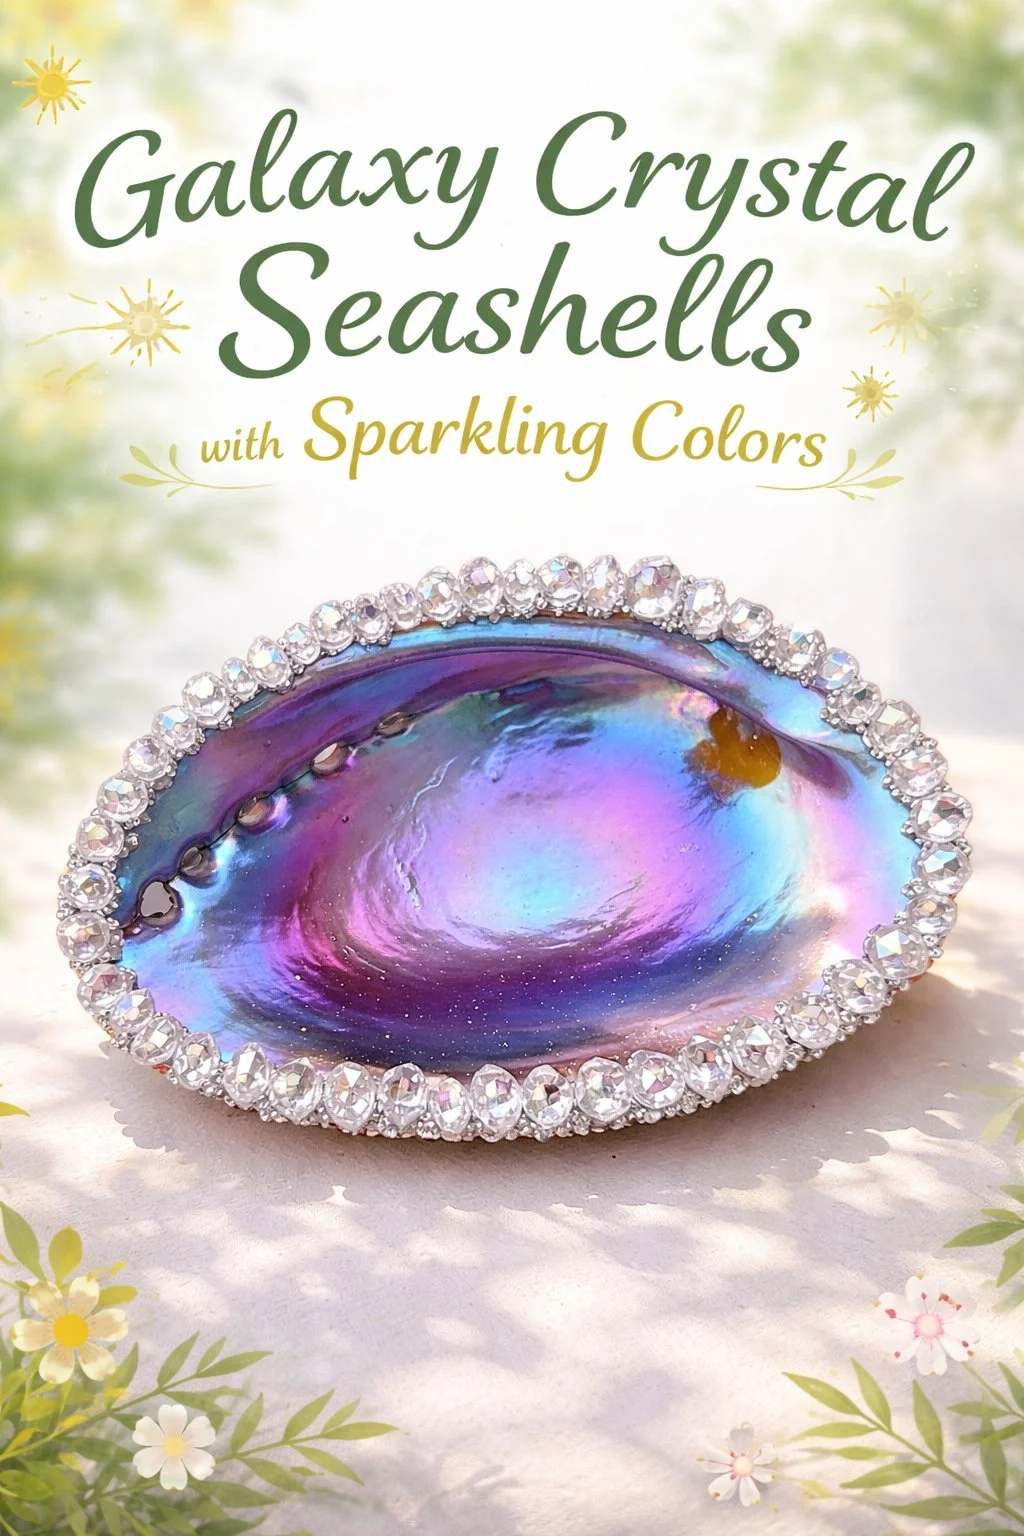
Would you like to save this recipe?
By submitting you agree to receive this recipe and occasional emails. Unsubscribe anytime.
Materials
- Clean seashells, rinsed and dried (easy to find at craft stores or from the beach)
- Clear craft adhesive or jewelry glue (choose a clear-drying, strong glue)
- Small faceted crystals, rhinestones, or glass beads in various colors (sparkling blues, purples, silvers)
- Fine-tipped tweezers or a wax pencil for placing crystals (helps with tiny pieces)
- Toothpicks or a small craft stick for spreading glue
- Soft brush for dusting shells before gluing (optional)
- Small dish or tray to hold crystals while you work
- Paper towels and a damp cloth for quick cleanups
- Dense foam or soft cloth to rest shells while they set (substitute with folded towel)
- Clear sealer spray for longevity, optional but recommended for pieces that will be handled
Instructions
- Prepare your workspace.Set a soft towel and a shallow tray.Arrange crystals nearby so you can reach them without rushing.
- Clean each shell.Brush away dust and salt.Let shells dry completely to help glue hold.
- Plan your color mix.Hold crystals against the shell and try a few patterns.Take a moment to breathe and choose harmonies that feel right.
- Apply a small dot of glue.Use a toothpick for tiny spots.Work on one area at a time so the glue stays tacky.
- Pick up a crystal with tweezers.Move slowly and close to the shell.Place it gently and press for a second to set.
- Continue placing crystals.Work in small sections so patterns emerge.Pause when you want to change direction or color.
- Let glue set fully.Keep shells on a soft surface as you wait.Avoid touching the crystals until they feel firm.
- Add a thin sealing spray if desired.Hold the can at a distance to avoid pooling.Use a well-ventilated spot and let pieces dry face up.
- Clean edges and remove stray glue.Use a damp cloth to lift tiny smudges.Work slowly to keep the finish clean.
- Rest the shells overnight.Place them on foam or cloth.Wake to cooled, stable crystals and a finished feel.
Last Step: Don’t forget to leave a rating and comment below! It helps other readers find the best recipes — and it helps us too!