
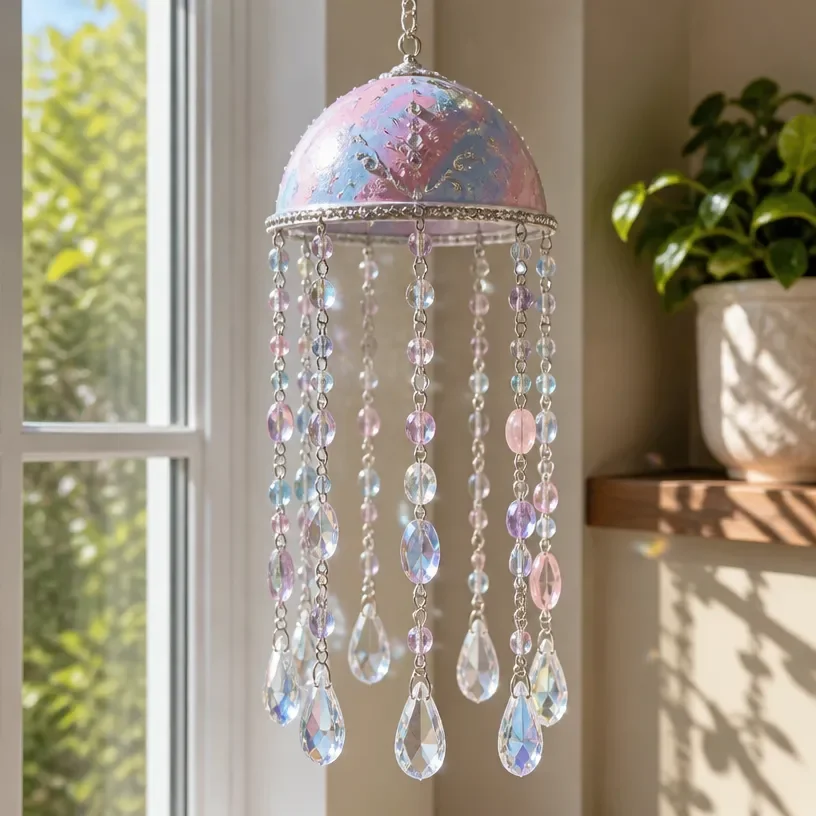
What can you make with beads? You can create beautiful DIY wind chimes with beads that shine in the light and bring joy to your home. These colorful crafts not only make pleasing sounds on a breezy day but also serve as lovely decorations that catch the eye. Let’s explore how to make your own easy-to-create wind chimes with simple materials and steps. You may also find How To Make Baking Soda Growing Tree Diy useful.
What Makes This Work
The beauty of DIY wind chimes lies in their ability to create soothing sounds as the wind gently sways them. When you hang the chimes outside, the beads will clink together, producing soft melodies. The overall appearance changes as the sunlight hits the beads, creating a play of colors and reflections. You may also find How To Make Diy Blue Crayon Suncatchers Deco useful.
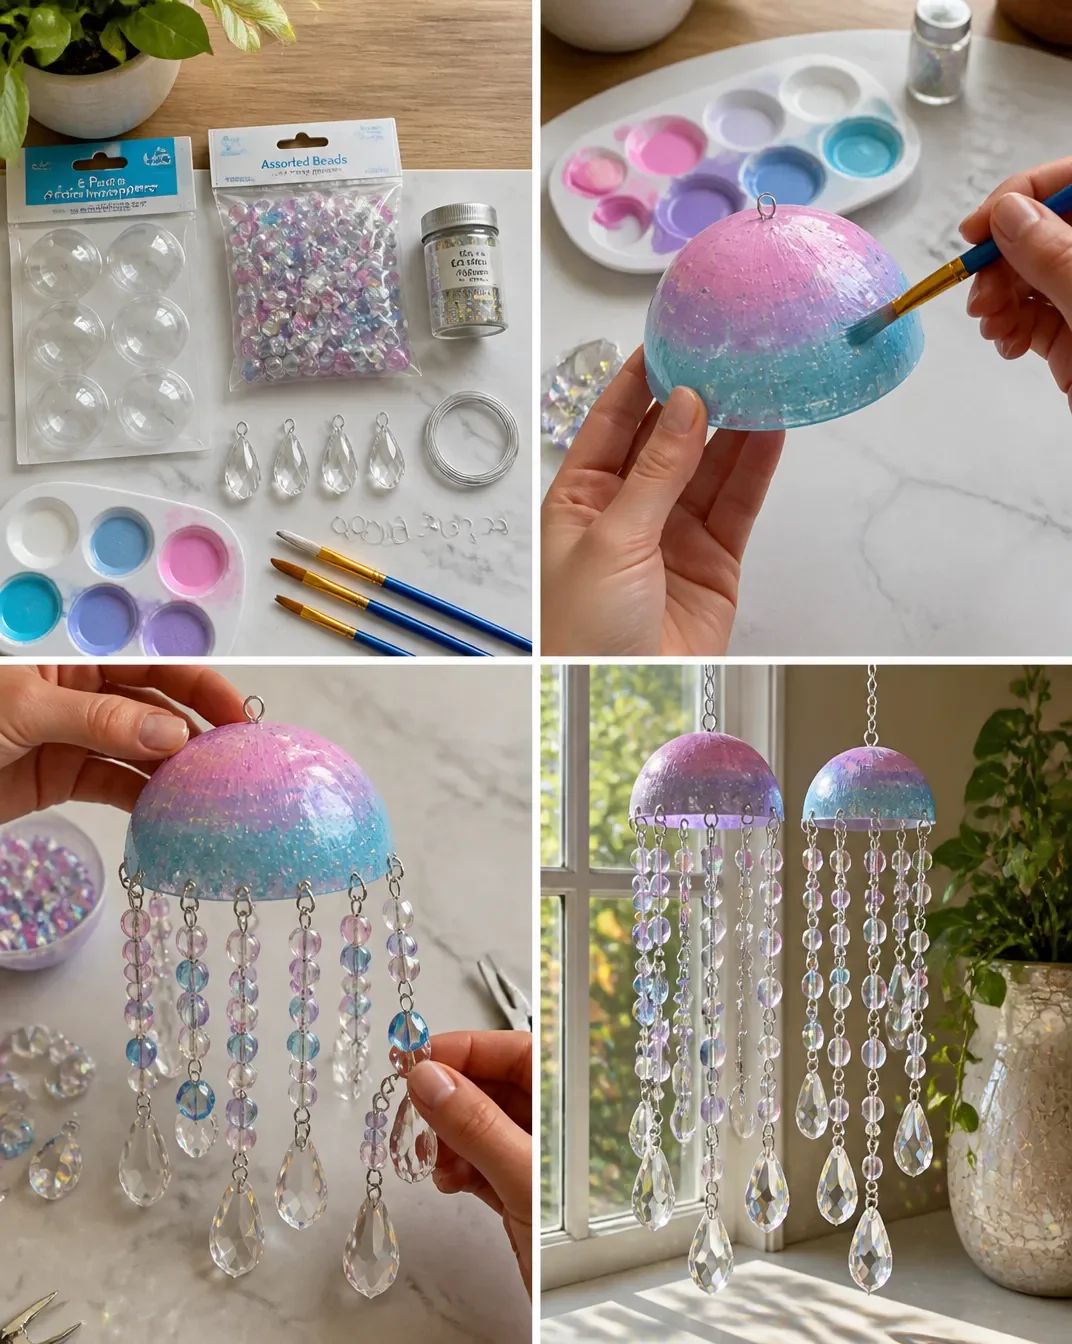
To get started, let’s gather the materials. You will need:
- Beads in various colors
- String or fishing line
- A sturdy ring or a branch to hang the beads from
- Scissors
- Optional: glue, small bells
Before diving into the project, you can find inspiration from other fun crafts, like those found in DIY worry stones.
Materials
Your materials will play a significant role in the final look and sound of your wind chimes. Consider mixing glass beads for a sparkle effect, or wooden beads for a more natural feel.
- Beads: Choose a variety of shapes and colors to create visual interest.
- String or Fishing Line: This will hold your beads together and connect them to your hanging structure.
- Ring or Branch: A ring provides a solid base to attach the beads, whereas a branch creates a rustic look.
- Scissors: Needed for cutting the string.
- Optional Items: Small bells can add a delightful jingle to your wind chimes.
Steps
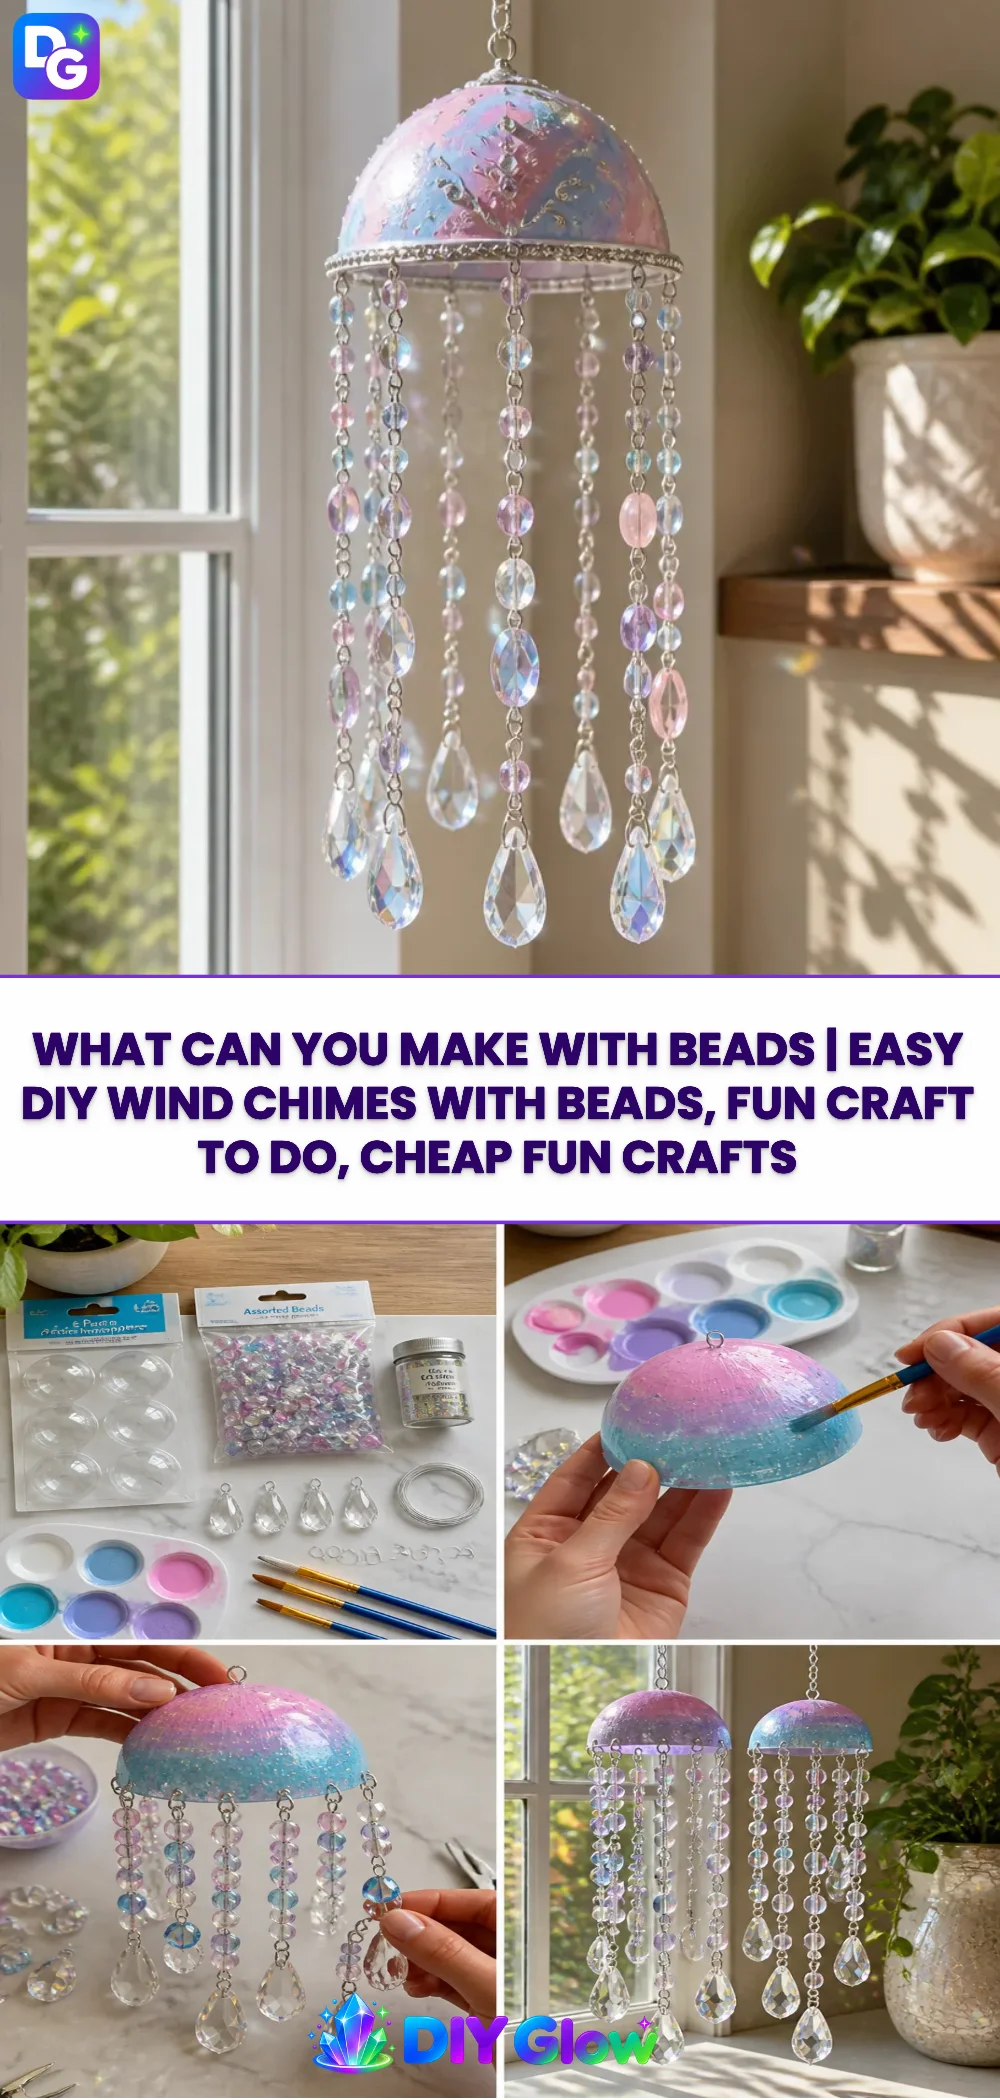
- Cut the String: Decide how long you want your wind chimes to be, then cut several pieces of string according to that length.
- String the Beads: Thread beads onto each piece of string. Mix colors and patterns as desired. Remember, the more varied the colors, the more vibrant it will look.
- Secure the Ends: Once you’ve strung your beads, tie a knot at the end to secure them in place. You can apply a small dab of glue to the knot for extra security.
- Attach to the Ring: Use another piece of string to tie each beaded string to your ring or branch. Space them out evenly for balance.
- Finish the Hanging Point: Finally, tie a longer piece of string to the top of the ring or branch for hanging it up. Check that it feels secure.
Be sure to watch for that lovely color change as the beads catch the light during setup.
What Goes Wrong and How to Fix It
Sometimes, projects do not turn out as planned. One common issue is beads that slide off the string. If this happens, check if your knot is tight enough. If the knot is loose, simply re-string the beads and tie a secure knot.
Another potential issue is beads that don’t catch the light effectively. If your beads look dull, consider using more transparent or reflective ones next time or adding layers of colors. Consult additional crafting resources like DIY crystal seashells for more tips.
Where to Display It
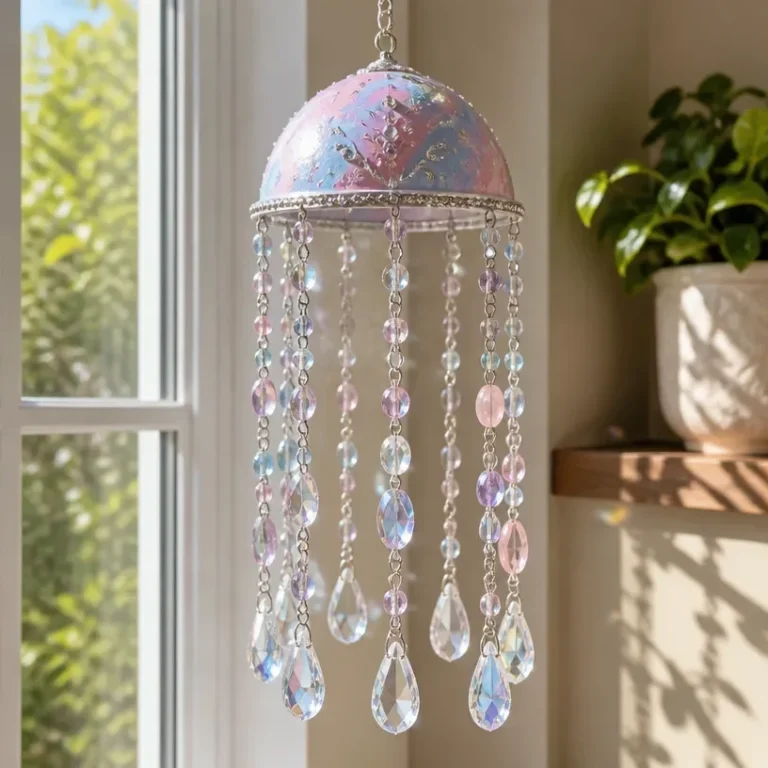
Once completed, find a perfect spot to hang your wind chimes. They work great outdoors, such as on a porch or in a garden, where they can sway gently in the wind. However, placing them indoors near a window also allows you to enjoy their beauty while remaining protected from weather elements.
Variations
Get creative with different designs. Consider using various materials, such as seashells or stones, to add different textures to your wind chimes. You can also try experimenting with different shapes, like stars or hearts, using a mold for a unique touch.
If you want to explore more about crafts that generate excitement and color, check out the guide on how to make easy glowing bug crafts.
FAQs
How long does it take to make DIY wind chimes?
Making DIY wind chimes can take anywhere from 30 minutes to 1 hour depending on the design complexity and your crafting speed.
What type of beads work best for wind chimes?
Glass beads tend to work best as they reflect light beautifully and have a nice sound when clinking against each other.
Can kids help with this project?
Yes! This craft is suitable for older children who can handle the beads and string, but adult supervision is recommended for younger kids to avoid choking hazards.
Why did my wind chimes not make sound?
If your wind chimes do not produce sound, ensure that the beads are strung loosely enough to allow movement and that they are hanging freely.
Can I use other items instead of beads?
Absolutely! You can use small bells, pieces of metal, or even shells to create variations in sound and visual appeal.
What should I do if the chimes break?
If your wind chimes break, reassemble them by replacing any damaged parts, or use the chance to redesign them with new beads and materials.
Conclusion
Creating DIY wind chimes with beads not only allows for a fun crafting experience but also results in beautiful decorations that enhance any space. For more crafty inspiration, explore these projects: Beaded DIY Wind Chimes and DIY Wind Chime Made From Recycled Marker Caps. Happy crafting!
Follow me on social for more recipe ideas & inspiration!
DIY Wind Chimes with Beads
Would you like to save this recipe?
By submitting you agree to receive this recipe and occasional emails. Unsubscribe anytime.
Materials
Main Materials
- various pieces Beads in various colors Choose glass beads for sparkle or wooden beads for a natural feel.
- 1 piece String or fishing line This will hold your beads together.
- 1 piece Sturdy ring or branch Used to hang the beads from.
- 1 piece Scissors Needed for cutting the string.
- optional pieces Glue, small bells Bells can add a delightful jingle.
Instructions
Steps
- Cut the string to the desired length for your wind chimes.
- Thread beads onto each piece of string, mixing colors and patterns as desired.
- Tie a knot at the end of each string to secure the beads in place.
- Use another piece of string to tie each beaded string to the ring or branch, spacing them evenly.
- Finally, tie a longer piece of string to the top of the ring or branch for hanging.
Last Step: Don’t forget to leave a rating and comment below! It helps other readers find the best recipes — and it helps us too!
Tips & Notes:
Nutrition Information: Serving: 1 | Calories: | Carbohydrates: | Protein: | Fat: | Sodium: | Fiber: | Sugar:
Nutritional information is provided as a courtesy and calculated automatically. Values can vary depending on the brands and ingredients you use, so if you’re tracking closely, I recommend calculating with your own preferred tool.