The Walking Rainbow Paper Tree captures attention with its vibrant colors and playful design. Watching the colors travel up the paper towels is a delightful experience. This project transforms simple materials into a stunning decoration that can brighten any room. Let’s explore how to make your own Walking Rainbow Paper Tree! You may also find Haunted Tree Of Rainbow Crystals A Spooky Mystery useful.
What Makes This Work
The magic of the Walking Rainbow Paper Tree lies in capillary action, which allows water to move through the paper towels. This process pulls the ink from the markers up into the towel, creating beautiful patterns as the colors blend. This project is not only fun but also serves as a great way to learn about how liquids travel through different materials. You may also find Haunted Tree Rainbow Crystals Spooky Mystery useful.
Materials
To begin, gather the following supplies:
- Paper towels
- Washable markers
- Cups
- Water
- Cardboard trunk
- Glue
Having these materials ready will make the process smooth and enjoyable. You can find similar projects, such as the Rainbow Crystal Trees, to inspire your creativity.
Steps
Prepare Your Work Area: Start by organizing your materials and clearing a space to work. It is essential to protect your surface since water and markers can create a mess.
Draw on the Paper Towels: Use washable markers to draw bright bands of color on folded paper towels. Make sure to create a variety of colors to achieve a beautiful blend. Once you’re done, carefully place the ends of the paper towels into cups filled with water. Watch closely as you see the colors travel and blend together!
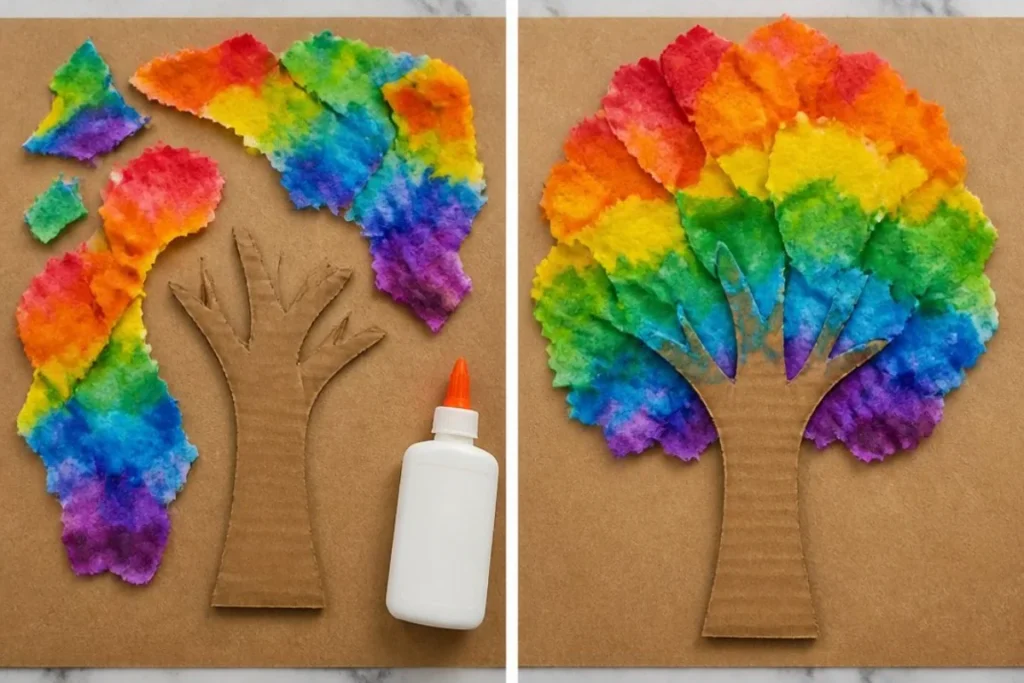
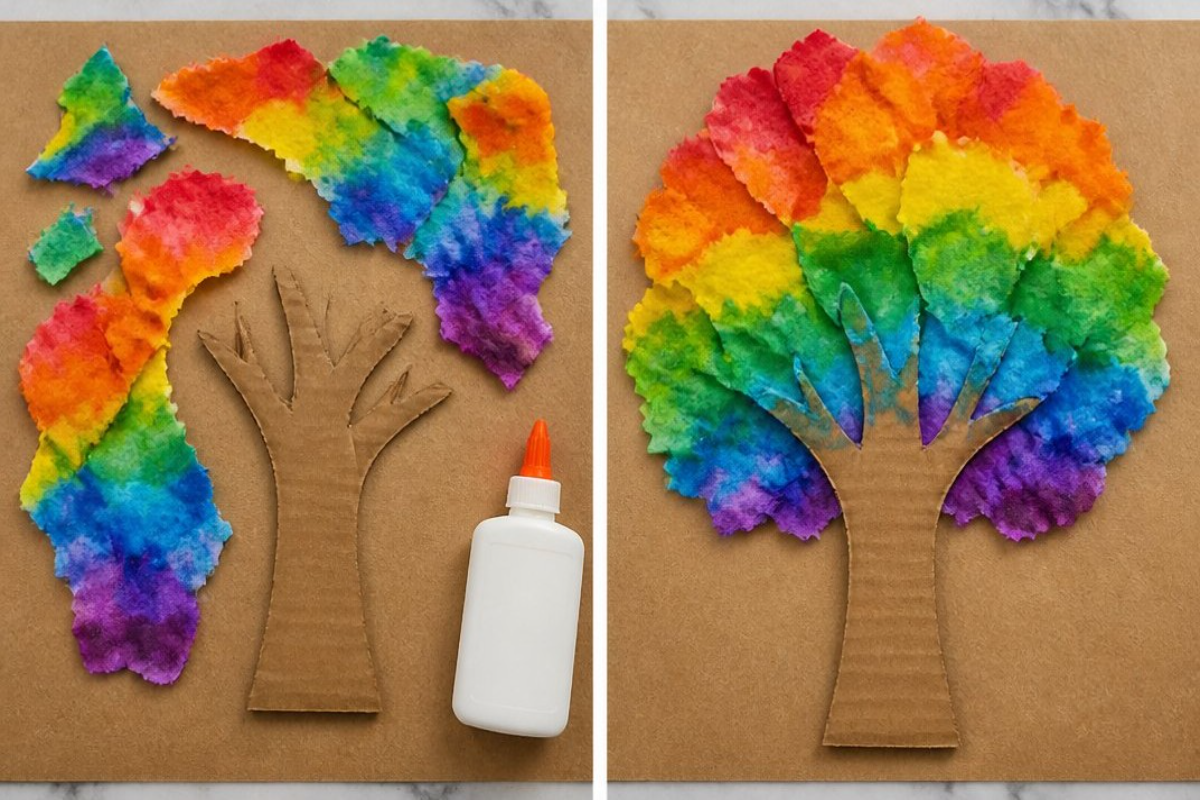
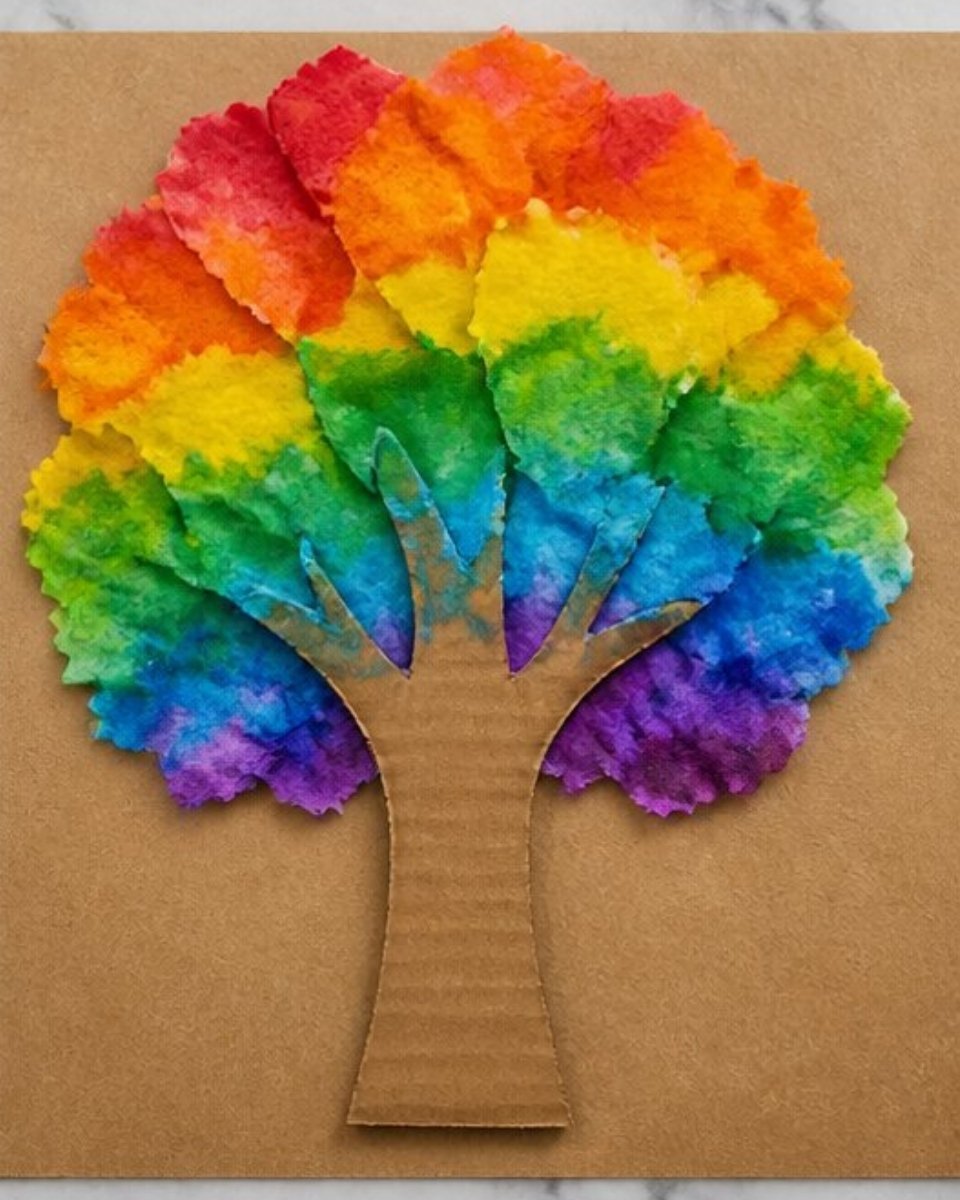
Create Leafy Shapes: When the paper towels are dry, tear them into leafy shapes. These will become the vibrant leaves of your tree. Use glue to attach the leafy shapes around a cardboard trunk, ensuring to cover it fully for a lush look.
Final Touches: Once everything is securely attached, allow your tree to dry completely. Ensure that there is no tackiness left; this will help your tree look finished and ready for display.
What Goes Wrong and How to Fix It
Sometimes, the colors might not blend as you expected. This can happen if you don’t dip the paper towels deep enough into the water. Make sure the ends have constant contact with the water. If your colors seem dull, try using more vibrant markers. Another common issue is if the leaves don’t hold their shape well; drying them flat can help maintain their form.
Where to Display It
The Walking Rainbow Paper Tree makes a unique addition to any space. Consider placing it on a windowsill where sunlight can bring out its colors. Alternatively, it will add charm to a child’s room or a creative workspace. If you love colorful projects, you might also enjoy creating a Crystal Rainbow Butterfly Tree to complement your tree.
Variations
You can customize your Walking Rainbow Paper Tree. Experiment with different shapes for the leaves or use various colors to explore different aesthetics. For a seasonal touch, create trees adorned with autumn hues or pastel shades for spring. Check out Vibrant Garden Decor for more ideas.
FAQs
How long will this project take?
Creating your Walking Rainbow Paper Tree can take about 1–2 hours, depending on how intricate your designs are.
Can kids help with this project?
Absolutely! Kids can draw on the paper towels and help glue the leaves to the trunk. Just supervise them when handling water to avoid spills.
How can I make the colors more vibrant?
Using more saturated washable markers and ensuring they are drawn on thickly will produce bolder colors.
What if the paper towels tear during the project?
If they tear, you can always find another piece of paper towel to replace it. Just ensure there are still enough leaves to cover your trunk.
How long will the tree last?
If stored in a dry place and kept away from moisture, your tree can last for a long time. However, it might fade over time.
Can I use other materials for the trunk?
Yes, feel free to use any sturdy material for the trunk, like a soda bottle or a wooden stick, to give your tree a unique look.
Conclusion
Making a Walking Rainbow Paper Tree is a delightful project that showcases creativity and science. For additional outdoor fun, consider exploring A Self-Guided Walking Tour of Charleston, South Carolina. For more exciting science experiments, visit Easy Grow a Rainbow on Paper Towel Experiment – Mombrite. Happy crafting!
Follow us on social for more DIY ideas & inspiration!
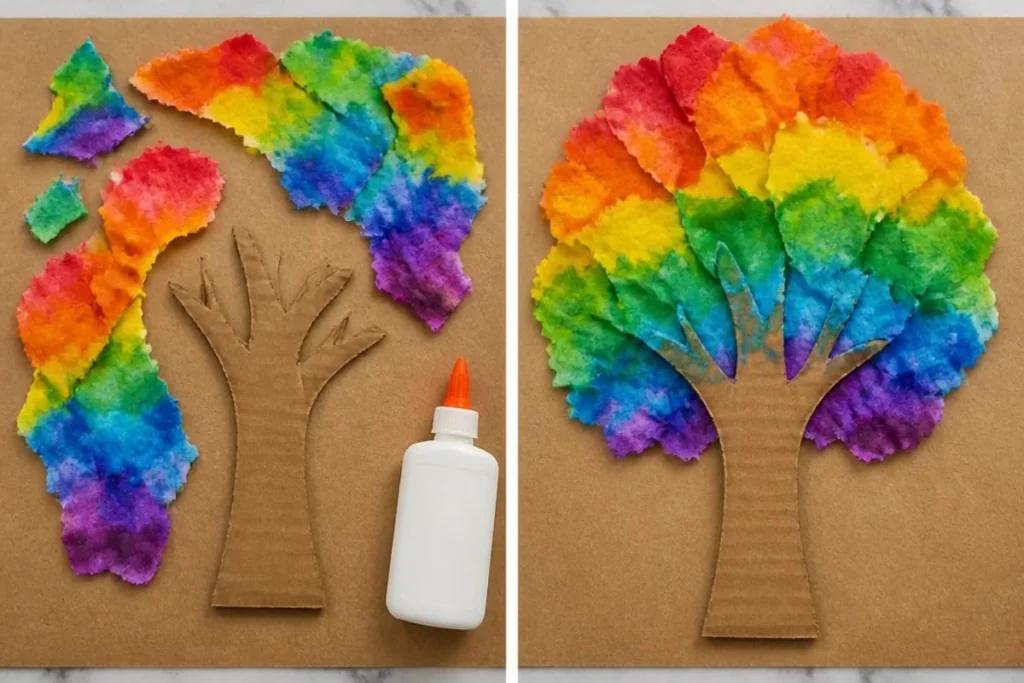
Walking Rainbow Paper Tree
Would you like to save this project?
By submitting you agree to receive this project and occasional emails. Unsubscribe anytime.
Materials
Materials
- 1 pack Paper towels
- 5 pieces Washable markers Different colors for blending
- 3 cups Water For soaking the paper towels
- 1 piece Cardboard trunk Can substitute with other sturdy materials
- 1 package Glue For attaching leaves to the trunk
Directions
Preparation
- Prepare Your Work Area: Start by organizing your materials and clearing a space to work. Protect your surface since water and markers can create a mess.
- Draw on the Paper Towels: Use washable markers to draw bright bands of color on folded paper towels. Create a variety of colors for a beautiful blend. Carefully place the ends of the paper towels into cups filled with water and observe how the colors travel and blend together.
- Create Leafy Shapes: Once the paper towels are dry, tear them into leafy shapes to become the leaves of your tree. Use glue to attach the leafy shapes around the cardboard trunk, ensuring to cover it fully for a lush look.
- Final Touches: Allow your tree to dry completely to ensure no tackiness is left, making it ready for display.
Last Step: Don’t forget to leave a rating and comment below! It helps other readers find the best DIY projects — and it helps us too!