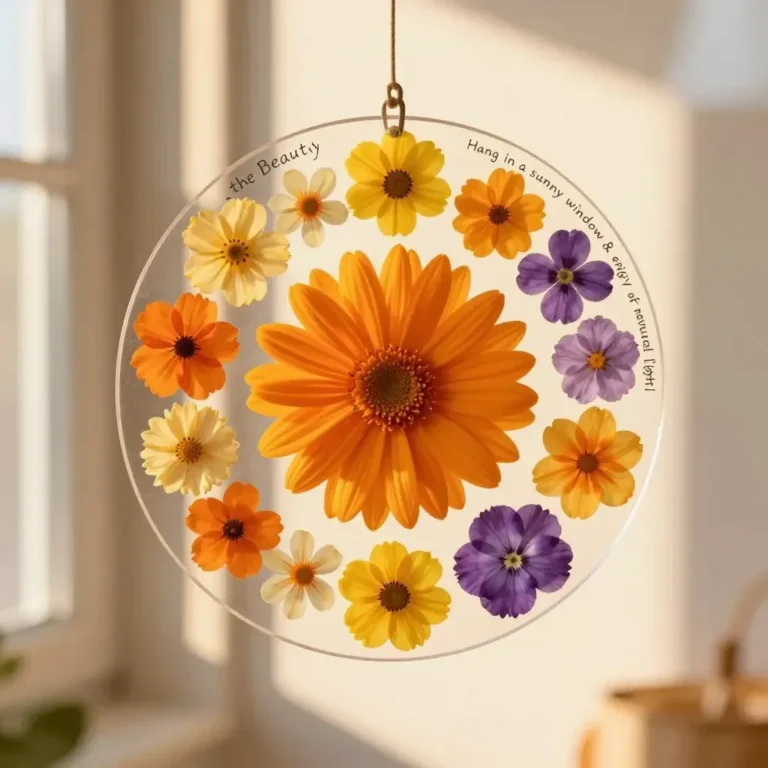
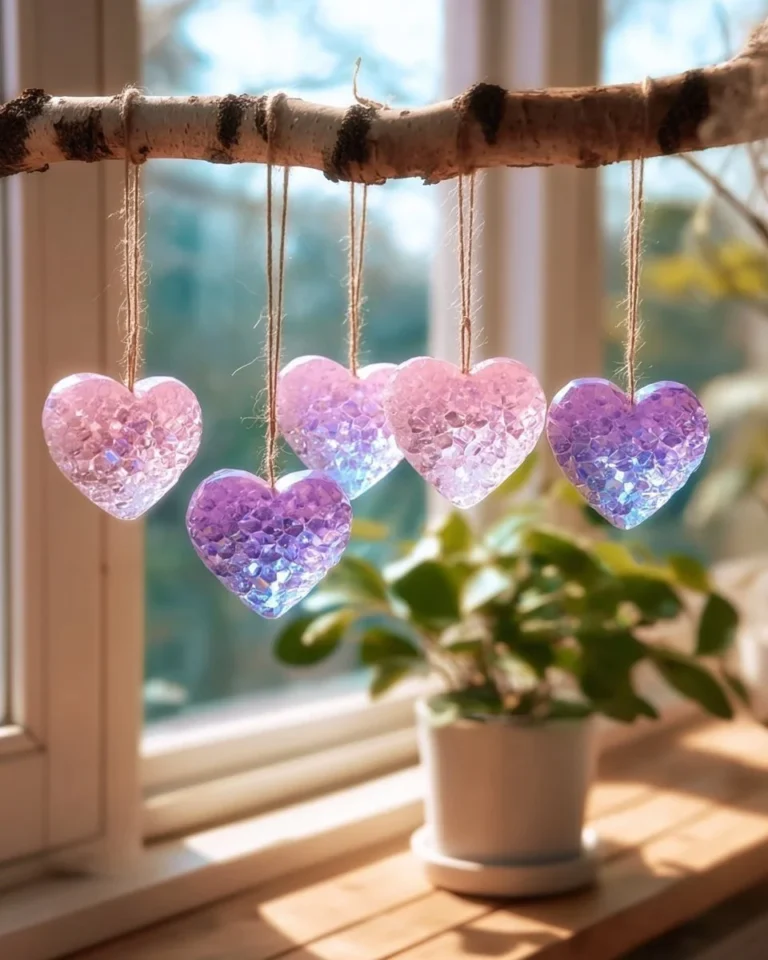
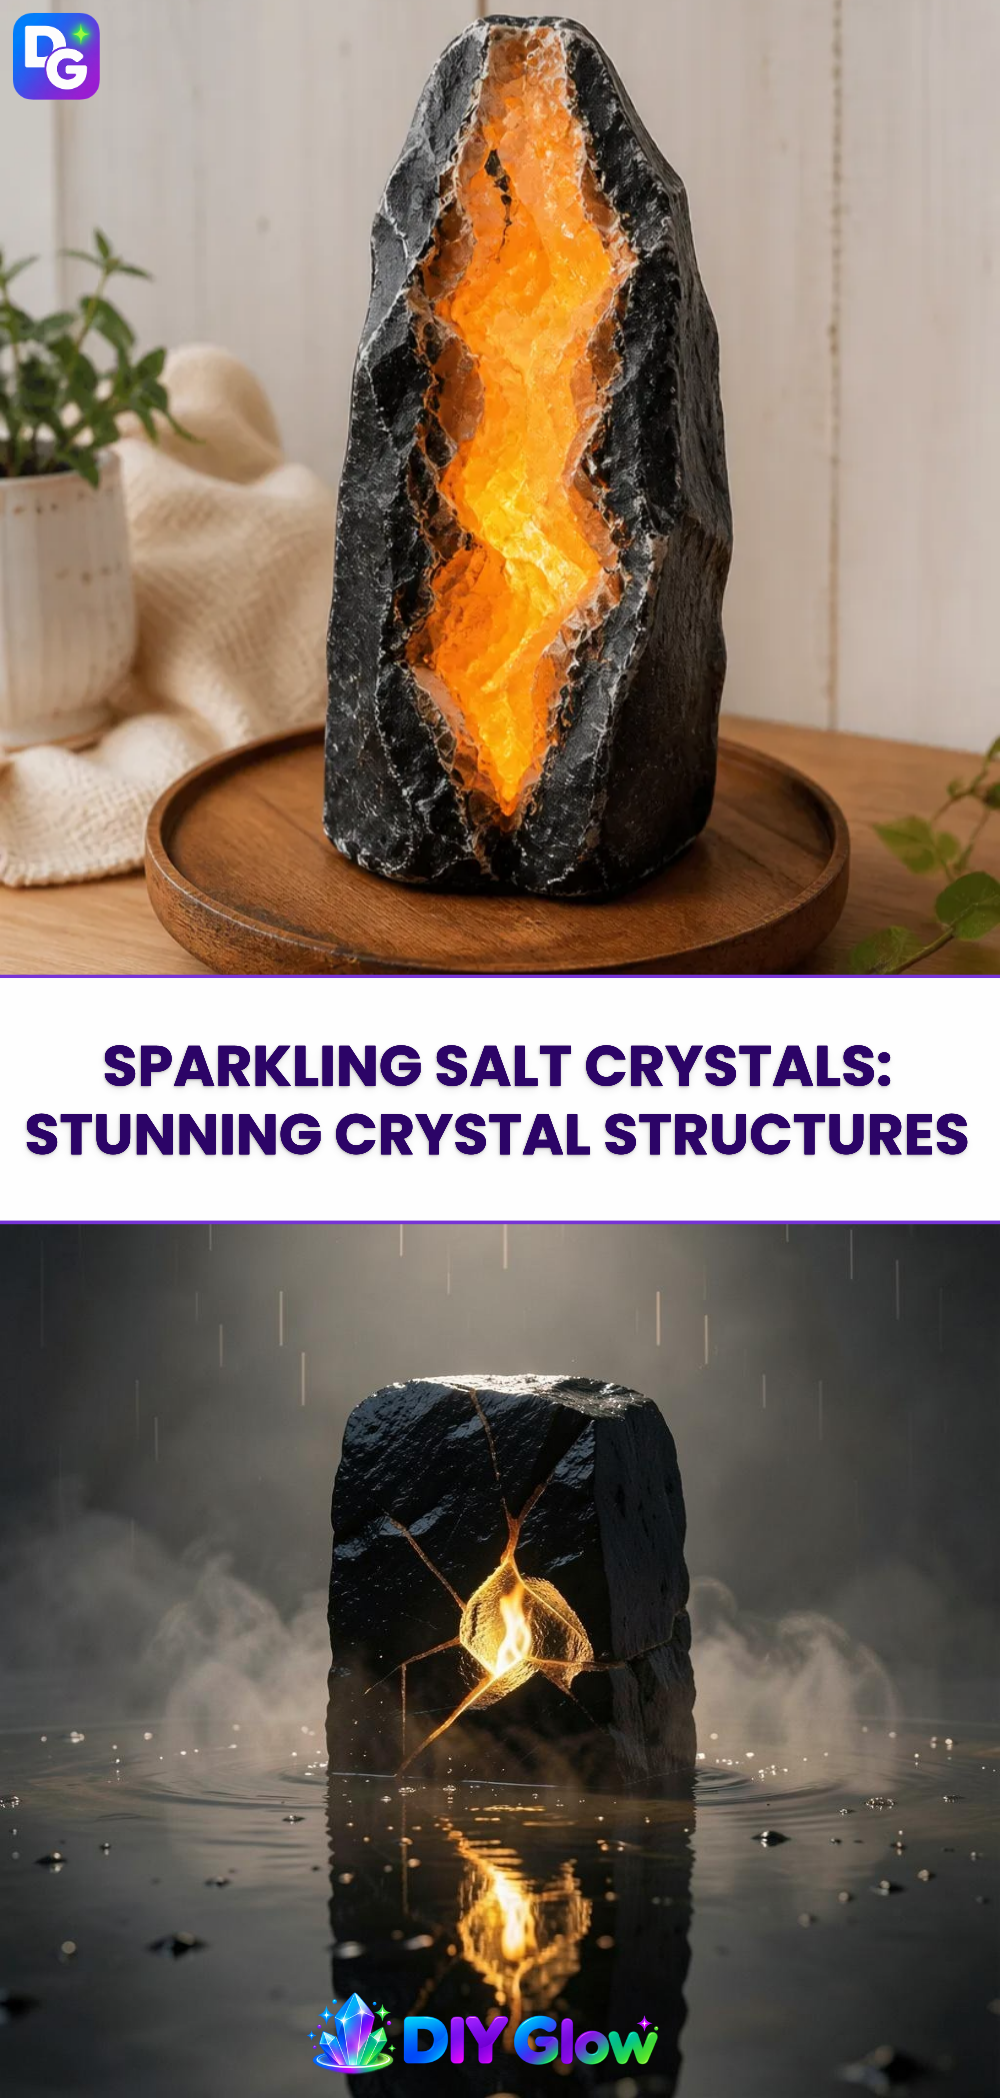
Sparkling Salt Crystals: Stunning Crystal Structures create a captivating visual display with shimmering colors and textures. You will see these crystals transform as they grow, creating a beautiful piece that can enhance any shelf or window. This project is not only fun but also incorporates the wonders of science as you watch the crystals develop. You may also find Diy Baking Soda Crystal Structures useful.
What Makes This Work
The process of growing salt crystals relies on evaporation. When salt is dissolved in water, the solution becomes saturated. As water evaporates, salt molecules come together and form solid crystals. Watching this transformation is fascinating and educational for anyone involved. You may also find Galaxy Crystal Seashells Sparkling Colors useful.
Materials
To create your own Sparkling Salt Crystals, gather the following materials: You may also find Salt Volcano Stunning Lava Effect In A Jar useful.
- Table salt
- Hot water
- Clear container (like a jar or glass)
- A spoon
- String or yarn
- A pencil or stick
- Optional: food coloring for added visual appeal
Steps
Prepare the Salt Solution: In a clear container, dissolve as much salt as possible in hot water. Stir well until the salt no longer dissolves. This indicates you have a saturated solution.
Add Color (Optional): If you want colorful crystals, add a few drops of food coloring to the solution. Stir gently to mix.
Set Up the Crystal Growing Environment: Tie a string to a pencil or stick. Place the pencil across the top of the container, letting the string hang into the salt solution. Ensure it does not touch the bottom.
Let it Sit: Place the container in a warm, undisturbed spot. Over time, crystals will begin to form along the string and at the bottom of the container.
Observe the Changes: Check the container daily. You will notice the crystals forming, changing in structure and size. The texture will become rough, and the surface will no longer appear tacky.
What goes wrong during this process? Sometimes, the solution may not yield crystals. This could happen if the water evaporates too quickly or if the solution was not fully saturated. If this happens, simply add more salt to the water and repeat the process.
Where to Display It
Once your Sparkling Salt Crystals are fully formed, they can be showcased in numerous ways. Place them in your bedroom, on a windowsill, or as part of a decorative arrangement. Their shimmering surfaces catch the light beautifully and will be a conversation starter.

Variations
If you want to experiment with different types of crystals, consider exploring other projects. You could try your hand at Stunning Salt Crystals: Natural Crystal Beauty or Easy Galaxy Crystal Seashells: Sparkling Color. Each project offers unique results and learning opportunities.
FAQs
How long does it take for crystals to form?
Crystals usually begin to develop within a few hours. However, for full growth, you might need to wait several days to a week, depending on the conditions.
Can I use different types of salt?
Yes, but common table salt works best for this project. Other salts may behave differently, affecting the final appearance of the crystals.
What if my crystals don’t grow?
If your crystals fail to form, ensure the salt solution is saturated and that the container is in a warm place. Adding more salt can help restart the process.
Is it safe for kids?
Yes, but adult supervision is recommended, especially during the hot water step. Ensure children do not handle sharp materials while tying the string.
How do I store the crystals?
To keep your crystals intact, store them in a dry, cool place away from direct sunlight. Excess moisture can dissolve them.
Can I use different containers?
Absolutely! Different shapes and sizes of containers can yield varying crystal formations. Experimenting adds to the fun.
Conclusion
Creating Sparkling Salt Crystals: Stunning Crystal Structures is an exciting way to explore science with a hands-on project. Not only do you get to watch science in action, but you also gain a beautiful decorative item for your space. For more insights on crystal growth, check out this article on How to Grow Sodium Chloride Crystals at Home – Crystalverse. Consider adding extra fun with projects like Geode Bath Bombs: How to Make Bath Fizzies with Crystals Inside to expand your DIY adventures!
Follow us on social for more DIY ideas & inspiration!
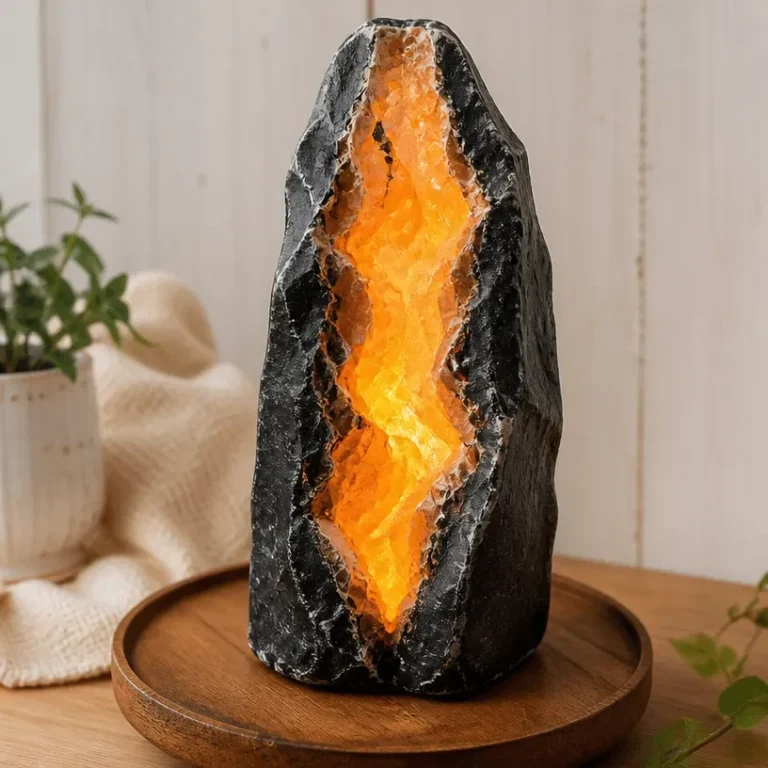
Sparkling Salt Crystals
Would you like to save this project?
By submitting you agree to receive this project and occasional emails. Unsubscribe anytime.
Materials
Materials for Crystal Growth
- 1 cup Table salt Common table salt works best.
- 1 cup Hot water Use as much hot water as required to dissolve the salt.
- 1 unit Clear container (like a jar or glass) To hold the salt solution.
- 1 unit A spoon For stirring the solution.
- 1 unit String or yarn Used to allow crystals to form.
- 1 unit A pencil or stick To secure the string in place.
- few drops unit Food coloring (optional) For added visual appeal.
Directions
Preparation
- In a clear container, dissolve as much salt as possible in hot water. Stir well until the salt no longer dissolves.
Color Addition (Optional)
- If you want colorful crystals, add a few drops of food coloring to the solution. Stir gently to mix.
Setting Up
- Tie a string to a pencil or stick. Place the pencil across the top of the container, letting the string hang into the salt solution without touching the bottom.
Crystal Growth
- Place the container in a warm, undisturbed spot. Over time, crystals will begin to form along the string and at the bottom of the container.
Observation
- Check the container daily. You will notice the crystals forming, changing in structure and size.
Last Step: Don’t forget to leave a rating and comment below! It helps other readers find the best DIY projects — and it helps us too!