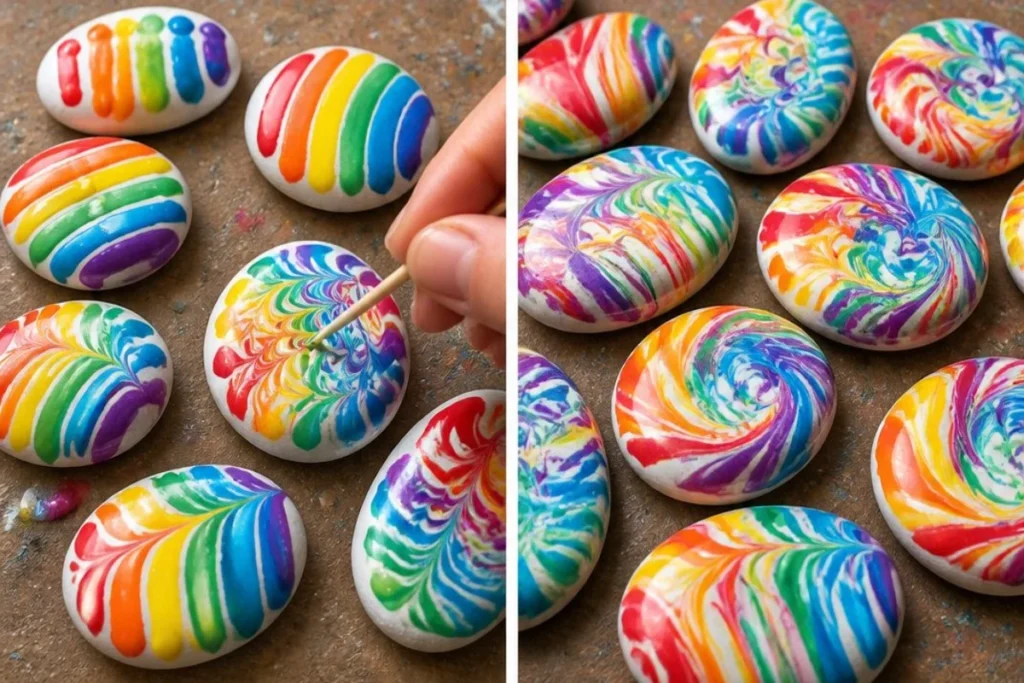
Rainbow Swirl Stones bring vibrant colors to any space, catching the eye with their beautiful marbled patterns. They make a delightful craft project for families, allowing creativity to shine as you use simple materials to create something stunning. This project involves painting flat stones and using a few techniques to achieve a whimsical, rainbow-colored finish. You may also find Back To School Rainbow Pencil Bouquet useful.
Creating Rainbow Swirl Stones not only is enjoyable but also allows you to explore color mixing and design. Using flat stones and basic craft supplies, you can achieve a stunning result that serves as a decorative piece on a shelf or in a garden. With just a bit of time and effort, you will have colorful stones that brighten up your surroundings. You may also find Baking Soda Rainbow Crystal Forest Rainbow Crystals useful.
What Makes This Work
When you apply white paint to the stones first, it creates a bright base that enhances the appearance of the rainbow colors. The slightly wet paint allows the different hues to blend beautifully, leading to a unique marbled effect. This project showcases how colors interact and merge, creating patterns that are always one-of-a-kind. You may also find Baking Soda Rainbow Crystal Forest useful.
Materials
To create Rainbow Swirl Stones, you’ll need the following materials: You may also find Bioplastic Suncatchers Colorful Swirls Recipe useful.
- Flat stones
- White acrylic paint
- Rainbow acrylic paints
- Small brushes
- Toothpicks
- Clear varnish
Steps
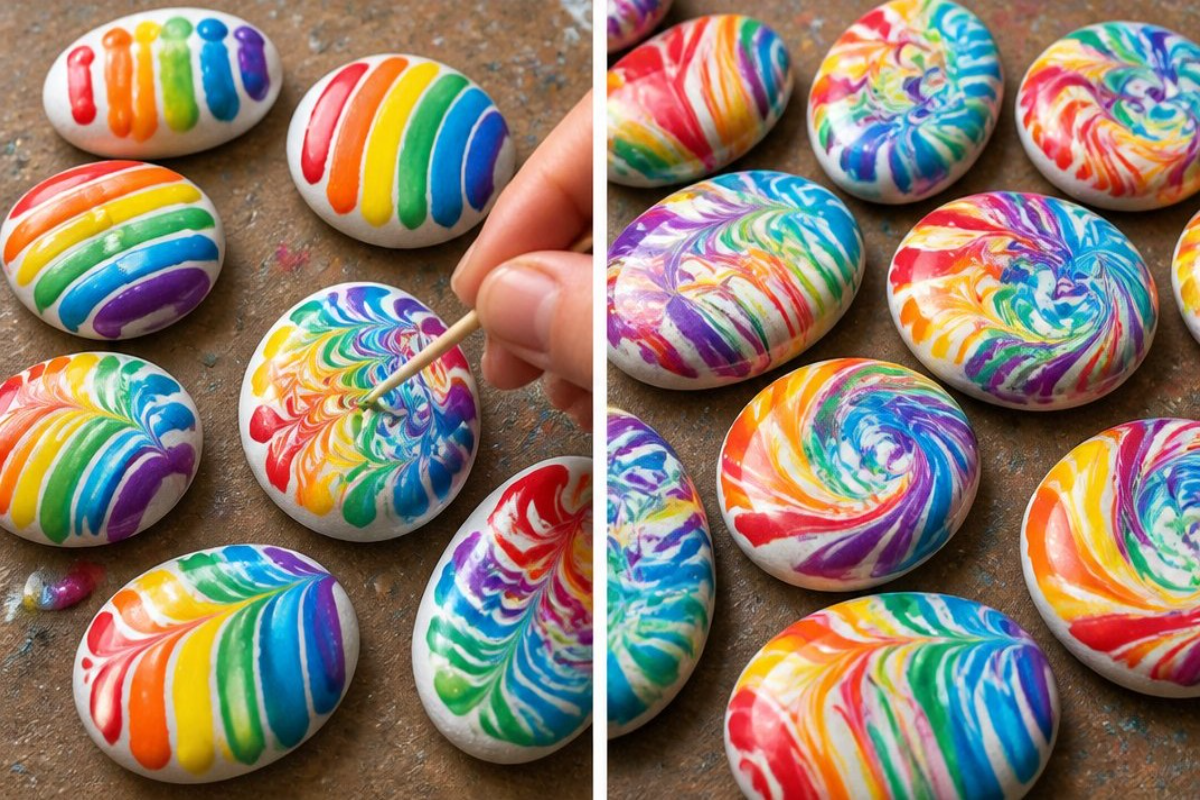
Paint the Base
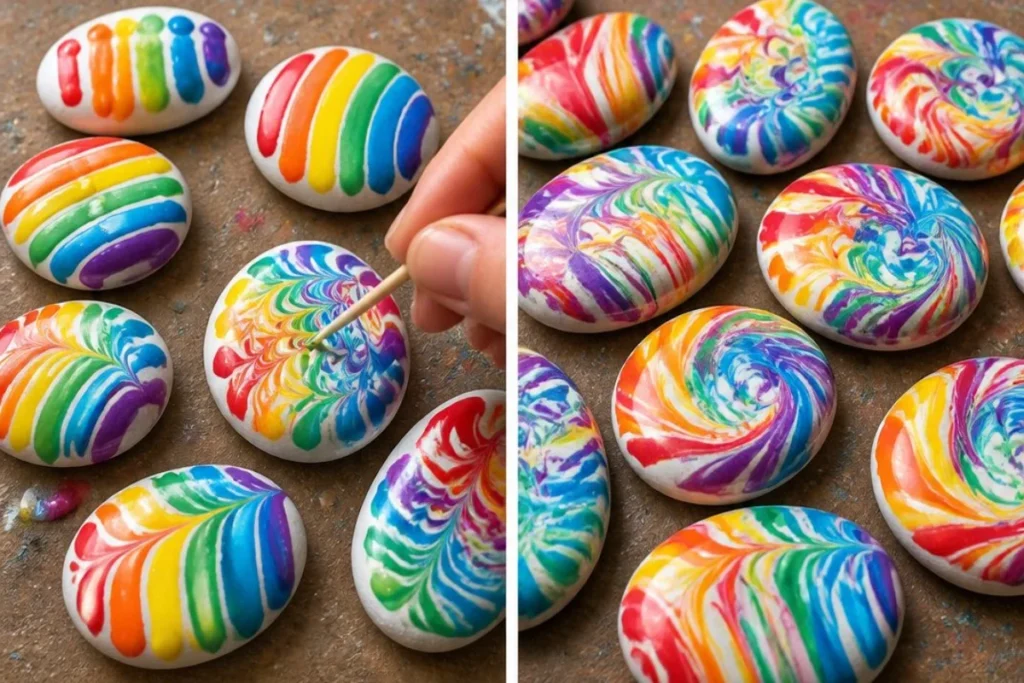
Start by painting each stone white and let them dry completely. This white base will make your rainbow colors pop.Add Colors
Once the stones are dry, add dots or bands of rainbow colors to the stones while they are still slightly wet. This will allow the colors to blend better.Swirl the Colors
Use a toothpick to swirl the colors together, creating a lovely marbled effect. Look for the bright, swirling patterns that appear as you mix.Seal the Finish
Allow the stones to dry thoroughly and then seal them with clear varnish for a shiny finish. This not only protects the paint but also gives the stones a smooth, glossy look.
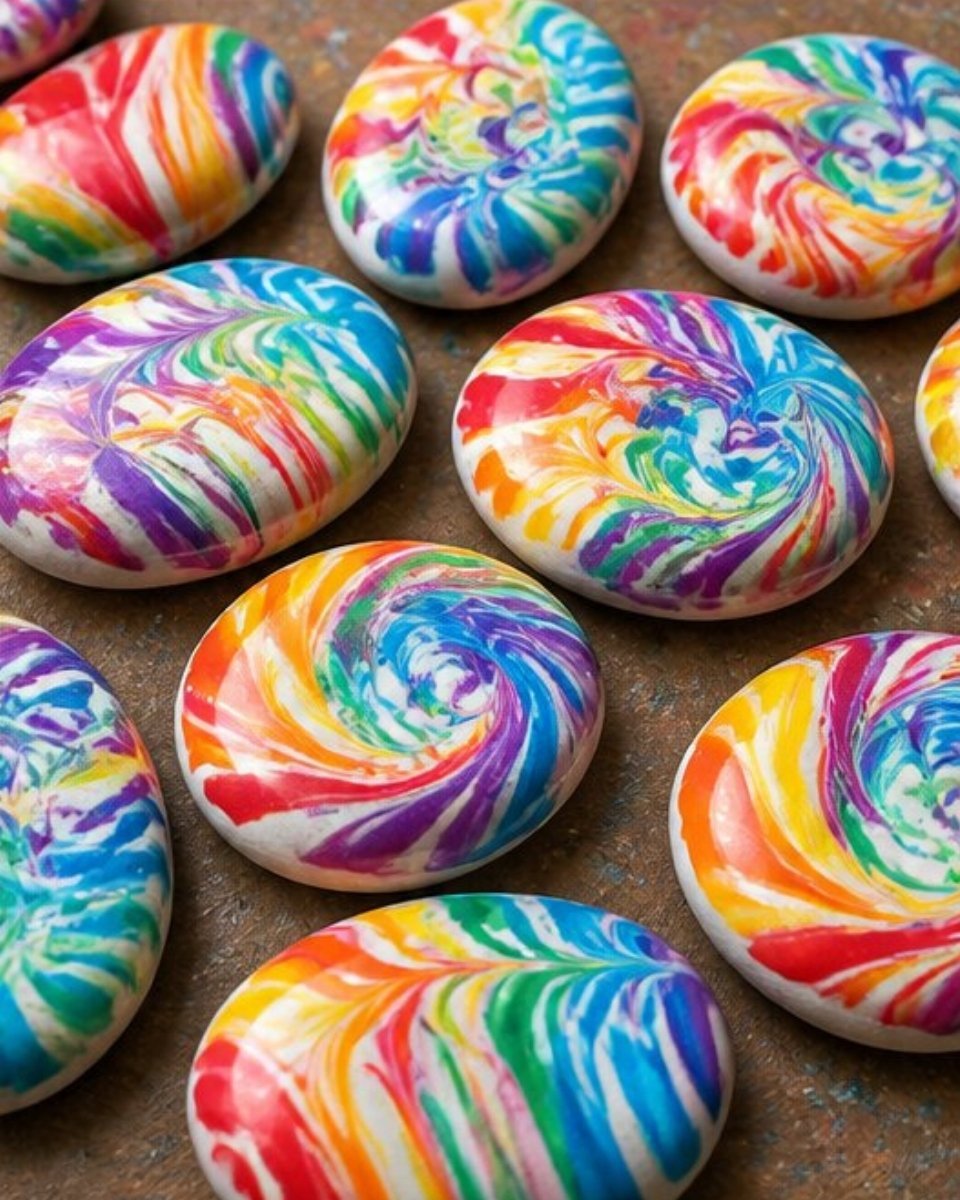
When it comes to the swirled colors, you will notice exquisite variations that emerge as they blend. Each stone will be uniquely different, adding charm to your collection.
What Goes Wrong and How to Fix It
Sometimes, the colors may mix too much or not enough, leading to muddied effects or clear lines. If you find the colors don’t blend as beautifully as you’d like, try using less paint or working more quickly before the colors dry. If the finish is not as smooth as expected, applying a second coat of varnish can help achieve a better look.
Where to Display It
Rainbow Swirl Stones can brighten up any space. They are perfect for indoor decoration, such as on a windowsill, or as part of outdoor gardens. Their vibrant colors reflect light beautifully, making them wonderful conversation starters.
Variations
You might also get creative with the shapes and sizes of the stones. Larger flat stones could serve as door stops, while smaller ones might be excellent for centerpieces. Consider incorporating different colors, such as pastels or metallics, to create a unique look. For another creative project, you might explore making aromatic room stones for a fragrance option.
FAQs
Can I use different types of paint?
Yes, you can use brands that are suitable for outdoor use if you plan to display your stones outside.
Why didn’t my colors mix well?
If your colors did not mix, it might be because they dried too quickly. Make sure to work with slightly wet paint for blending.
How long does it take for the stones to dry?
The drying time can vary based on the paint used, but generally, it takes about 30 minutes to an hour for the first layer.
Can children help with this project?
Absolutely! It’s a great activity for kids, but be sure to supervise with the paint and varnish to keep things safe.
What if I don’t have flat stones?
You can use rounded or irregular stones; just keep in mind they may affect the overall design.
How do I clean up after this project?
Clean brushes and tools with soap and water before the paint dries to ensure they can be reused in the future.
Conclusion
Creating Rainbow Swirl Stones is not just a fun craft; it also enhances your space with color and personality. For those looking for additional decorative options, you might consider checking out custom glass worry stones or the vibrant rainbow swirl glass marbles available online. Embrace the joy of crafting and watch your creativity shine!
Follow us on social for more DIY ideas & inspiration!
Rainbow Swirl Stones
Would you like to save this project?
By submitting you agree to receive this project and occasional emails. Unsubscribe anytime.
Materials
Materials
- Flat stones Flat stones
- White acrylic paint White acrylic paint For the base coat
- Rainbow acrylic paints Rainbow acrylic paints Various colors for marbling
- Small brushes Small brushes For painting the stones
- Toothpicks Toothpicks For swirling colors
- Clear varnish Clear varnish To seal the finished stones
Directions
Preparation
- Start by painting each stone white and let them dry completely. This white base will make your rainbow colors pop.
- Once the stones are dry, add dots or bands of rainbow colors to the stones while they are still slightly wet. This will allow the colors to blend better.
- Use a toothpick to swirl the colors together, creating a lovely marbled effect. Look for the bright, swirling patterns that appear as you mix.
- Allow the stones to dry thoroughly and then seal them with clear varnish for a shiny finish. This not only protects the paint but also gives the stones a smooth, glossy look.
Last Step: Don’t forget to leave a rating and comment below! It helps other readers find the best DIY projects — and it helps us too!