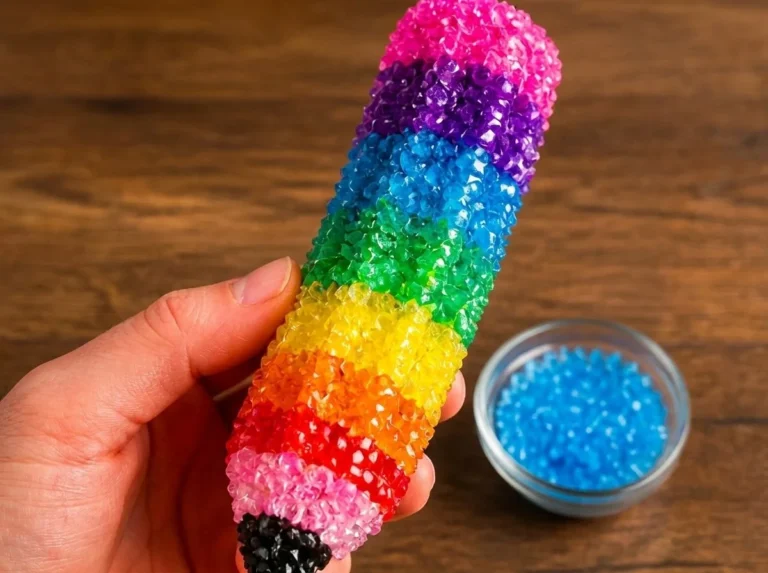
Rainbow Rocks are a delightful craft project that combines art and nature. As you paint the rocks with bright colors, the transformation creates a cheerful addition to your space. You will notice the smooth surface becoming vibrant as each layer dries and comes together. This project invites creativity while offering endless possibilities for display. You may also find Baking Soda Rainbow Crystal Forest Rainbow Crystals useful.
What Makes This Work
The beauty of creating Rainbow Rocks comes from the layering of colors. Each hue reflects light differently, adding a mesmerizing sparkle to your finished piece. The paint you choose will ultimately dictate how well the colors blend and stand out against each other. To get started, gather your materials and watch how they come together. You may also find Baking Soda Rainbow Crystal Forest useful.
Materials
To create your Rainbow Rocks, you will need the following materials:
- Smooth river rocks
- Acrylic paints in red, orange, yellow, green, blue, and purple
- Paintbrushes
- Water cup for rinsing brushes
- Clear outdoor sealer for protection
Prepare yourself for a fun journey of colors. You might find it helpful to see how others have tackled similar projects, like making colorful flower garden rocks.
Steps
Wash and Dry the Rocks: Start by washing and drying the rocks thoroughly. This process ensures that your paint will adhere properly. Look for any remaining dirt or dust that could affect the paint’s wear.
Paint the Rainbow: Using your paintbrush, apply curved rainbow bands across each rock. It’s important to let each color dry slightly before adding the next. This technique will create crisp edges and enhance the overall appearance. Observe how the colors brighten as they layer.
Add Charm: If you’d like, incorporate small clouds, dots, or other designs for extra charm. These details can make your rocks feel more personalized. Consider how textures will enhance the visual appeal when the light catches them.
Seal the Rocks: After allowing the rocks to dry completely, coat them with a clear outdoor sealer for protection. Look for the sealer to dry clear and shiny; this will ensure durability against the elements if displayed outside.

What Goes Wrong and How to Fix It
Sometimes, the colors may not blend well, or they might appear dull once dry. If this happens, try applying a second coat of paint after the first concludes drying. This step can enhance vibrancy. Additionally, if the paint chips or scratches, a touch-up will help maintain the cheerful look.
Where to Display It
You can showcase your Rainbow Rocks in a variety of settings. Consider placing them in your garden, on your patio, or as paperweights on your desk. Their cheerful colors can brighten up any area. If you’re looking for more decorative ideas, try creating a rainbow pencil bouquet for your workspace.

Variations
Experimenting with alternate colors or patterns will expand your creative options. You might consider monochromatic shades or using glitter paint for added sparkle. Looking for different ways to explore color? Check out rainbow crystal projects that utilize a variety of colorful materials.
FAQs
How long does it take for the paint to dry on Rainbow Rocks?
The drying time depends on the thickness of the paint layers and humidity levels. Generally, it takes a few hours for the top layer to become touch-dry.
What paint is best for outdoor use?
Acrylic paint is effective for outdoor projects. However, ensure that your sealer is also suitable for outdoor conditions to enhance durability.
Can children help with this project?
Yes, children can participate! Supervise them when using paints and provide guidance to ensure they enjoy the process.
What can I do if my paint is not sticking?
Make sure that the rocks are thoroughly washed and dried. Using a primer meant for stones can also improve paint adhesion.
How can I keep my rainbow rocks looking fresh?
Store them in a cool place out of direct sunlight when not displayed. Regularly touch up with the same colors if they start to fade.
Can I use other types of rocks?
Smooth river rocks work best, but you can experiment with other types like flat stones. Just ensure they have a clean surface for painting.
Conclusion
Creating Rainbow Rocks is a wonderful way to bring color and creativity into your life. It’s a project that can be enjoyed by people of all ages. For those interested in similar colorful themes, you might want to explore My Little Pony: Equestria Girls – Rainbow Rocks for inspiration or find additional insights on the Equestria Girls series. Enjoy your crafting adventure!
Follow us on social for more DIY ideas & inspiration!

Rainbow Rocks
Would you like to save this project?
By submitting you agree to receive this project and occasional emails. Unsubscribe anytime.
Materials
Materials
- 5 pieces Smooth river rocks Choose medium to large sized rocks for best results.
- 6 colors Acrylic paints in red, orange, yellow, green, blue, and purple Select high-quality acrylic paints for better blend and vibrancy.
- 1 set Paintbrushes Different sizes for more precise painting.
- 1 cup Water cup for rinsing brushes Use clean water to ensure no color contamination.
- 1 bottle Clear outdoor sealer Ensure it's suitable for outdoor use to protect your rocks.
Directions
Preparation
- Wash and dry the rocks thoroughly to ensure paint adherence.
Painting
- Using a paintbrush, apply curved rainbow bands across each rock. Let each color dry slightly before adding the next.
Decorating
- Incorporate small clouds, dots, or other designs for extra charm.
Sealing
- After the rocks dry completely, coat them with a clear outdoor sealer.
Last Step: Don’t forget to leave a rating and comment below! It helps other readers find the best DIY projects — and it helps us too!