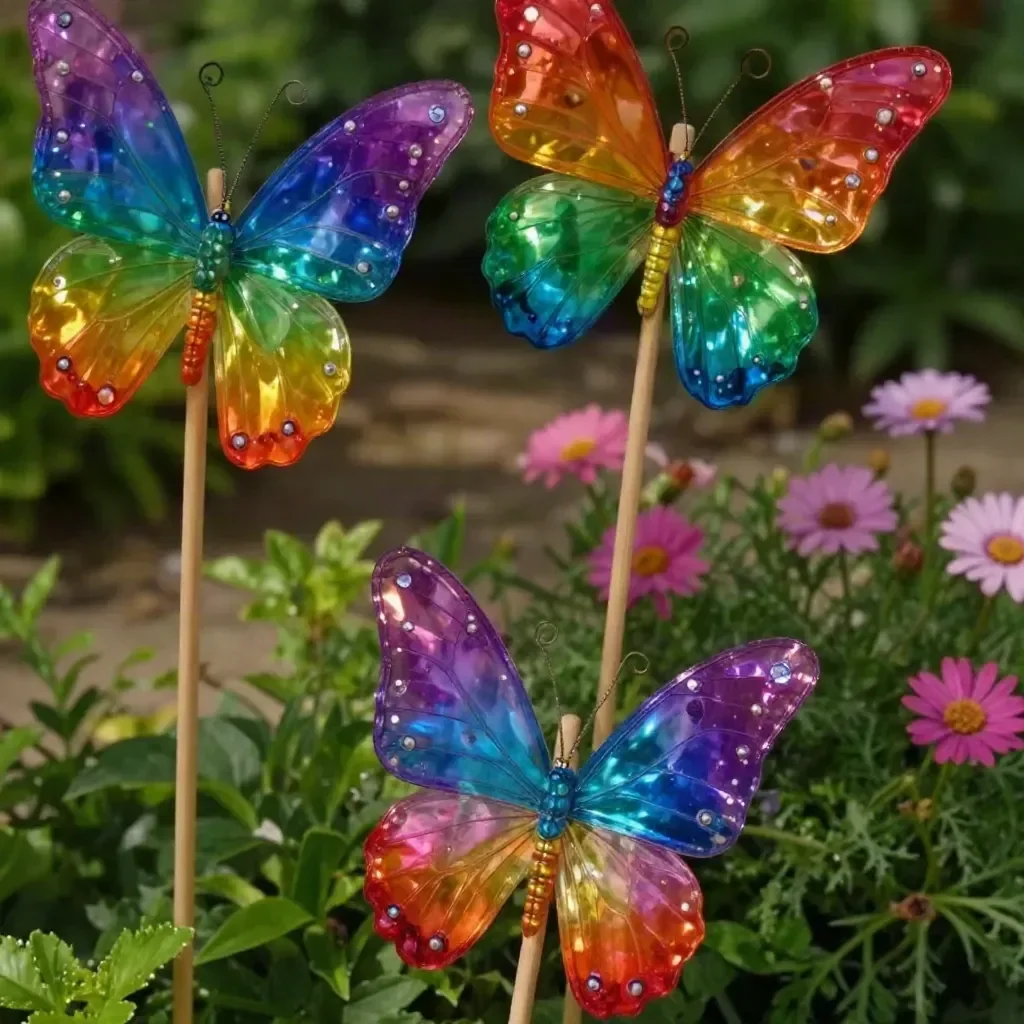
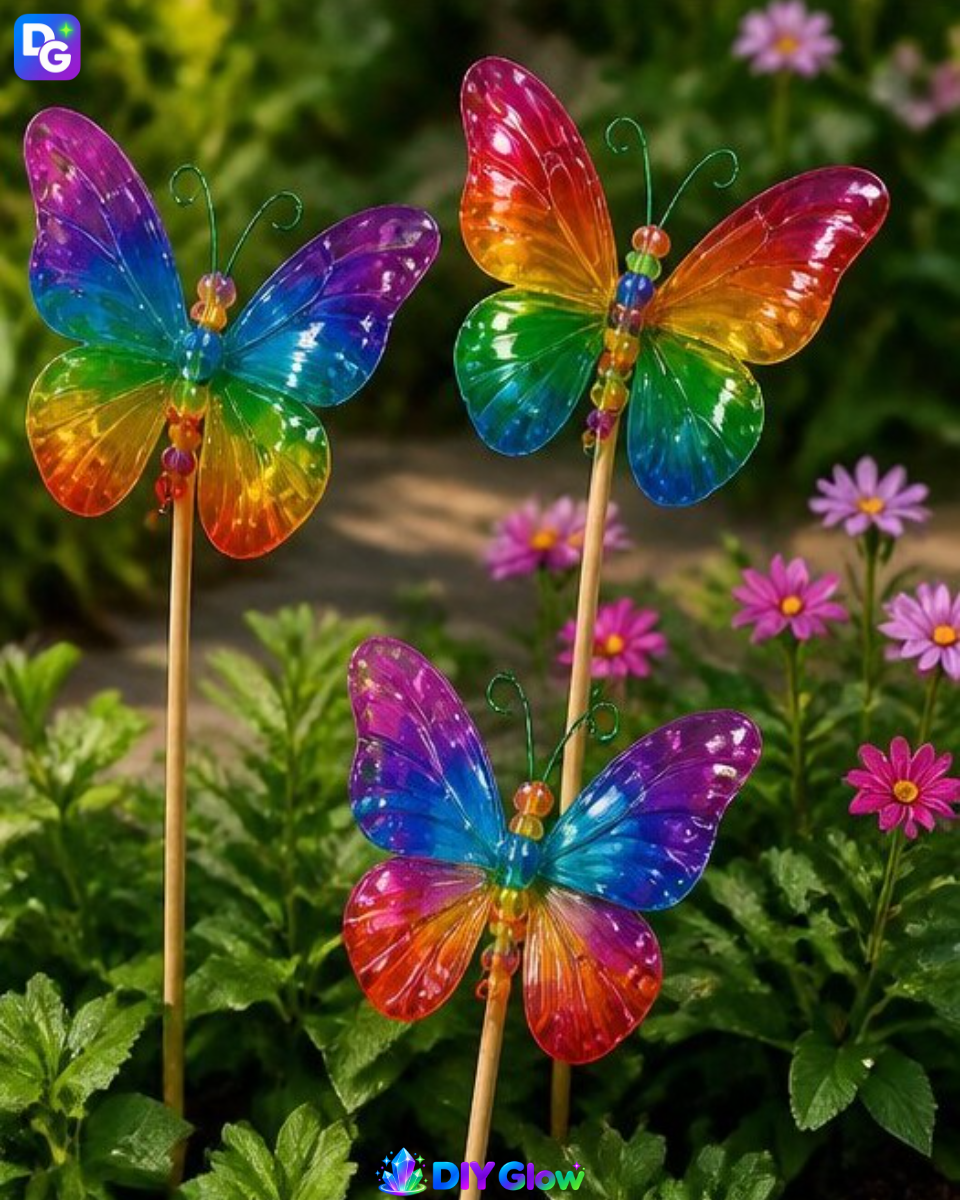
The colorful transformation of clear plastic bottles into vibrant Rainbow Butterfly Stakes Made from Recycled Bottles is truly captivating. Once completed, these butterflies shimmer in the sunlight, making them a delightful addition to any garden or window. This project is not only fun to make but also provides a brilliant way to recycle plastic bottles. You may also find Crystal Rainbow Butterfly Tree Garden Decor useful.
What Makes This Work
Using translucent rainbow paint brings life to the wings of your butterflies. As you apply the paint, you’ll notice the colors blend beautifully, creating a mesmerizing effect. This project encourages creativity and offers a practical use for items that would otherwise go to waste. You may also find Crystal Rainbow Butterfly Tree Vibrant Garden Decor useful.
Materials
You will need the following supplies to create your Rainbow Butterfly Stakes Made from Recycled Bottles: You may also find Rainbow Butterfly Jar Stained Glass Home Decor useful.
- 2 clear plastic bottles
- Translucent rainbow paint (or any colors you prefer)
- Colorful beads
- Craft wire
- 3 wooden stakes
- Scissors
Steps
Step 1: Cut Butterfly Wings
Start with your clear plastic bottles. Carefully cut the sides into butterfly wing shapes. Remember that the wings should be symmetrical for a balanced look. Be cautious when using scissors, as they can be sharp.
Step 2: Paint the Wings
Once you have the wings cut out, it’s time to decorate them using your translucent rainbow paint. Apply bright colors and fun patterns to make each wing unique. Allow the paint to dry completely; you’ll see a wonderful color change as it sets.
Step 3: Create Bodies with Beads and Wire
Next, take a length of craft wire and string colorful beads onto it. Twist the wire to secure the beads together, forming the body of the butterfly. This adds a pop of color and a delightful texture to the project.
Step 4: Assemble the Butterflies
It’s time to bring your butterflies together! Attach the beaded body to the center of each butterfly wing using the wire. The final touch is to push a wooden stake through the base of the wings, giving your butterflies stability.
As you work on the assembly, pay attention to the balance of the wings and ensure they are securely attached.
What Goes Wrong and How to Fix It
If the paint doesn’t adhere well, it may be due to an oily residue on the bottle. Make sure to clean the bottles thoroughly before starting. If the wings curl or warp after painting, try using a heavier stake to keep them upright.
Where to Display It
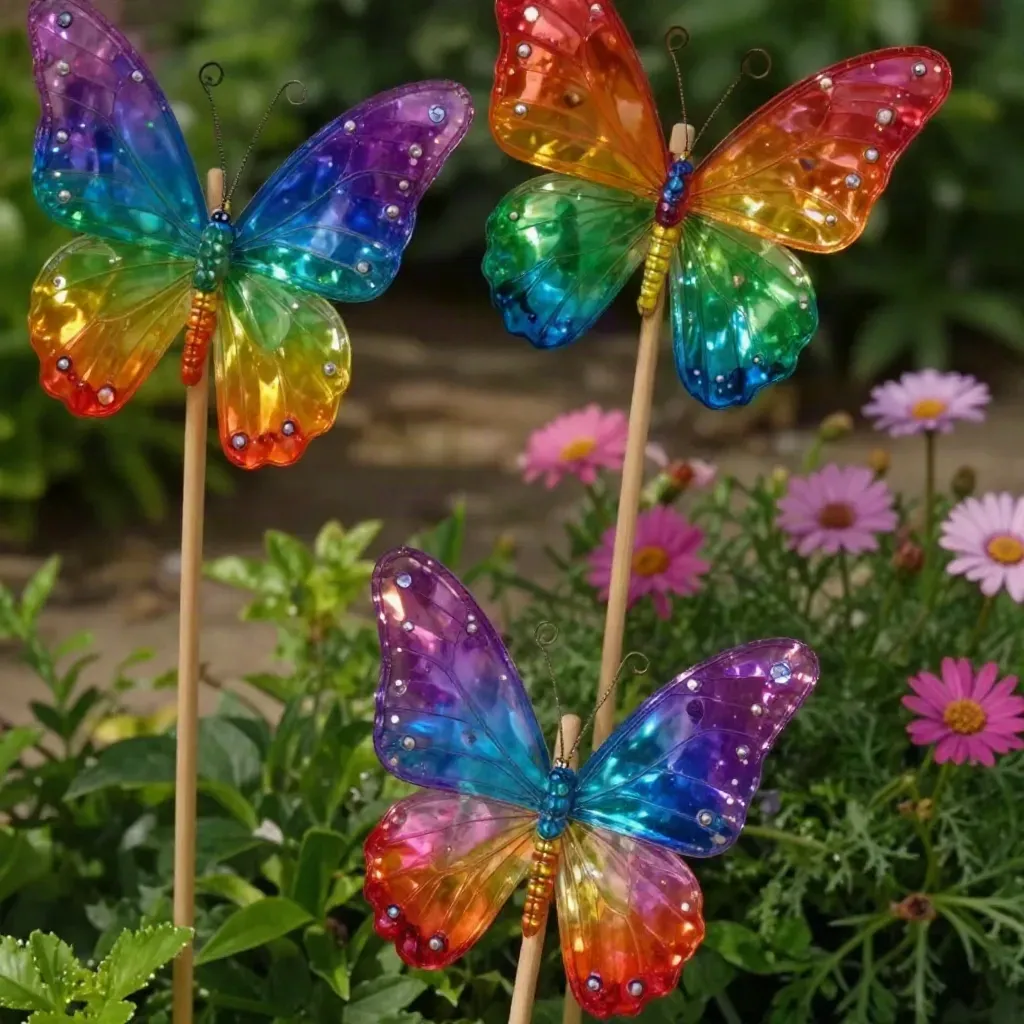
These colorful butterfly stakes can brighten up any garden or home space. Place them in flower beds, vegetable gardens, or even in potted plants. They also look lovely on a porch or in a sunny window where they can catch the light.
Variations
Feel free to experiment with different shapes and sizes for the butterfly wings. You can also mix your paint with glitter to create a sparkling effect. Another fun variation is to create other insects using similar techniques.
FAQs
How do I make the wings sturdier?
To make the wings sturdier, use thicker plastic bottles, or reinforce the wings with an additional layer of paint once the first layer has dried.
What can I do with the leftover plastic bottles?
Consider using them to create other garden decorations, such as flower pots or mini planters. Another option is to make a glowing bouncy ball project.
Can I use other materials for the body?
Absolutely! You can use twigs, pipe cleaners, or even colorful yarn to create the body of your butterflies.
How long does the paint take to fully dry?
Drying time can vary, but generally, it takes about 1 to 2 hours for the paint to dry completely. Make sure to check that it’s no longer tacky before displaying.
Can kids help with this project?
Yes! This project is perfect for kids, but make sure an adult handles the scissors. Kids can assist with painting and assembling the butterflies.
What if the wings don’t look as I expected?
If the design isn’t what you wanted, it’s easy to add more paint or even additional decorations like stickers or sequins to enhance the wings.
Conclusion
Creating Rainbow Butterfly Stakes Made from Recycled Bottles is an exciting way to engage in a fun craft activity. Not only do they add a splash of color to your outdoor space, but they also help in instilling values of recycling and creativity in families. For more related gardening projects, consider checking out these resin bee watering station cups. You may also find inspiration from the slinky flower pot stakes project to enhance your garden further.
Follow us on social for more DIY ideas & inspiration!
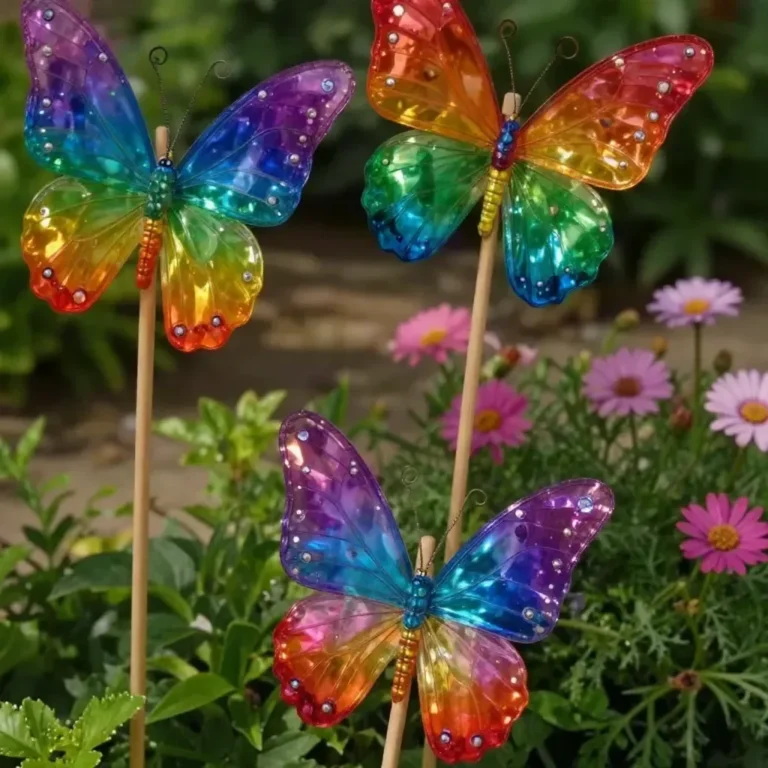
Rainbow Butterfly Stakes
Would you like to save this project?
By submitting you agree to receive this project and occasional emails. Unsubscribe anytime.
Materials
Materials
- 2 pieces Clear plastic bottles Thicker bottles will make sturdier wings.
- 1 bottle Translucent rainbow paint You can use any colors you prefer.
- Colorful various Beads For decorating the butterfly bodies.
- 1 roll Craft wire Used to secure the beads and attach wings.
- 3 pieces Wooden stakes For stability of the butterflies.
- 1 pair Scissors Be cautious while using scissors.
Directions
Crafting the Butterflies
- Cut Butterfly Wings: Carefully cut the sides of the clear plastic bottles into butterfly wing shapes, ensuring they are symmetrical.
- Paint the Wings: Use the translucent rainbow paint to decorate the wings. Allow the paint to dry completely for the colors to set.
- Create Bodies with Beads and Wire: String colorful beads onto a length of craft wire and twist it to secure the beads, forming the body of the butterfly.
- Assemble the Butterflies: Attach the beaded body to the center of each butterfly wing using the wire, then push a wooden stake through the base of the wings for support.
Last Step: Don’t forget to leave a rating and comment below! It helps other readers find the best DIY projects — and it helps us too!