Pressed Flower Star Charms are a vibrant way to add a touch of nature to your home or accessories. As you work through this project, you will witness a transformation, where clear glue encases delicate pressed flowers and glitters, creating a unique work of art. This craft is simple yet effective, allowing you to enjoy the beauty of flowers year-round. You may also find Pressed Flower Cornstarch Charms Calm Moments useful.
Gathering all the materials is the first step to success. You will need clear glue, pressed flowers, star silicone molds, fine glitter, and thin cord. It helps to prepare a tidy workspace to make your crafting experience enjoyable and efficient. For inspiration, you can explore pressed flower charm ideas related to this enjoyable project.
Next, let’s dive into the steps for making your Pressed Flower Star Charms. You may also find Cornstarch Bioplastic Pressed Flowers Recipe useful.
Materials
- Clear glue
- Pressed flowers
- Star silicone mold
- Fine glitter
- Thin cord

You may also find Easy Cornstarch Flower Charms Recipe useful.
Steps
Gather all materials and clear your workspace. It’s essential that everything is ready to prevent distractions during the crafting session.
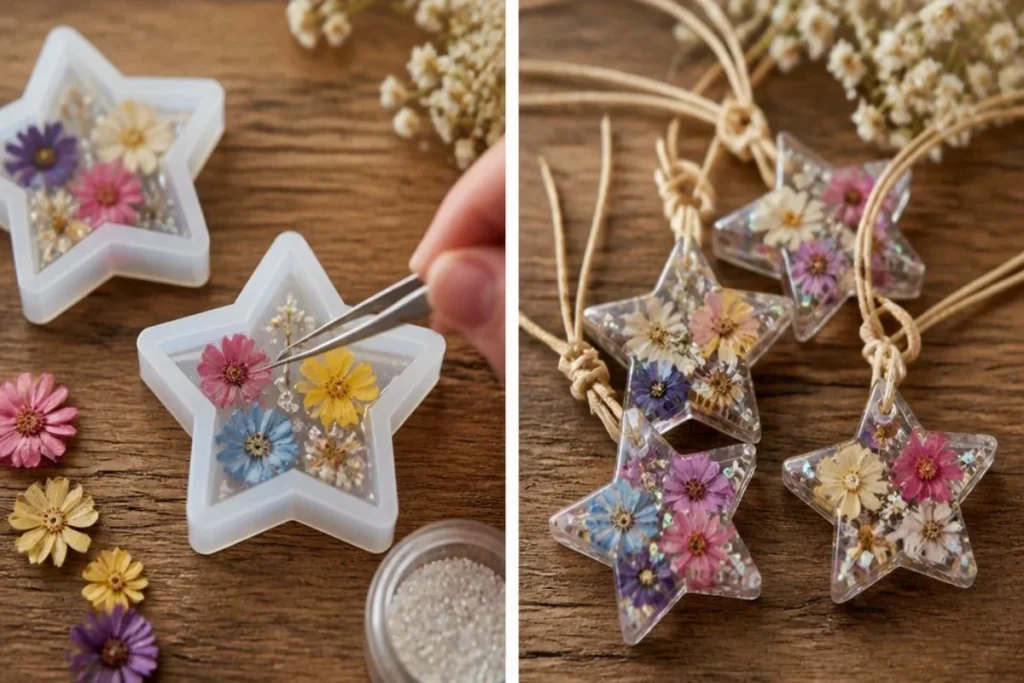
Add a thin layer of glue to the star molds. You want enough to cover the base but not so much that it pools. As the glue dries, it will become tacky and offer a good adhesion for the flowers.
Place small pressed flowers and a sprinkle of glitter inside, then cover with more clear glue. The flowers will change color slightly as they absorb the glue. Make sure to press them down gently to remove air bubbles.
Allow to dry fully. This step is crucial; the glue needs to become completely clear and firm before you remove the charms from the molds.
Gently remove the charms and add the thin cord. Look for a smooth surface finish, which indicates the charms are ready for handling.
What Goes Wrong and How to Fix It
Sometimes, the flowers may float to the top of the mold or not adhere properly. If this occurs, you can try adding more glue to weigh them down. Alternatively, consider using a different flower type or pressing the flowers more thoroughly before adding them to the mold. For additional tips on preserving flowers, check out flower preservation methods that can help with your projects.
Where to Display It
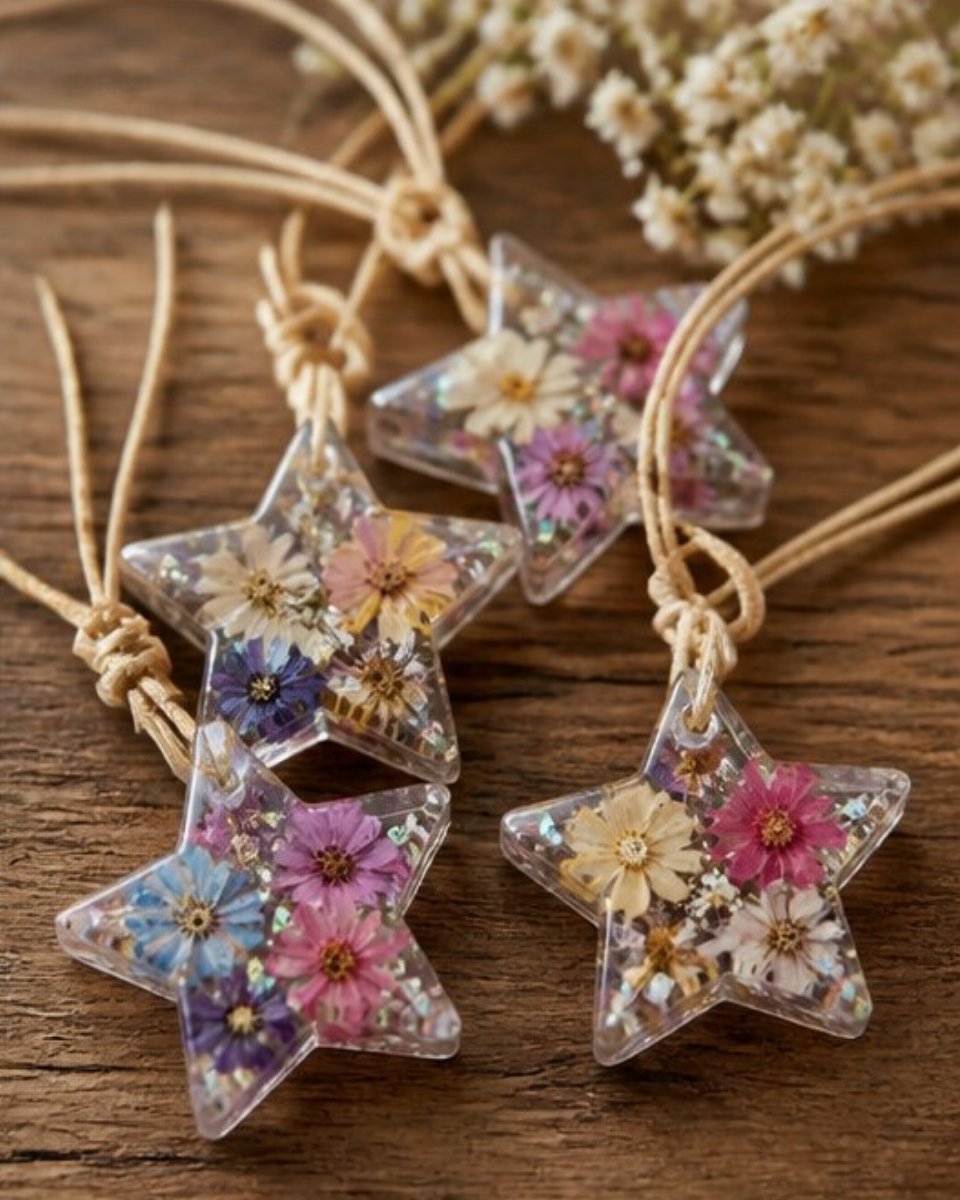
These charms make beautiful ornaments that can hang in windows or be used as decorative pieces on shelves. The light can pass through the translucent charms, creating lovely reflections. You can also attach them to bags or use them as unique gift tags. To see some wonderful examples of how to display pressed flowers, visit ideas for showcasing flowers.
Variations
Experiment with different shapes or flower types for your charms. Different glitters can also add a unique flair. Consider mixing several flower types in one charm for a colorful effect, or using transparent molds for different shapes.
FAQs
1. How do I press flowers?
Pressing flowers involves placing them between sheets of paper and applying pressure, either manually or through a press.
2. What kind of flowers work best?
Smaller flowers and those with flat surfaces work better, such as daisies or violets.
3. How long does it take to dry?
It typically takes at least 24 hours for the glue to dry completely, but this can vary based on the thickness of the glue.
4. Can kids help with this project?
Yes, kids can assist with placing the flowers and glitter but should be supervised when using glue.
5. Why did my charm turn cloudy?
If the charm turns cloudy, it may be due to moisture trapped in the glue. Ensure that the glue is applied evenly and the workspace is dry.
6. Is it possible to add scents?
You can add a few drops of essential oils to the glue for a fragrant charm, as long as it doesn’t alter the glue’s properties.
Conclusion
Creating Pressed Flower Star Charms can be a rewarding and visually stunning DIY project. You might also love exploring options like a pressed flower necklace for a delightful way to wear your craft. For an enriched decorating experience, consider checking out pressed flower hair accessories that beautifully complement your floral creations.
Follow us on social for more DIY ideas & inspiration!
Pressed Flower Star Charms
Would you like to save this project?
By submitting you agree to receive this project and occasional emails. Unsubscribe anytime.
Materials
Materials
- 1 bottle Clear glue
- as needed Pressed flowers Smaller flowers like daisies or violets work best.
- 1 mold Star silicone mold
- 1 pack Fine glitter Choose different colors for variety.
- 1 length Thin cord For hanging the charms.
Directions
Preparation
- Gather all materials and clear your workspace.
- Add a thin layer of glue to the star molds.
Assembly
- Place small pressed flowers and a sprinkle of glitter inside, then cover with more clear glue.
- Gently press the flowers down to remove air bubbles.
Drying
- Allow to dry fully for at least 24 hours, ensuring the glue becomes clear and firm.
Finishing Touches
- Gently remove the charms from the molds and attach the thin cord.
Last Step: Don’t forget to leave a rating and comment below! It helps other readers find the best DIY projects — and it helps us too!