Intro
The moment you start creating DIY Bubble Dough Sensory Play, the vibrant colors and fluffy texture will draw you in. This playful project transforms simple materials into a bubbly wonderland, ready for exploration. Children will love the hands-on experience as they watch the dough change texture and form delightful bubbles. For a start, gather your materials and discover the joy of this engaging activity. You may also find Diy Bubble Dough useful.
What makes this work
The unique quality of DIY Bubble Dough lies in its textural transformation. When mixed, you will see the airy bubbles forming, giving a tactile experience that’s both fun and educational. Bubble dough combines elements of science and creativity, making it perfect for sensory play. The essential premise is that the ingredients react together, producing a light and fluffy dough that feels wonderful to touch and explore. You may also find Cheesy Diy Handprint Dough Keepsakes useful.
Materials
Here’s what you will need to make your DIY Bubble Dough:
- 1 cup of warm water
- 2 cups of flour
- ½ cup of dish soap
- ¼ cup of corn starch
- Food coloring in various colors
- A large mixing bowl
- A spatula or mixing spoon
Keep safety in mind make sure an adult helps when measuring hot water or using sharp utensils.
Steps
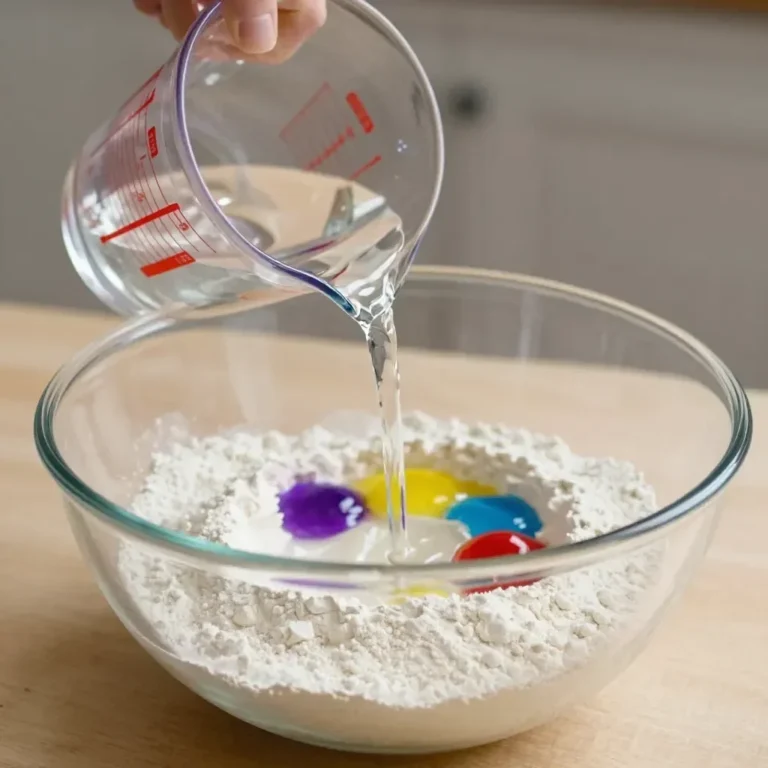
In a large mixing bowl, combine warm water and dish soap. Stir gently until you see soap bubbles forming, which helps to trap air in the dough.
Next, add the corn starch and flour to the mixture gradually. Mix thoroughly to avoid lumps, and keep stirring until the texture becomes smooth and consistency thickens.
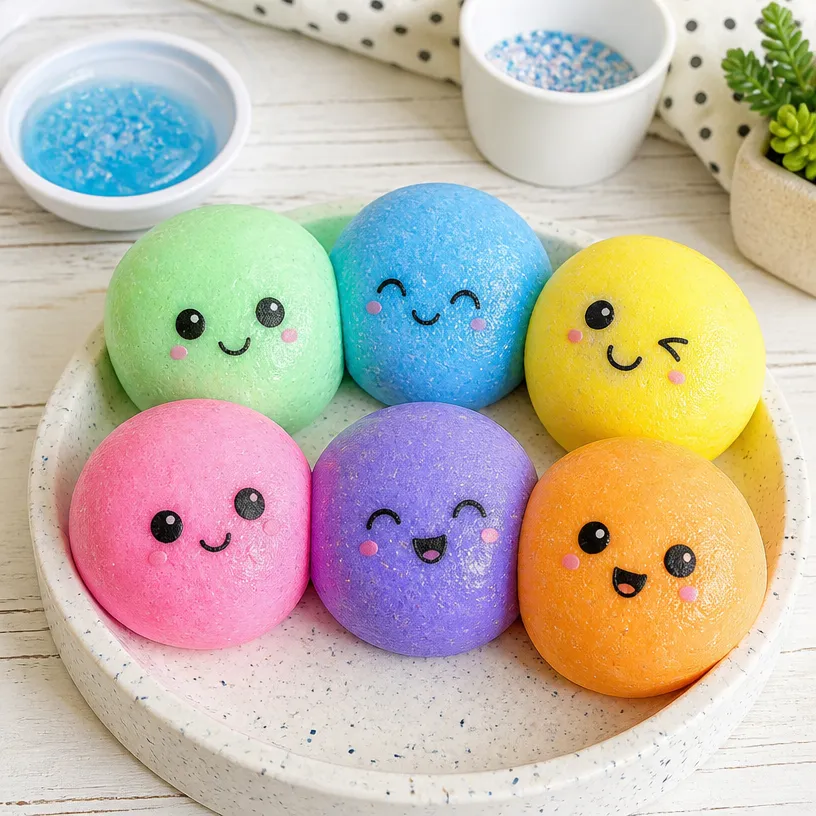
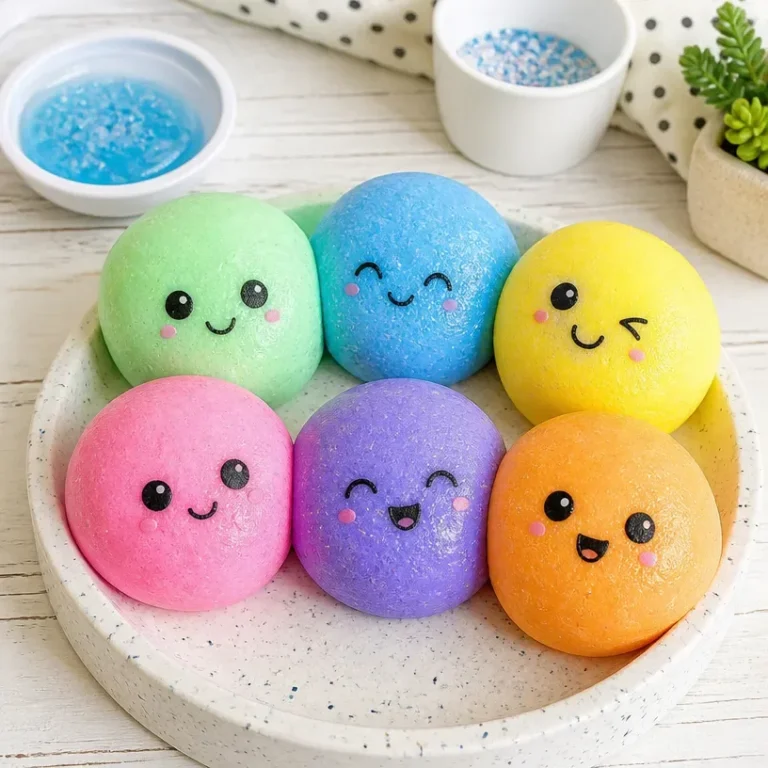
Once the base dough is formed, it’s time to add some color! Divide the dough into smaller sections and add a few drops of food coloring to each. Knead the dough until the colors are fully blended. Watch as the vibrant colors mingle!
Play with the dough! Squeeze, stretch, and roll it. The fun part is watching it transform as it reacts with your touch.
If you want to achieve a more bubbly effect, gently blow air into the dough with a straw or your mouth. Just be mindful of hygiene while playing.
Finally, store any leftover dough in an airtight container to keep it fresh for future play.
What goes wrong and how to fix it
It’s common for DIY projects to experience hiccups along the way. If your bubble dough is too sticky, a little more flour can help achieve the perfect consistency. Conversely, if it’s too dry, adding more dish soap or water can soften it up. Always aim for a smooth, pliable texture.
Where to display it
Once you have created your DIY Bubble Dough, consider displaying it in a bright, open space where light can enhance its visual appeal. A window sill or a table with natural light can highlight the colors beautifully. It not only serves as a playful craft but also an attractive decoration. For more inspiration on colorful crafts, check out rainbow cloud dough sensory play.
Variations
Experimenting with different ingredients can personalize your DIY Bubble Dough even more. You might add glitter for sparkle or scented oils for a fragrant experience. For example, combining bubble dough with scented oils can add another sensory dimension. You could also explore other crafts like colorful bubble foam sensory play for different textures and colors.
FAQs
Can I substitute the dish soap with another type?
Yes, you can use different types of dish soap, but make sure it’s non-toxic and safe for children. Some brands might create more bubbles than others.
Why didn’t my dough bubble as expected?
If the dough doesn’t bubble, check the proportion of ingredients. Too much flour can reduce the airy texture. Adjust the recipe carefully, adding more dish soap for better results.
How long does the dough last?
When stored properly in an airtight container, your DIY Bubble Dough can last up to a week before it starts to dry out. Just remember the moisture will evaporate if left exposed.
Can kids help with this project?
Absolutely! This project is designed for children to engage in hands-on activities under adult supervision. Involve kids as much as possible during the mixing and kneading stages.
What if my dough is too hard?
If the dough becomes too hard after storage, little warm water can help soften it. Just knead it slowly until it regains a workable consistency.
What other projects can I make with cornstarch?
Cornstarch is a versatile ingredient. For ideas, you might check out cornstarch dish soap bubble dough as another unique sensory project.
Conclusion
Creating DIY Bubble Dough Sensory Play provides a wonderful opportunity for sensory exploration and creativity. It’s great to watch kids engage with science and artistry simultaneously. If you want to dive deeper into more bubble dough recipes, consider reading about the bubble dough on Gift of Curiosity or explore 10 simple bubble dough recipes from There’s Just One Mommy. Happy crafting!
Follow us on social for more DIY ideas & inspiration!
DIY Bubble Dough
Would you like to save this project?
By submitting you agree to receive this project and occasional emails. Unsubscribe anytime.
Materials
Dough Base
- 1 cup warm water Make sure it is not too hot for children.
- ½ cup dish soap Use non-toxic soap safe for children.
- 2 cups flour
- ¼ cup corn starch
Coloring
- as needed food coloring in various colors Add different colors for vibrant effects.
Utensils
- 1 large mixing bowl
- 1 spatula or mixing spoon For mixing the ingredients.
Directions
Preparation
- In a large mixing bowl, combine warm water and dish soap. Stir gently until you see soap bubbles forming.
- Next, add the corn starch and flour to the mixture gradually. Mix thoroughly to avoid lumps, until the texture becomes smooth and consistency thickens.
- Divide the dough into smaller sections and add a few drops of food coloring to each. Knead until colors are fully blended.
- Play with the dough! Squeeze, stretch, and roll it.
- For a more bubbly effect, gently blow air into the dough with a straw or your mouth, while being mindful of hygiene.
- Store any leftover dough in an airtight container.
Last Step: Don’t forget to leave a rating and comment below! It helps other readers find the best DIY projects — and it helps us too!