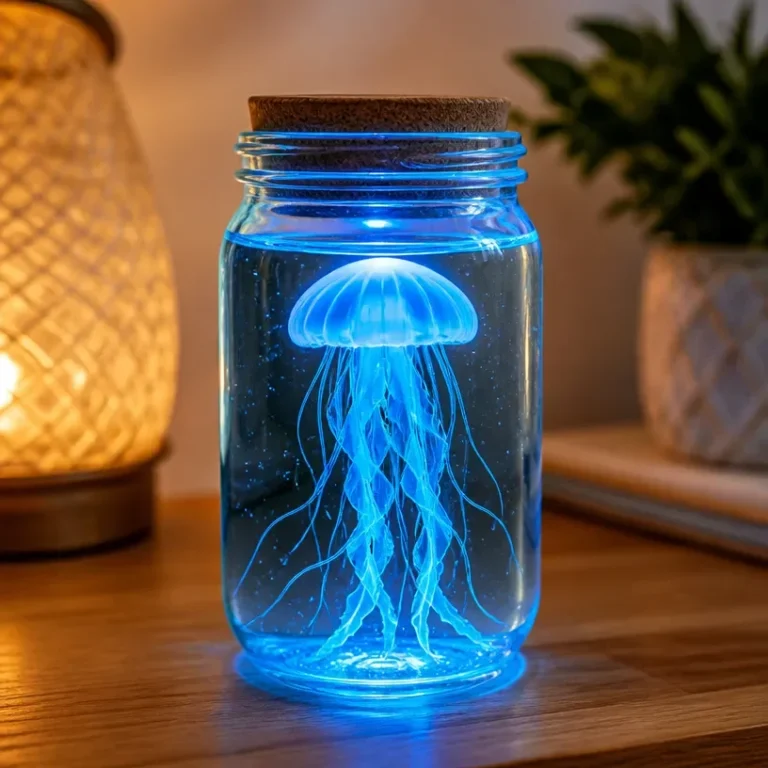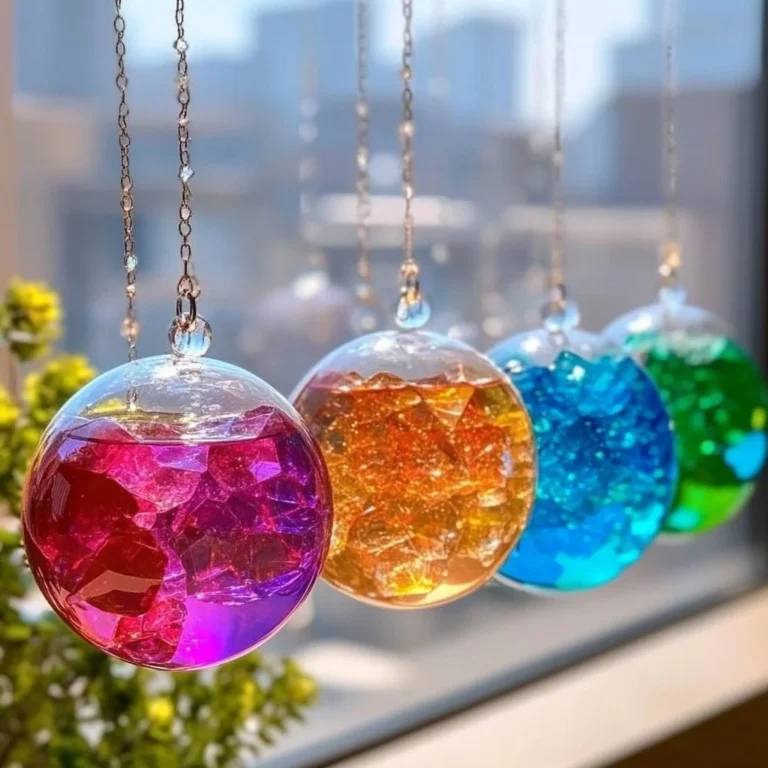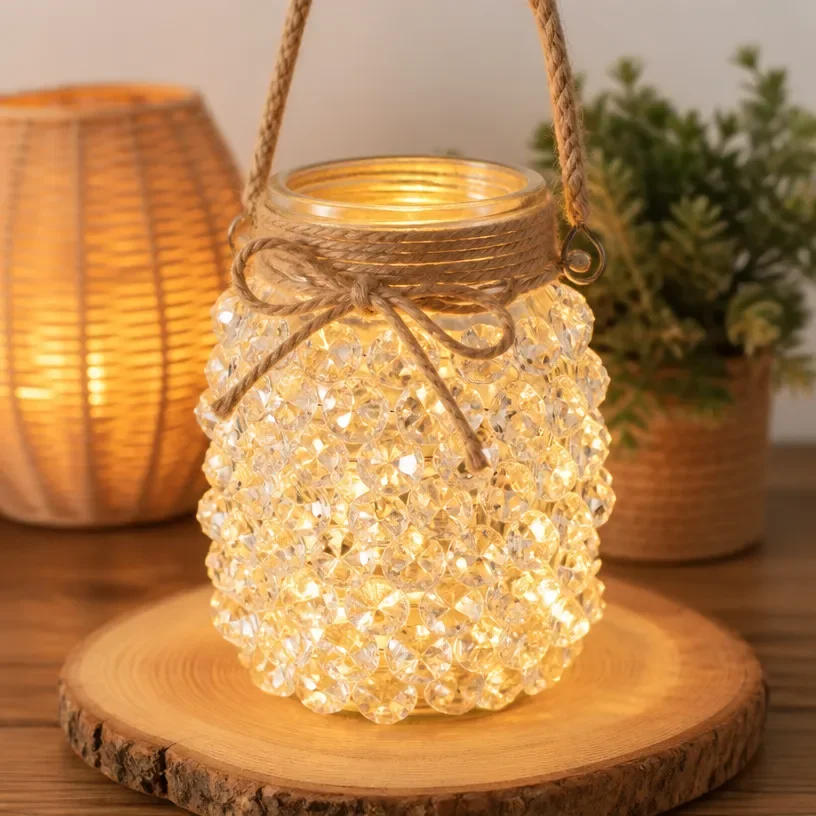
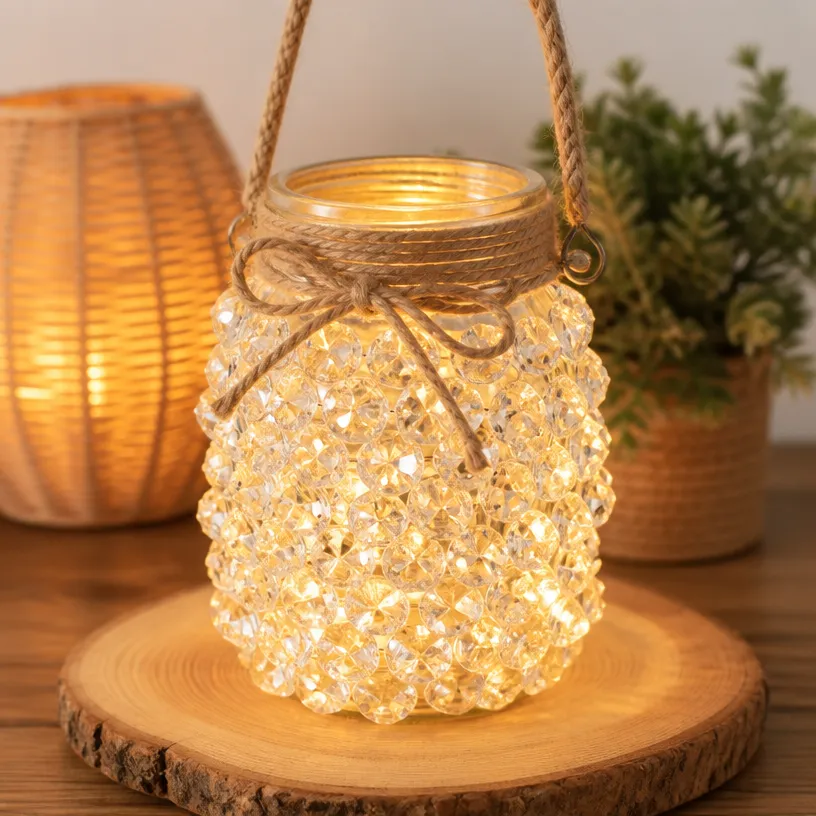
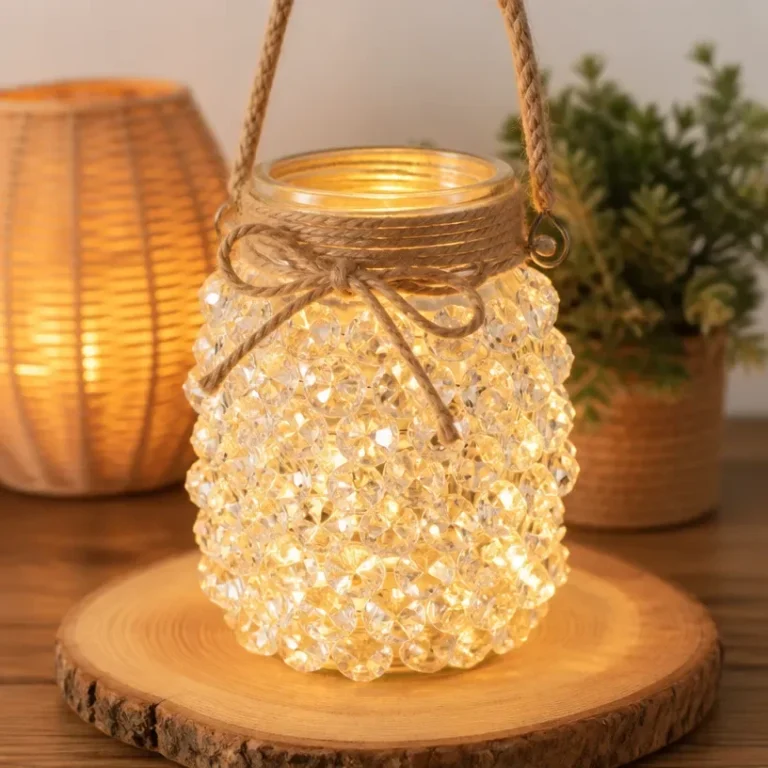
The Crystal Fairy Lantern transforms ordinary spaces into enchanting corners filled with sparkling light. This delightful project not only adds charm to your home but also offers a fantastic crafting experience. As you create this lantern, you’ll notice how the colors shift and the textures evolve, bringing your decoration to life. You may also find Diy Radiant Mason Jar Lantern Crystal Accents useful.
What makes this work
The Crystal Fairy Lantern relies on simple materials that take on new characteristics when combined. Mixing certain substances can lead to stunning visual effects. It’s fascinating to see how a few basic supplies can create such vibrant art. For instance, when you use borax, it forms crystal-like structures that glisten beautifully in the light. You may also find Diy Radiant Mason Jar Lantern With Crystal Accents useful.
Materials
To get started, gather the following supplies: You may also find Fairy Color Crystal Pinecone Collection useful.
- Borax
- Water
- Glass jar
- String or wire
- LED tea light
- Optional: glitter, food coloring, or other decorative elements
After you have your materials ready, it’s time to move on to the next phase.
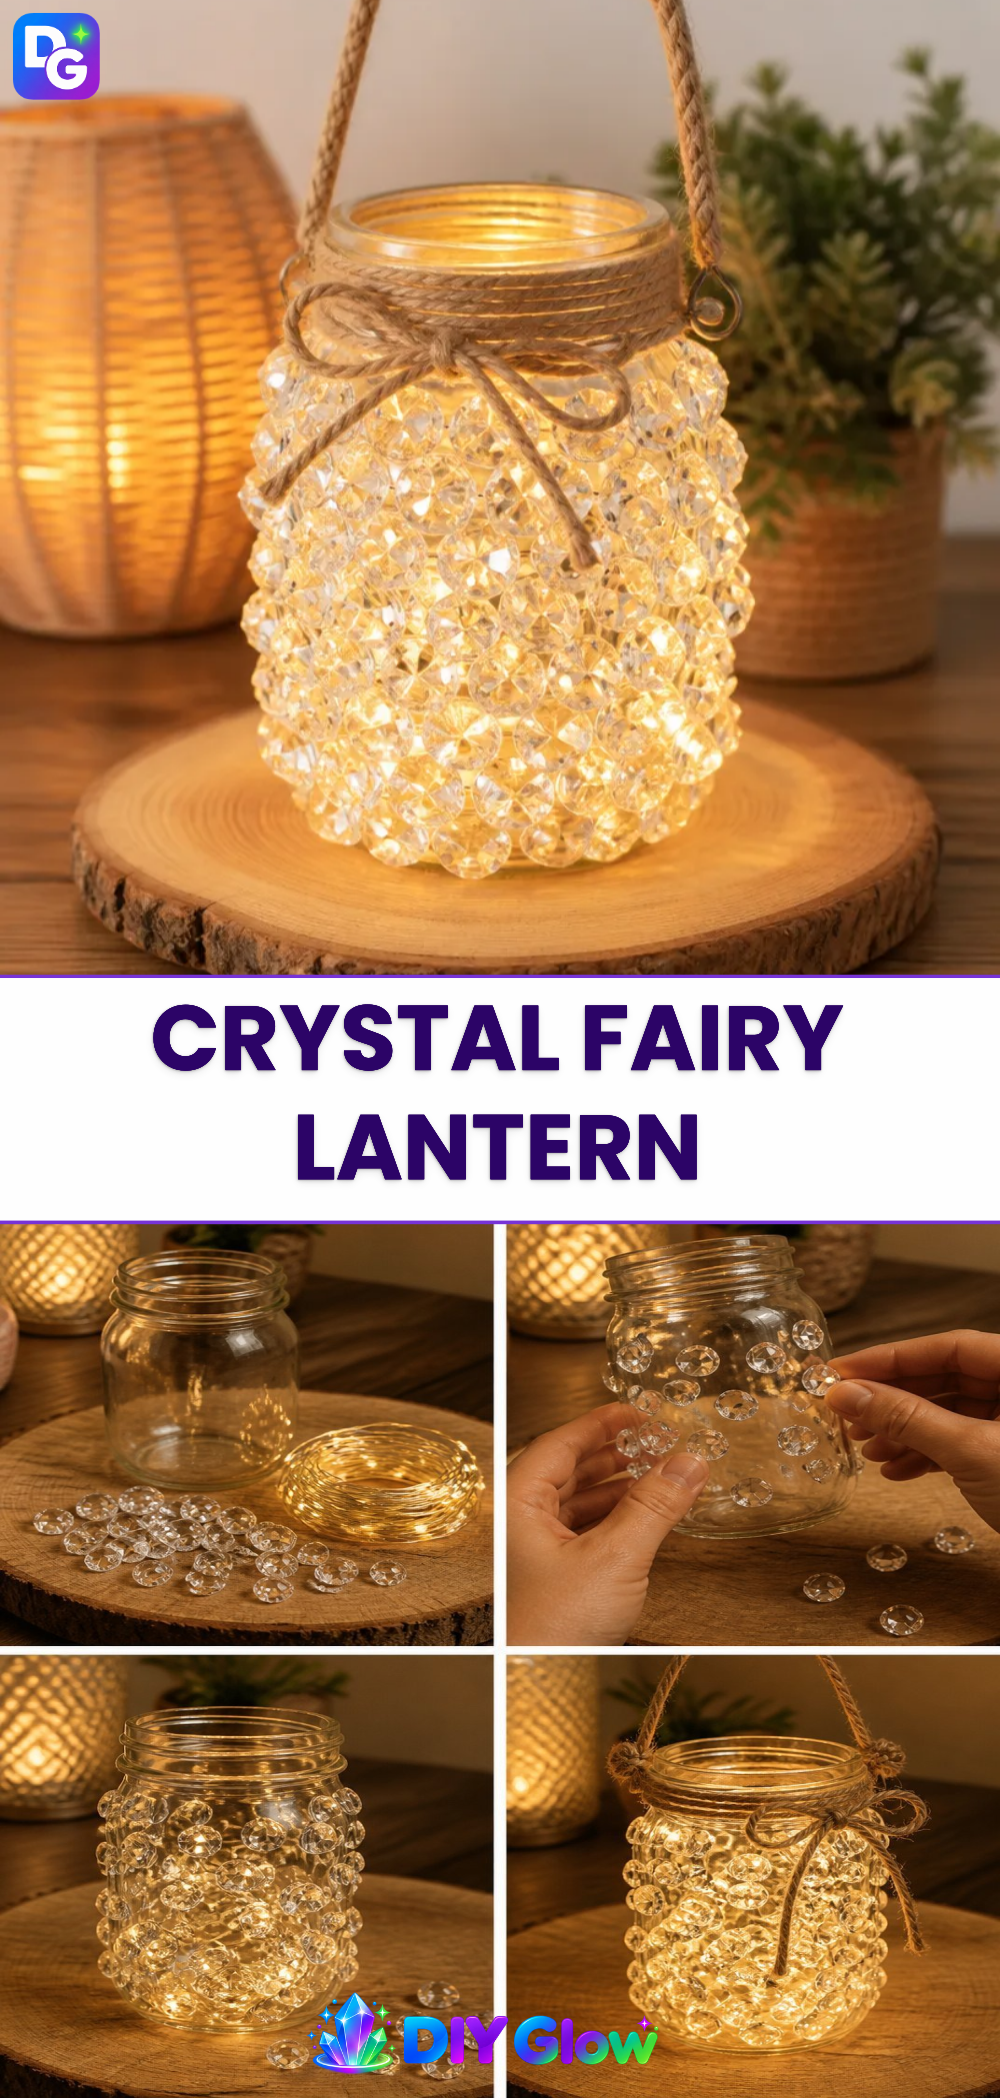
Steps
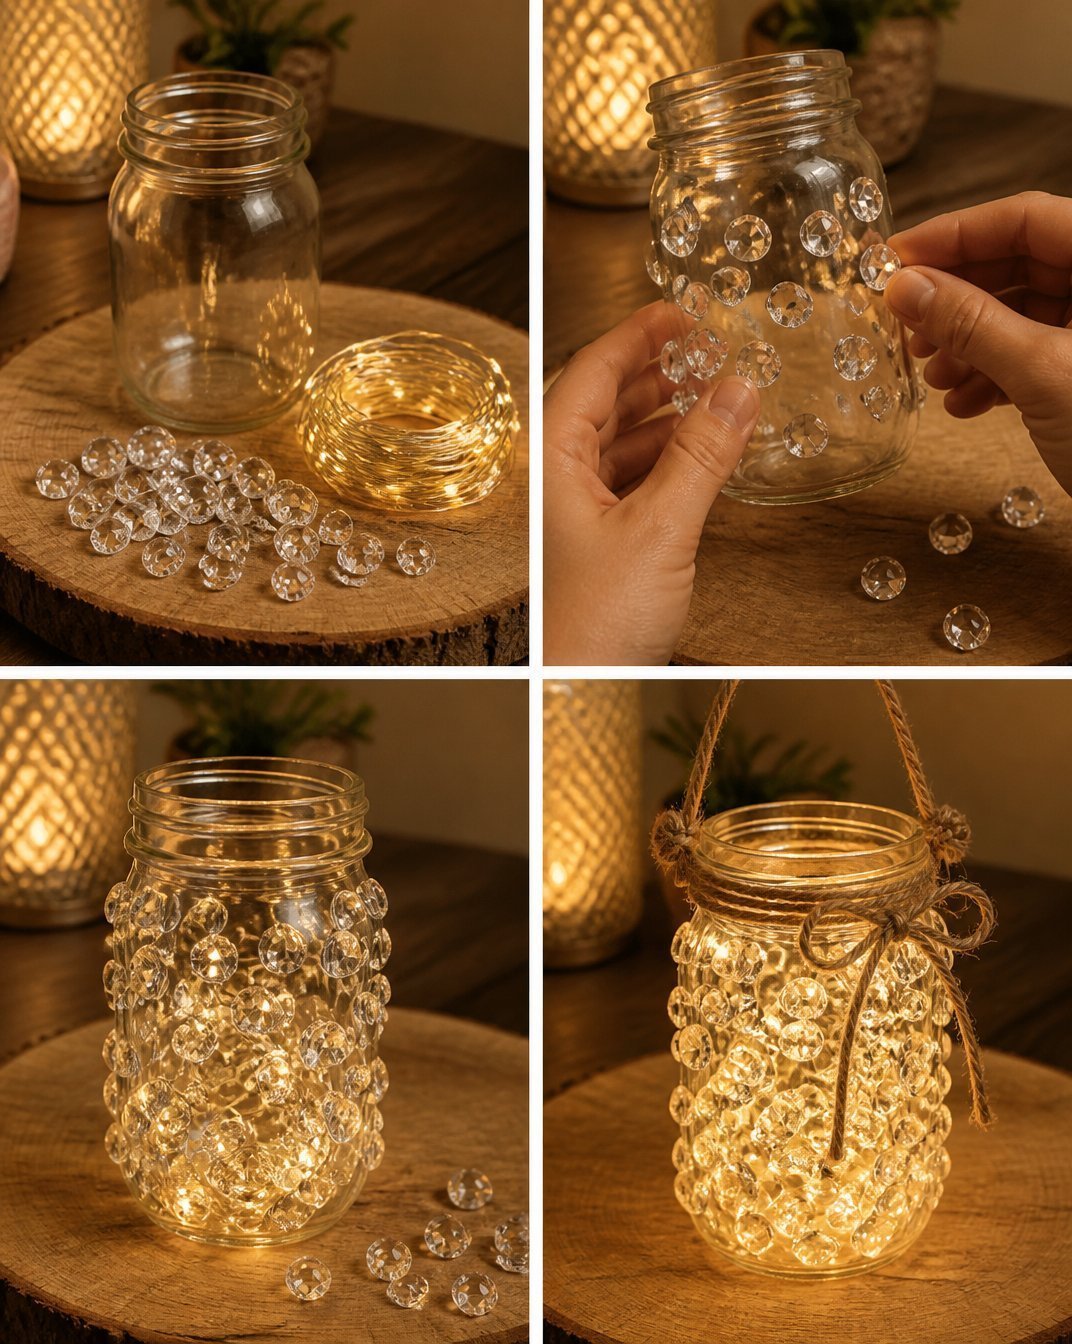
Prepare your mixture: In a container, mix 3 tablespoons of borax with 1 cup of hot water. Stir the solution until the borax dissolves completely. You will see the liquid become clear, which is the sign that it’s ready.
Add colors: If you want to add extra charm, add a few drops of food coloring to the solution. This will change the appearance of your crystals when they form.
Dip the string: Take a length of string or wire and dip it into the borax solution. Hang it in your glass jar. Make sure it doesn’t touch the bottom. This is where your crystals will form.
Wait for the magic: Leave the jar undisturbed for at least 24 hours. During this time, crystals will start to grow on the string, and the solution may even change color if you added food coloring.
Finish with an LED light: Once your crystals form to your liking, place an LED tea light inside the jar. The light will illuminate the crystals beautifully, creating a magical glow.
What goes wrong and how to fix it
Sometimes, crystals may not form as expected. This could be due to the temperature of the solution being too low, or there not being enough borax in the mixture. If you notice sparse or no crystals, try mixing a more concentrated solution by adding more borax, or ensure the water is hot enough to encourage crystal formation.
Where to display it
Once completed, the Crystal Fairy Lantern is perfect for various locations. You can display it in a window, on a shelf, or even as a centerpiece for a special occasion. The shimmering crystals catching the light create a warm ambiance. For alternative illuminating options, consider checking out other projects like the Crystal Fairy Garden Jar.
Variations
You can experiment with different designs for the lantern. For instance, instead of just string, consider using wire shapes, or try different-sized jars for varied effects. Just as you find joy in this project, many people have found beauty in similar crafts. You might also enjoy making colorful crystal mason jar lanterns alongside your fairy lantern.
FAQs
Can I use regular string instead of wire?
Yes, you can use string. Just make sure it can hold the weight of any decorations without breaking.
What should I do if my crystals don’t grow?
If you don’t see crystals, increase the borax concentration or let the mixture sit longer. It can take up to 48 hours for robust crystals.
Is it safe for children to help with the project?
Yes, but all adults should handle hot water and borax. Children can assist with adding colors and decorating.
How long will the lantern last?
The crystals can last a long time if kept dry and away from moisture. However, the lantern will glow best when the LED light is used.
Can I use other containers?
Absolutely! Any clear glass or plastic container can work. Experiment with different shapes for varied effects.
Why did mine turn out cloudy?
Cloudiness can result from undissolved borax or impurities in the water. Ensure water is hot enough and pure for the best results.
Conclusion
The Crystal Fairy Lantern is a unique addition that brings sparkle to your space. If you’re looking to expand your collection of glow-in-the-dark decorations, you may want to consider finding special lamps, such as the Crystal Fairy Lamp on eBay or the stunning Fifth Avenue Ltd Crystal Fairy Lamp on Poshmark. Enjoy your crafting!
Follow us on social for more DIY ideas & inspiration!
Crystal Fairy Lantern
Would you like to save this project?
By submitting you agree to receive this project and occasional emails. Unsubscribe anytime.
Materials
Main Materials
- 3 tablespoons Borax Essential for forming crystals.
- 1 cup Water Use hot water for best results.
- 1 unit Glass jar Container for the lantern.
- 1 unit String or wire For hanging the crystals.
- 1 unit LED tea light Provides illumination for the lantern.
Optional Decorative Elements
- as desired Glitter For added sparkle.
- as desired Food coloring To change the color of the crystals.
Directions
Preparation
- In a container, mix 3 tablespoons of borax with 1 cup of hot water. Stir until the borax dissolves completely.
- Add a few drops of food coloring to the solution if desired, to enhance the appearance of the crystals.
- Take a length of string or wire and dip it into the borax solution. Hang it in your glass jar without letting it touch the bottom.
Crystal Formation
- Leave the jar undisturbed for at least 24 hours to allow crystals to grow on the string.
- Once satisfied with the crystal formation, place an LED tea light inside the jar.
Last Step: Don’t forget to leave a rating and comment below! It helps other readers find the best DIY projects — and it helps us too!