DIY Colorful Lantern That Glows with Fall Leaves
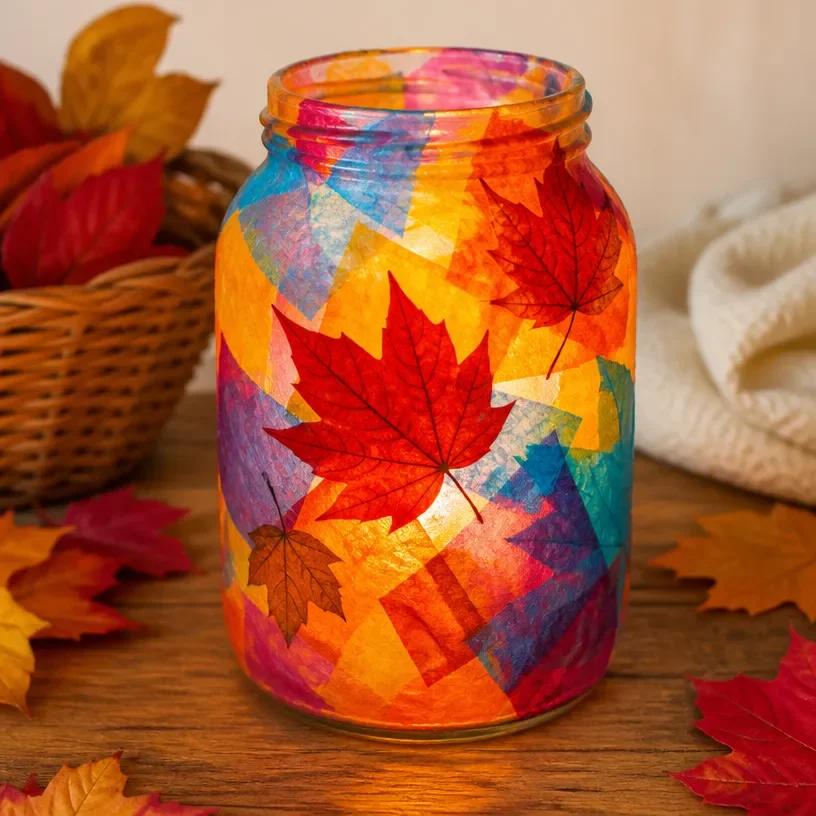
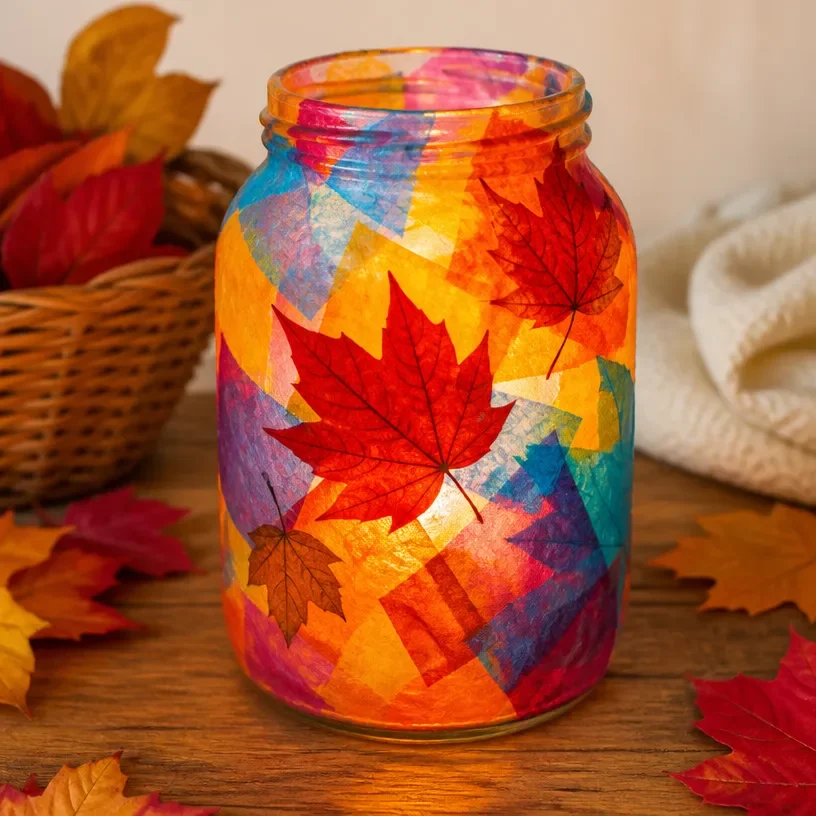
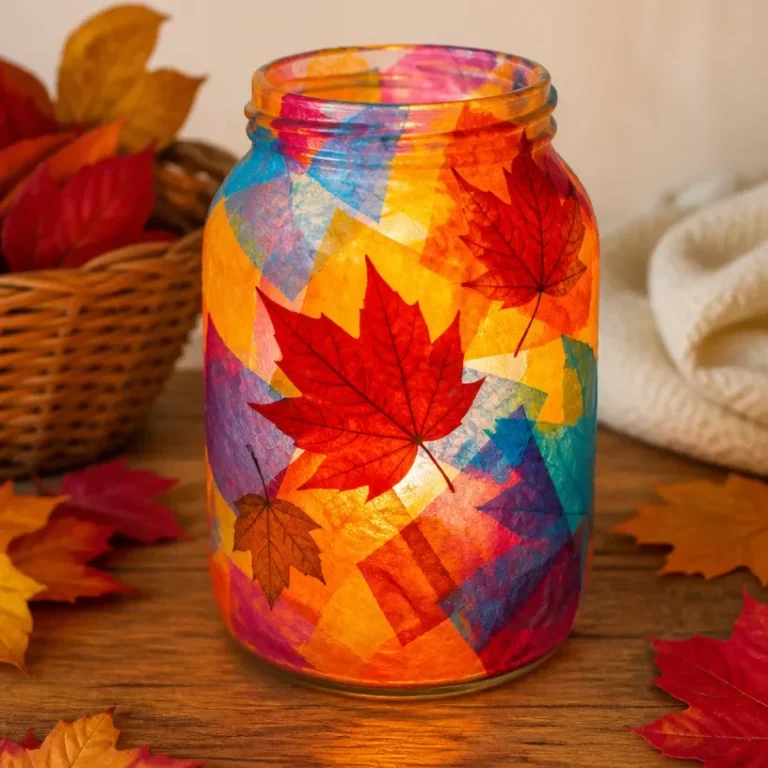
The moment you place the DIY Colorful Lantern That Glows with Fall Leaves on your shelf, it transforms ordinary light into an enchanting glow. This project allows you to create a vibrant lantern that captures the beauty of autumn leaves while providing a unique glow in your space. The light dances through the hues of the leaves, creating a warm and cozy atmosphere. You may also find Diy Colorful Foam Cozy Calm useful.
Every project begins with understanding what makes it work. In this case, the interaction of translucent materials with light produces a captivating effect. When the light shines through the colored leaves, it creates a spectrum of colors that enhances any setting. By using simple materials, this lantern becomes a delightful addition to your home decor. If you want more creative ideas, check out colorful crystal mason jar lanterns for your next project.
Materials
Before starting, gather the following materials: You may also find Diy Colorful Foam Turns Into Calm useful.
- Clear glass jar or container
- Fall leaves (real or artificial)
- Mod Podge
- Brush
- LED tea light or small candle
- Twine or ribbon (optional)
Having these on hand will streamline your crafting experience. The addition of Mod Podge acts as both an adhesive and a sealant for the leaves. It’s important to ensure the leaves are clean and dry before applying them to the jar.
Steps
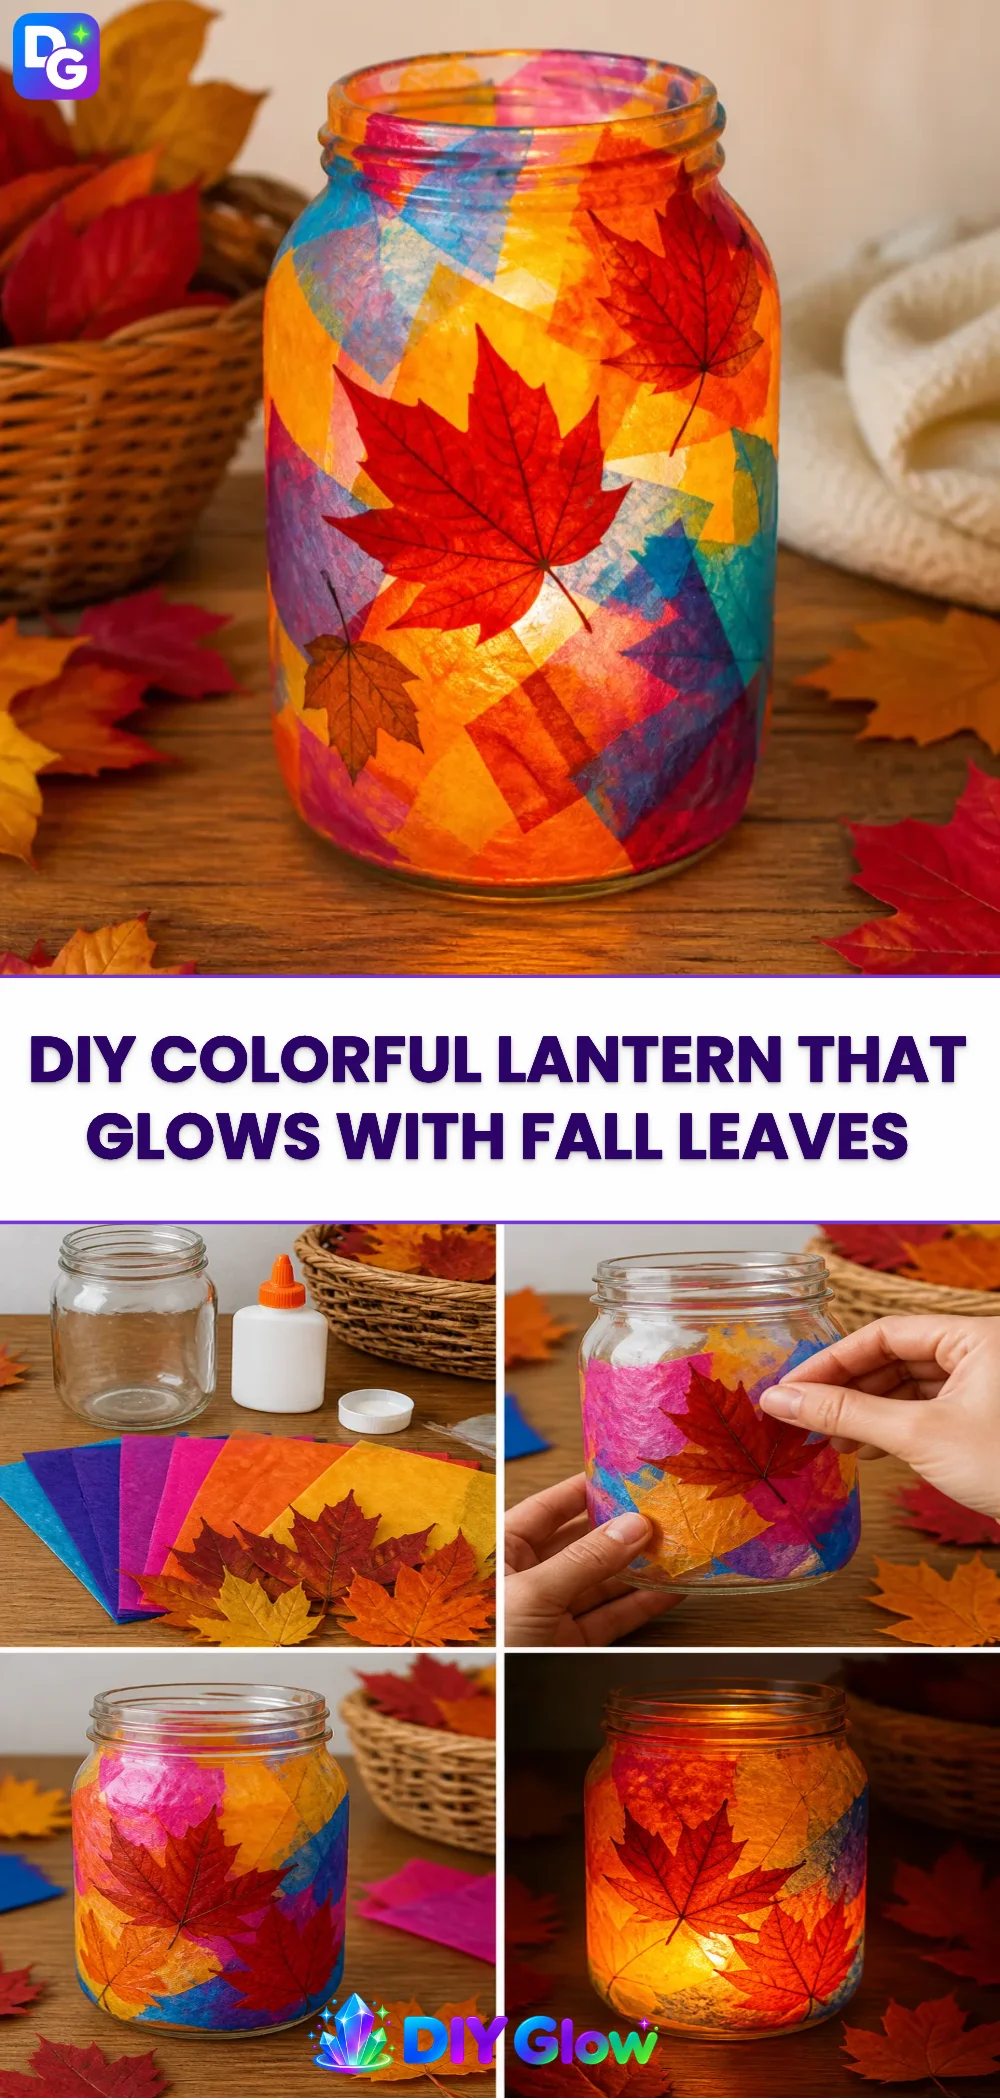
Prepare the Leaves: If using real leaves, press them between heavy books for a few days to flatten. This step ensures they adhere well to the lantern and maintain their color better.
Paint the Jar: Use the brush to apply a thin layer of Mod Podge on the surface of your jar. A good coating will help in the adhesion of the leaves.
Apply Leaves: Start placing your leaves onto the jar. Overlap them slightly for a fuller look. Make sure to smooth out any bubbles or creases as you adhere them.
Seal the Leaves: Once all leaves are applied, add another layer of Mod Podge over the leaves. This seals everything in and adds a protective layer. Watch as the leaves appear to brighten as the Mod Podge dries.
Add Lighting: Place an LED tea light inside the jar. This step ensures safety, as real candles may pose a fire hazard if the leaves are too close. The tea light will illuminate the leaves beautifully.
Finish with Twine: If desired, wrap some twine or ribbon around the top for a decorative touch. This adds a rustic look that complements the autumn theme.
Always remember to use safe handling techniques, especially when working with glass jars. An adult should assist with any sharp edges or hot materials.
What Goes Wrong and How to Fix It
Sometimes, projects do not go as planned. If you notice that the leaves do not stick, try applying more Mod Podge. It’s essential to ensure that the surface is adequately coated before placing the leaves.
If the colors of the leaves fade, it often means that the jar is positioned in direct sunlight. To preserve the vibrancy, try displaying it in a shaded area. You may also choose to replace the leaves with more artificial options that maintain their color.
Where to Display It
These lanterns fit beautifully in various places around your home. Consider displaying them on a windowsill, where sunlight can illuminate the colors during the day. They also make excellent centerpieces for tables during fall gatherings. To inspire even more creativity, explore radiant mason jar lanterns for your next craft project.
Variations
If you want to change the theme, consider using different colors of leaves for each season. For winter, use white and silver elements instead. You can also incorporate lights with timers for added convenience and festivity.
Another idea is combining this lantern with other DIY projects, such as beaded hanging lanterns, to create a magical atmosphere during holiday seasons.
FAQs
How do I preserve real leaves for crafting?
You can use a leaf preserver spray available at craft stores. This method prevents them from turning brown and brittle.
Can I use other materials instead of leaves?
Yes, you can use tissue paper or fabric for a different look. Just remember that the effect will be different with these materials.
How long does Mod Podge take to dry?
Typically, Mod Podge takes about 15-20 minutes to dry to the touch, but for full curing, allow for at least 24 hours.
What if my lantern looks messy?
If you find that your lantern is not as neat as you’d like, touching up with Mod Podge around the edges after the main assembly can help.
Are these lanterns safe for children to make?
Yes, children can assist with the application of leaves and using non-toxic materials. Just ensure an adult handles any sharp glass or hot glue.
How long will this lantern last?
If displayed away from direct sunlight and handled gently, it can last for many seasons.
Conclusion
Creating a DIY Colorful Lantern That Glows with Fall Leaves adds warmth and vibrancy to your home. Not only can you enjoy crafting it, but it also becomes an eye-catching decor piece. For more seasonal inspiration, check out how to make fall leaf lanterns or stay updated with the fall foliage report. Enjoy your crafting!
Follow us on social for more DIY ideas & inspiration!
DIY Colorful Lantern That Glows with Fall Leaves
Would you like to save this project?
By submitting you agree to receive this project and occasional emails. Unsubscribe anytime.
Materials
Materials
- 1 piece Clear glass jar or container Choose a size that fits your space.
- 1-2 cups Fall leaves (real or artificial) Ensure leaves are clean and dry.
- 1 bottle Mod Podge Acts as both adhesive and sealant.
- 1 piece Brush For spreading Mod Podge.
- 1 piece LED tea light or small candle Choose LED for safety.
- 1 string Twine or ribbon (optional) For decorative finishing.
Directions
Preparation
- Press real leaves between heavy books for a few days to flatten.
- Ensure the leaves are clean and dry before applying to the jar.
Assembly
- Apply a thin layer of Mod Podge on the surface of the jar using the brush.
- Place leaves onto the jar, overlapping slightly for a fuller look and smooth out any bubbles.
- Add another layer of Mod Podge over the leaves to seal them in.
- Place an LED tea light inside the jar for illumination.
- Wrap twine or ribbon around the top for a decorative touch.
Last Step: Don’t forget to leave a rating and comment below! It helps other readers find the best DIY projects — and it helps us too!