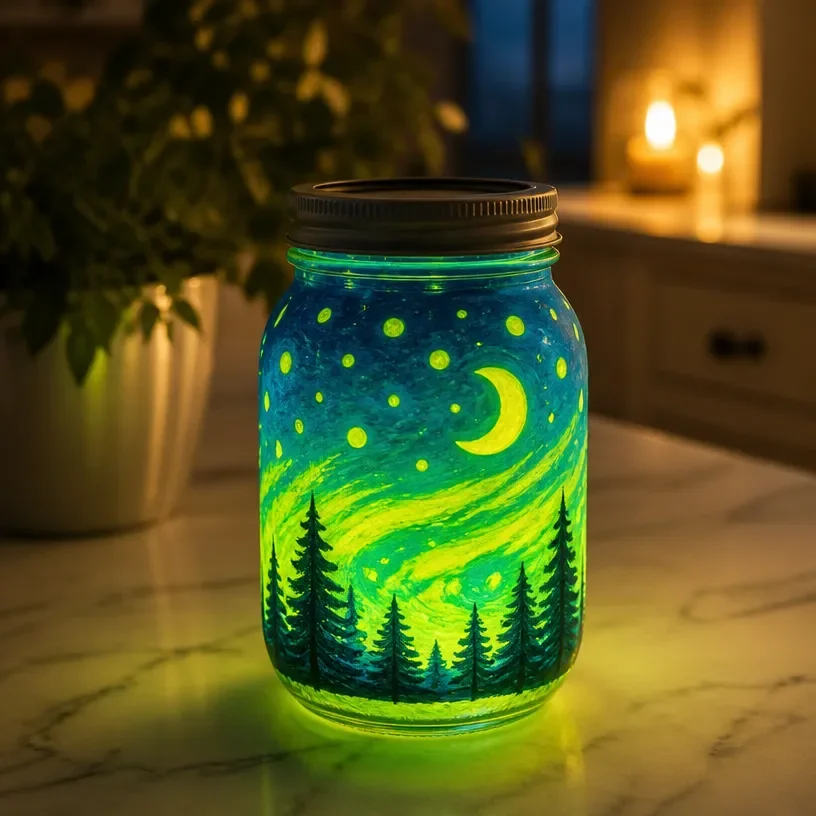
Glow in the Dark Crafts for Kids: DIY Glow in the Dark Painting
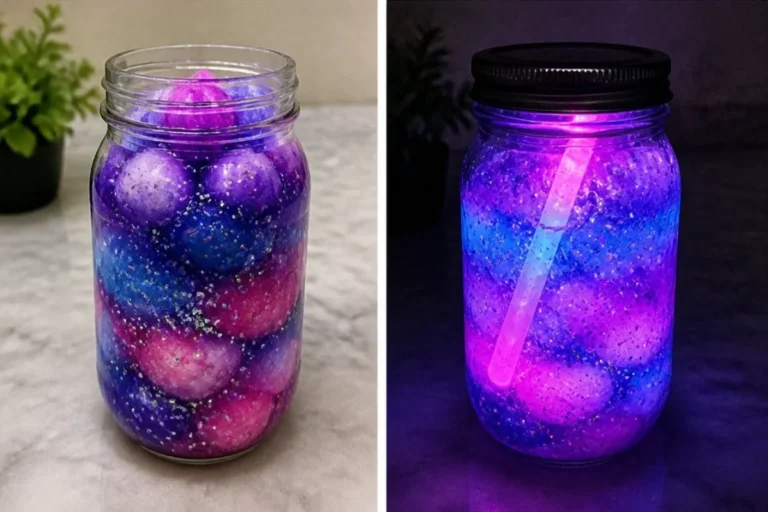
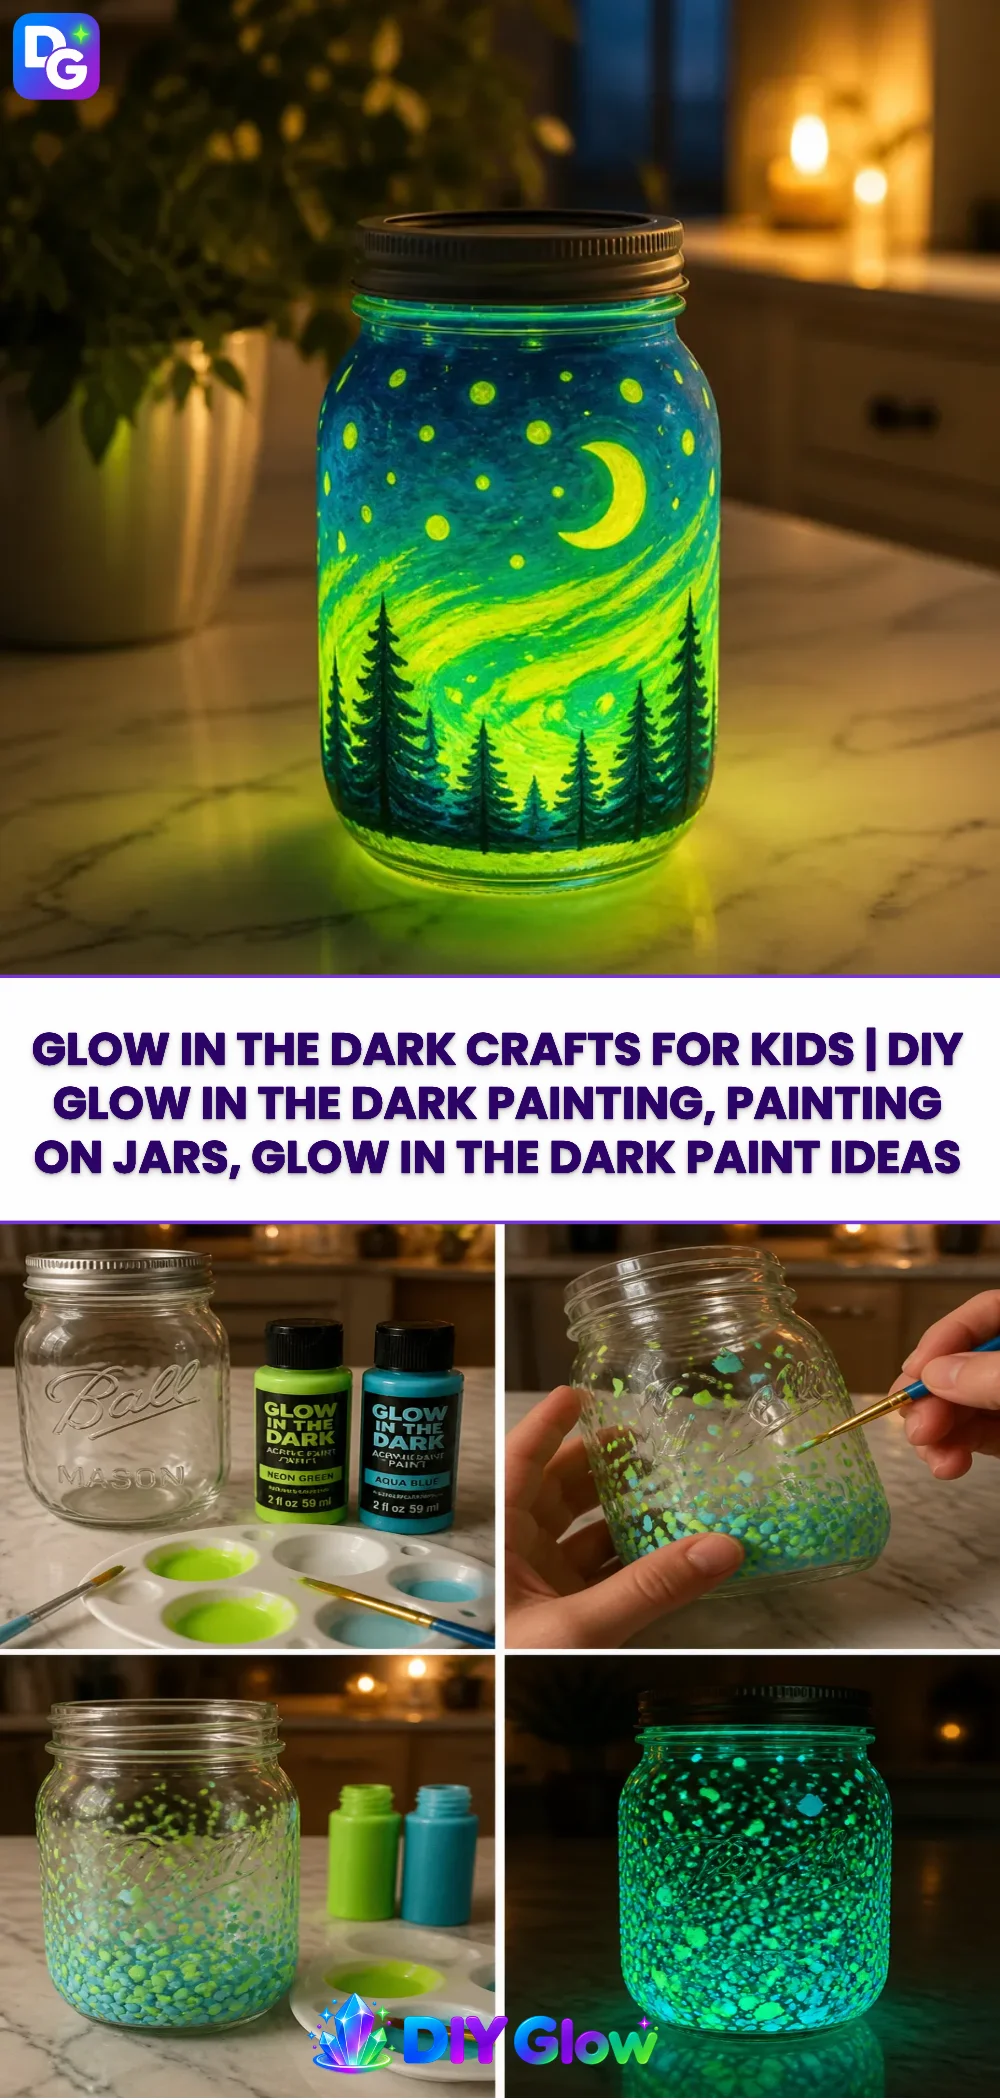
The moment your project lights up with vibrant colors is truly captivating. In this guide for Glow in the Dark crafts for kids, you’ll learn to create glowing bottles that spark curiosity and wonder. These crafts not only look beautiful when illuminated but also inspire children to explore creativity through science. You may also find Rainbow Glow Potions Diy Glow In The Dark Decor useful.
For this project, we will follow a structured approach, focusing on the materials you’ll need and simple steps to achieve a glowing masterpiece. You may also find Diy Flowers Salt Painting For Kids Cozy useful.
What Makes This Work
Glow in the dark paint uses phosphorescent materials. These materials absorb light and then re-emit it slowly, which gives a magical glow after the lights go down. Understanding how these materials behave will help you appreciate the final result and inspire you to explore other creative projects, such as glow-in-the-dark potion bottles.
Materials
- Clear glass or plastic bottles
- Glow in the dark paint (various colors)
- Paintbrushes
- Water (for diluting paint)
- Optional: Glitter or stickers for decoration
Be sure to gather these materials ahead of time to make the crafting process smoother.
Steps
Prepare Your Workspace
Ensure your area is clean and well-ventilated. It’s advisable to use newspaper or a drop cloth to protect surfaces from paint spills.Choose Your Design
Decide whether you want to create patterns or use abstract designs. You may want to sketch your ideas lightly using a pencil on the bottle.Mix the Glow Paint
If necessary, dilute the glow in the dark paint with a small amount of water. This will help the paint flow better onto the bottle’s surface.Start Painting
Using your paintbrush, apply the glow in the dark paint to the bottle. Aim for an even coat, ensuring all areas are covered without leaving any tacky spots.Look for a smooth finish as you work. This enhances the glow effect once the paint has dried completely.
Add Extra Decoration (Optional)
While the paint dries, you can add glitter or stickers to personalize your bottle further. This will add texture and enhance the artistic aspect.Drying Time
Allow your painted bottle to dry in a bright area. The brighter the light it receives, the better the glow effect will be. Follow the manufacturer’s instructions for drying times.Once dry, the bottle should feel smooth and not tacky to the touch.
Charge the Glow
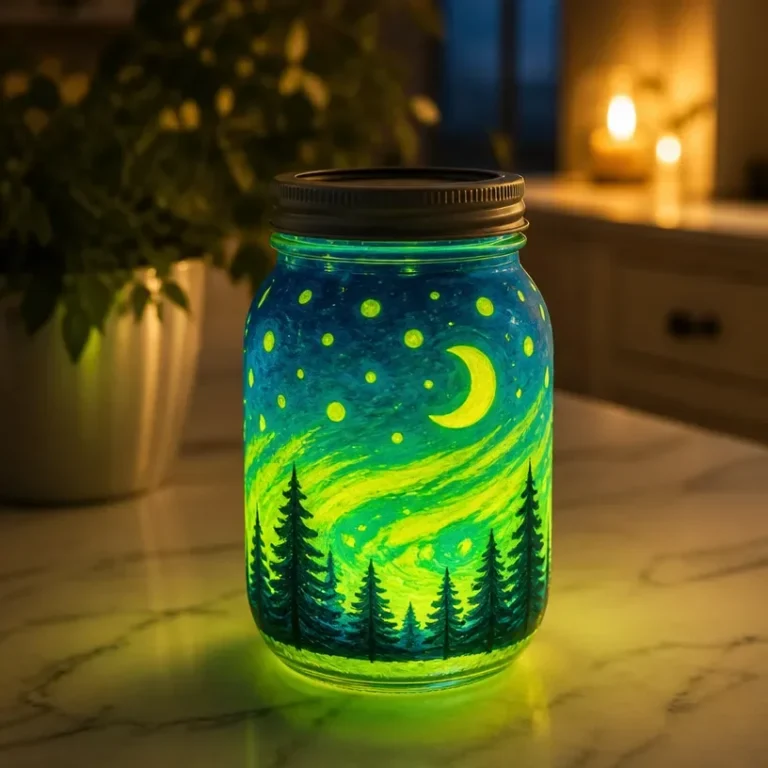
To charge the glow, simply place your craft under a strong light source for a few minutes. Once you turn off the lights, enjoy the enchanting glow!
What Goes Wrong and How to Fix It
Occasionally, the paint may not glow as expected. This can happen if the paint is too diluted or insufficiently charged. If the glow is weak, ensure it has been exposed to a strong light source for longer periods. If you didn’t get a clean finish, try applying a second coat after the first one has dried.
Where to Display It
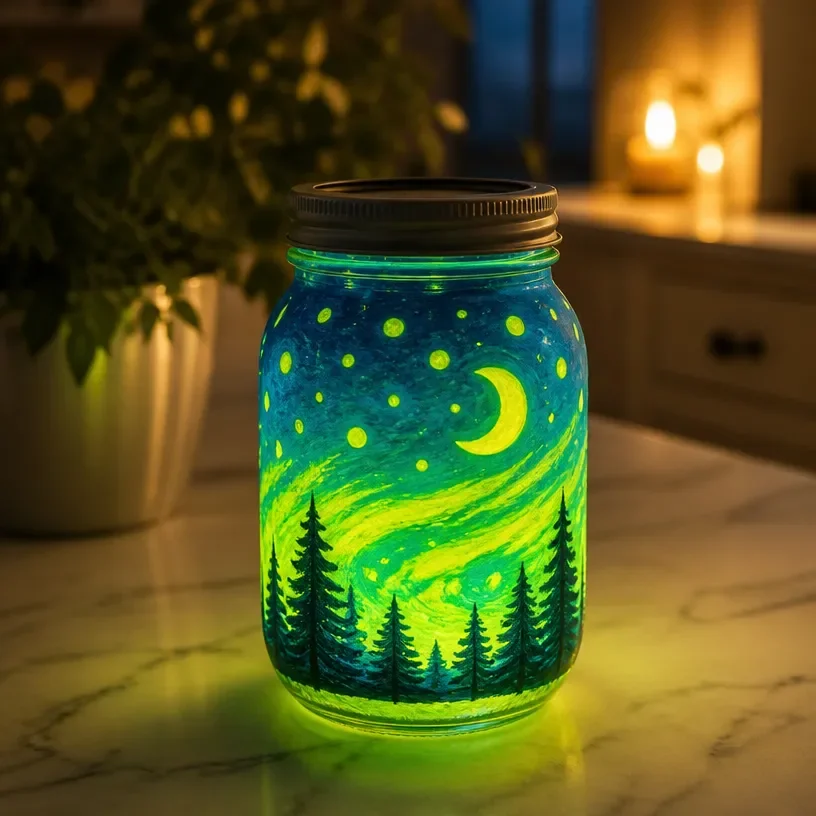
These glowing creations look fantastic on windowsills, shelves, or even as part of a children’s bedroom decor scheme. The vibrant colors will stand out beautifully against the darkness of night. For another unique idea, consider creating cosmic nebula bottles that add a stellar touch to any room.
Variations
Experimenting with different styles can be a lot of fun. Try using various bottle shapes or even different paint colors. You can combine several glowing bottles to create a captivating arrangement. For instance, making a themed set of bottles can inspire storytelling or serve as party decor.
You may also want to explore other craft options, such as salt painting flowers which can also glow with the right materials.
FAQs
How long does the glow last?
The glow can last between a few minutes to several hours, depending on the quality of the paint and how long it was charged.
Can kids help with this project?
Absolutely! Kids can help with painting and designing, but adults should handle any cutting or using sharp tools.
What if I don’t have glow paint?
You may experiment with other luminescent materials, but true glow paint offers the best results.
Can I use any container for painting?
Yes, you can use both glass and plastic containers. Just ensure they are clean and dry before starting.
What should I do if the paint is clumpy?
If the paint is clumpy, it may be a sign of improper storage. Try stirring it thoroughly or replacing it to avoid uneven coverage.
How do I store leftover paint?
Keep leftover glow paint in a cool, dry place, sealed tightly to prevent it from drying out.
Conclusion
Creating glow in the dark crafts can be a wonderful opportunity for families to bond while exploring creativity. For more inspiration, check out additional ideas like Glow-in-the-Dark Art and find further resources for crafting at home with the family by visiting Baker Ross. Enjoy a world of glowing possibilities!
Follow me on social for more recipe ideas & inspiration!
Glow in the Dark Painting
Would you like to save this recipe?
By submitting you agree to receive this recipe and occasional emails. Unsubscribe anytime.
Materials
Materials
- 1 bottle Clear glass or plastic bottles Any size works
- 1 bottle Glow in the dark paint (various colors) Different colors can be mixed for effects
- 1 set Paintbrushes Various sizes for detail
- 1 cup Water For diluting paint if necessary
- Optional Glitter or stickers for decoration Enhance your design
Instructions
Preparation
- Ensure your area is clean and well-ventilated. Use newspaper or a drop cloth to protect surfaces from paint spills.
- Decide on the design for your bottle, sketch lightly with pencil if needed.
Painting
- If necessary, dilute the glow in the dark paint with a small amount of water for better flow.
- Apply the glow in the dark paint evenly to the bottle using a paintbrush, ensuring all areas are covered.
- Add glitter or stickers while the paint dries for additional decoration.
Drying and Charging
- Allow the painted bottle to dry in a bright area, following manufacturer's instructions for drying times.
- To charge the glow effect, place your craft under a strong light source for a few minutes.
Last Step: Don’t forget to leave a rating and comment below! It helps other readers find the best recipes — and it helps us too!
Tips & Notes:
Nutrition Information: Serving: 1 | Calories: | Carbohydrates: | Protein: | Fat: | Sodium: | Fiber: | Sugar:
Nutritional information is provided as a courtesy and calculated automatically. Values can vary depending on the brands and ingredients you use, so if you’re tracking closely, I recommend calculating with your own preferred tool.