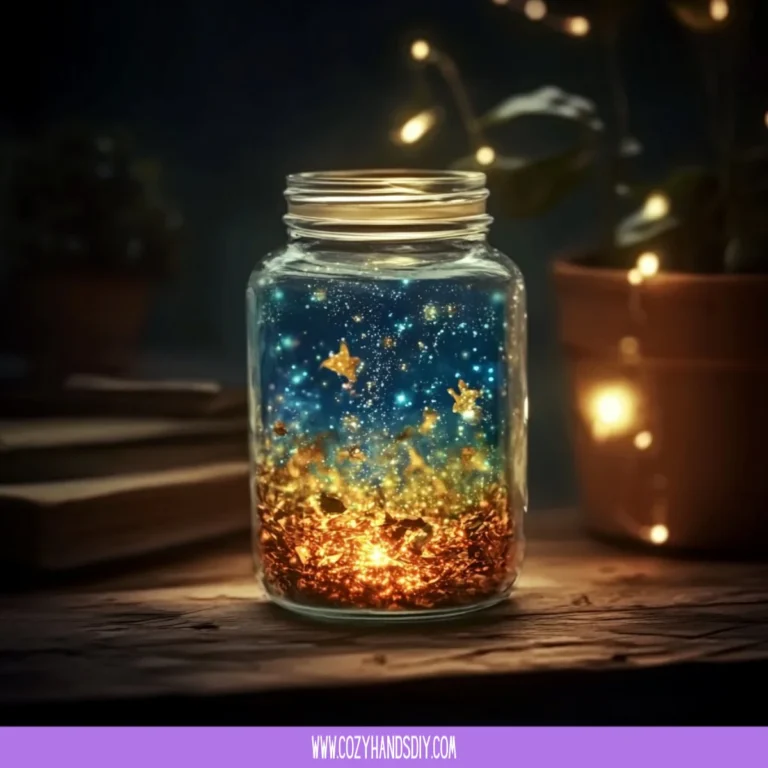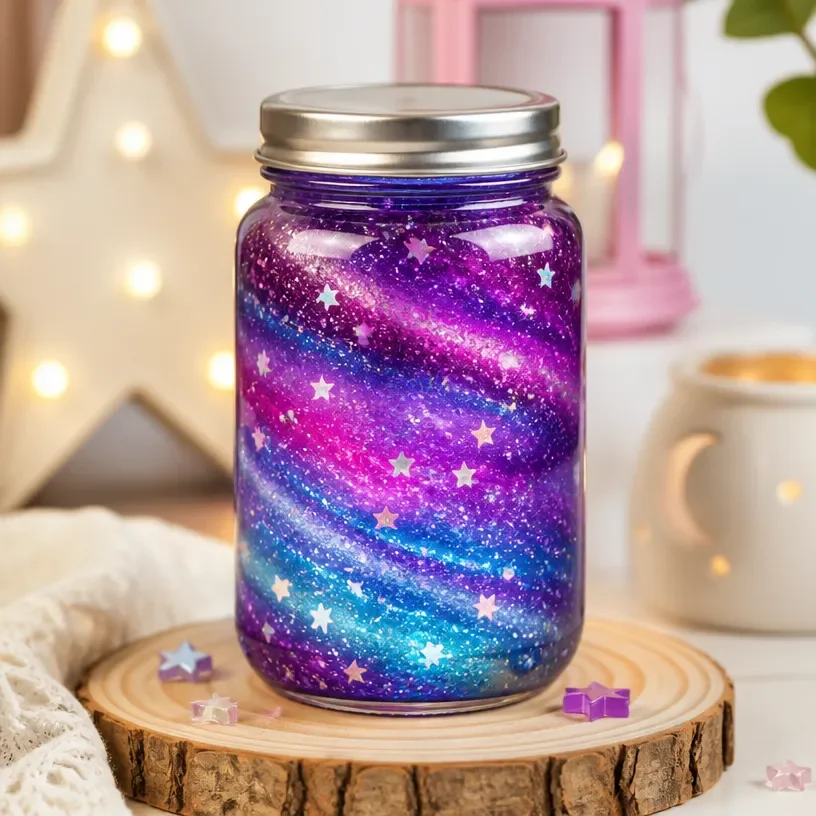
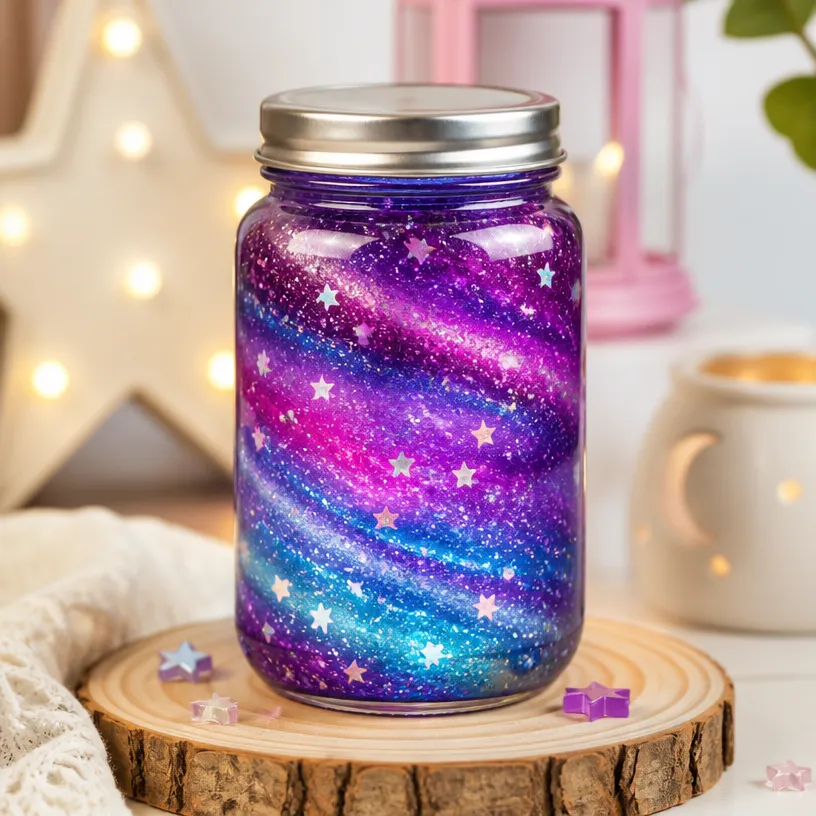
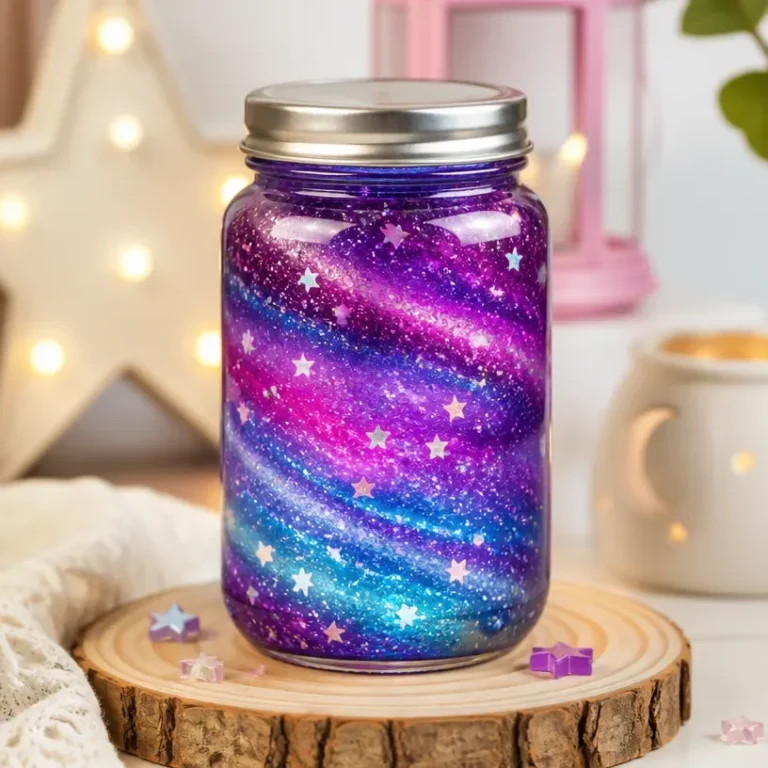
Making a Galaxy Glitter Jar is a fun craft project that allows you to create a beautiful decorative piece. When completed, the jar will shimmer with colorful glitters, evoking a mesmerizing galaxy effect. This DIY tutorial will guide you through the process step by step, ensuring you understand what materials you need and what to expect as you work. You may also find How To Grow A Crystal Star At Home Diy Tutorial useful.
What Makes This Work
The major focus of making a Galaxy Glitter Jar is the unique blend of glitters and the movement of the liquid inside. The way these particles float and twinkle mimics stars in a night sky. Using different colors of glitter can amplify this effect, creating a beautiful display of colors under the light. You may also find How To Make Glowing Firefly Bottle Lights A Diy Guide useful.
Materials
To make your Galaxy Glitter Jar, here’s what you will need: You may also find How To Make Baking Soda Growing Tree Diy useful.
- Clear jar with a lid
- Water
- Clear glue
- Glitter (various colors)
- Food coloring (optional)
- A stir stick or spoon
- Hot water (be careful and let an adult handle it if necessary)
After gathering your materials, you’ll be ready to begin crafting your unique glitter jar. You may also find How To Make Diy Blue Crayon Suncatchers Deco useful.
Steps
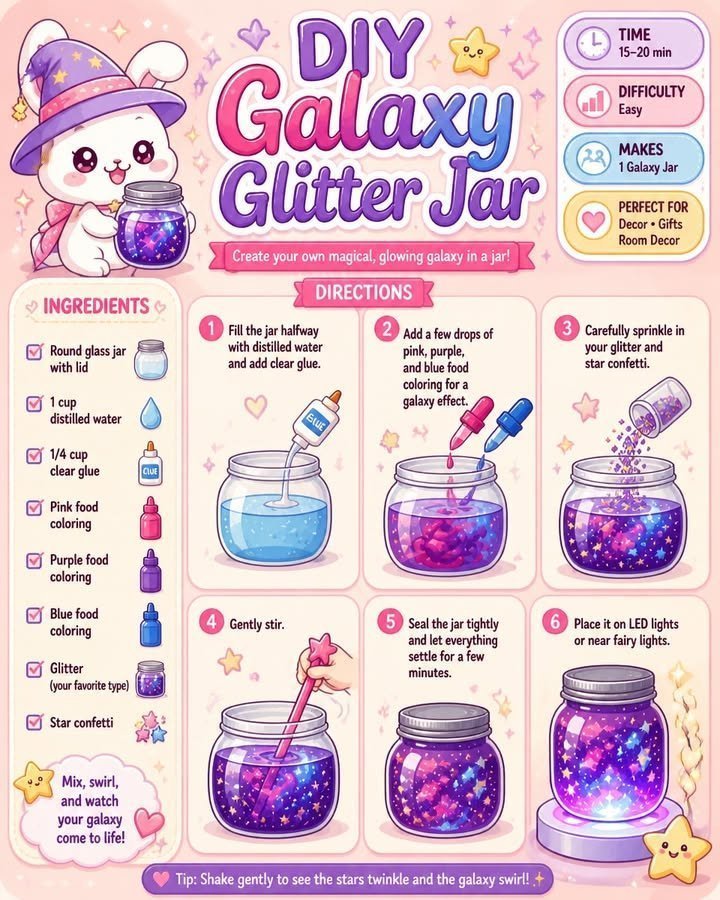
Prepare Your Jar: Start by cleaning your jar to ensure there are no residues that can affect your project. Use hot water for this, but be cautious, and allow an adult to assist you.
Mix the Glue and Water: In a bowl, mix equal parts of clear glue and water. This will create the base for your galaxy jar. Stir well until it’s combined thoroughly. You want to ensure an even, consistent mixture.
Add Glitter: Start sprinkling in your glitter. Use a mix of colors to give a more vibrant galaxy effect. The important thing to look for is the way the colors blend and how the glitter floats through the liquid. Don’t hesitate to add more glitter if you want a denser look.
Incorporate Food Coloring: If you wish to add vibrancy to your glitter jar, now is the time to include food coloring. A drop or two can change the entire color theme of your galaxy. Remember to stir it well so the color spreads evenly.
Fill the Jar: Pour the glue mixture into your jar, leaving a small gap near the top. You want the liquid to sit comfortably inside without overflowing. Observe how the glitter interacts with the moving water; it should begin to sparkle as the light hits it.
Seal and Shake: After filling, secure the lid tightly. This step is essential to prevent any spills. You can shake the jar gently to see the movement of glitter. The swirling should remind you of a cosmic display.
What Goes Wrong and How to Fix It
During this process, you might experience thick or clumpy glitter. This happens sometimes if there isn’t enough water mixed with glue. To fix it, simply add more water and shake again, ensuring everything is mixed thoroughly. If the glitter settles too quickly, add a little more clear glue and water to improve the flow.
Where to Display It
The best part about your new Galaxy Glitter Jar is how it looks in different settings. Place it on a windowsill or a shelf where light can catch the glitter. You can further enhance its glow with a soft light source nearby. For additional decorative ideas, consider trying neon glow dahlias that can complement your glitter jar very well.
Variations
If you want to change things up a bit, consider different types of glitter, such as glow-in-the-dark options. You can also experiment with various jar sizes or shapes, which can lead to unique displays. Creating a themed jar can also be fun; consider seasonal colors or even colors inspired by nature, such as the ocean or a forest.
You may also want to try making colorful suncatchers to enhance your decor even further.
FAQs
How do I make my glitter jar glow in the dark?
You can use glow-in-the-dark glitter or add glow powder to the glue mixture. Charge it under a light source, and watch it glow in the dark.
What can I substitute if I don’t have clear glue?
White school glue can work, but it may give a cloudy effect instead of a clear one. Test it out to see if you like the results.
How long will my Galaxy Glitter Jar last?
With proper sealing, your jar can last indefinitely. Just ensure no water leaks out.
Is it safe for children to help with this project?
Yes, but supervision is necessary, especially when using hot water and sealing the jar.
Why did my glitter settle?
The glitter can settle quickly if the glue and water mixture isn’t thick enough or if you don’t have enough liquid. Add more clear glue, and that should help.
Can I use different types of jars?
Absolutely! Using different jars like mason jars, beautifully shaped glass containers, or even plastic bottles can change the look of your glitter jar.
Conclusion
Creating a Galaxy Glitter Jar is a fantastic activity that brings a little bit of magic right into your space. There are many ways to enhance the experience, whether by exploring additional DIY projects or diving deeper into crafting techniques. If you’re interested in making even more glowing crafts, check out this tutorial for a nebula jar and learn how to design a galaxy right in your hands. Don’t forget to visit Fireflies and Mud Pies for more galaxy glitter jar variations!
Follow me on social for more recipe ideas & inspiration!
Galaxy Glitter Jar
Would you like to save this recipe?
By submitting you agree to receive this recipe and occasional emails. Unsubscribe anytime.
Materials
Main Ingredients
- 1 jar Clear jar with a lid
- 1 cup Water Use hot water for cleaning the jar.
- 1/2 cup Clear glue
- as needed various colors Glitter Use a mix of colors for a vibrant effect.
- 1-2 drops Food coloring (optional) Add for enhanced color.
- 1 stick Stir stick or spoon
- as needed cup Hot water Handle with care, ask for adult supervision.
Instructions
Preparation
- Start by cleaning your jar to ensure there are no residues that can affect your project. Use hot water for this, with adult supervision.
Mixing
- In a bowl, mix equal parts of clear glue and water. Stir well until it's thoroughly combined.
Adding Glitter
- Sprinkle in your glitter, using a mix of colors for a vibrant galaxy effect. Add more glitter if you want a denser look.
Incorporating Color
- If desired, add food coloring to enhance vibrancy and stir well for even distribution.
Filling the Jar
- Pour the glue mixture into your jar, leaving a small gap near the top.
Sealing and Shaking
- Secure the lid tightly to avoid spills, then gently shake the jar to see the glitter movement.
Last Step: Don’t forget to leave a rating and comment below! It helps other readers find the best recipes — and it helps us too!
Tips & Notes:
Nutrition Information: Serving: 1 | Calories: | Carbohydrates: | Protein: | Fat: | Sodium: | Fiber: | Sugar:
Nutritional information is provided as a courtesy and calculated automatically. Values can vary depending on the brands and ingredients you use, so if you’re tracking closely, I recommend calculating with your own preferred tool.