Rainbow Haunted House Window Suncatcher
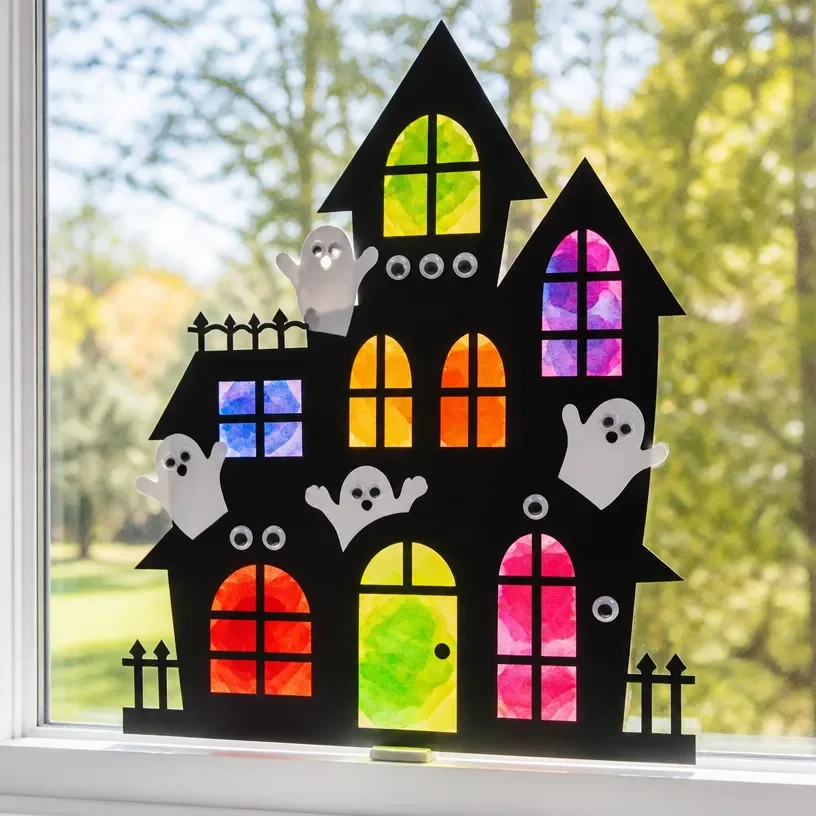
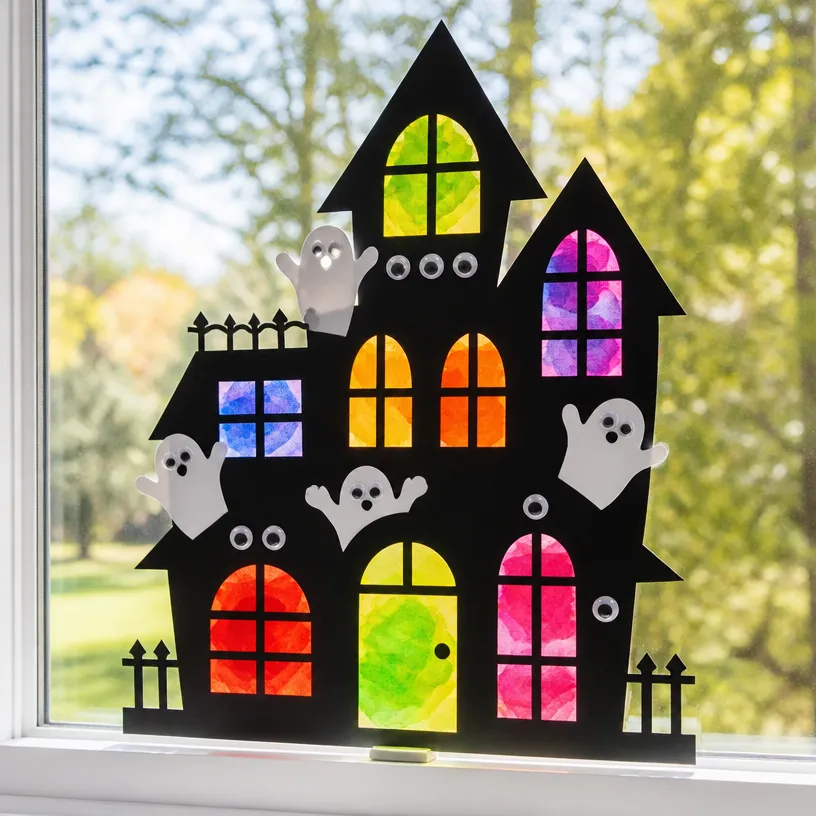
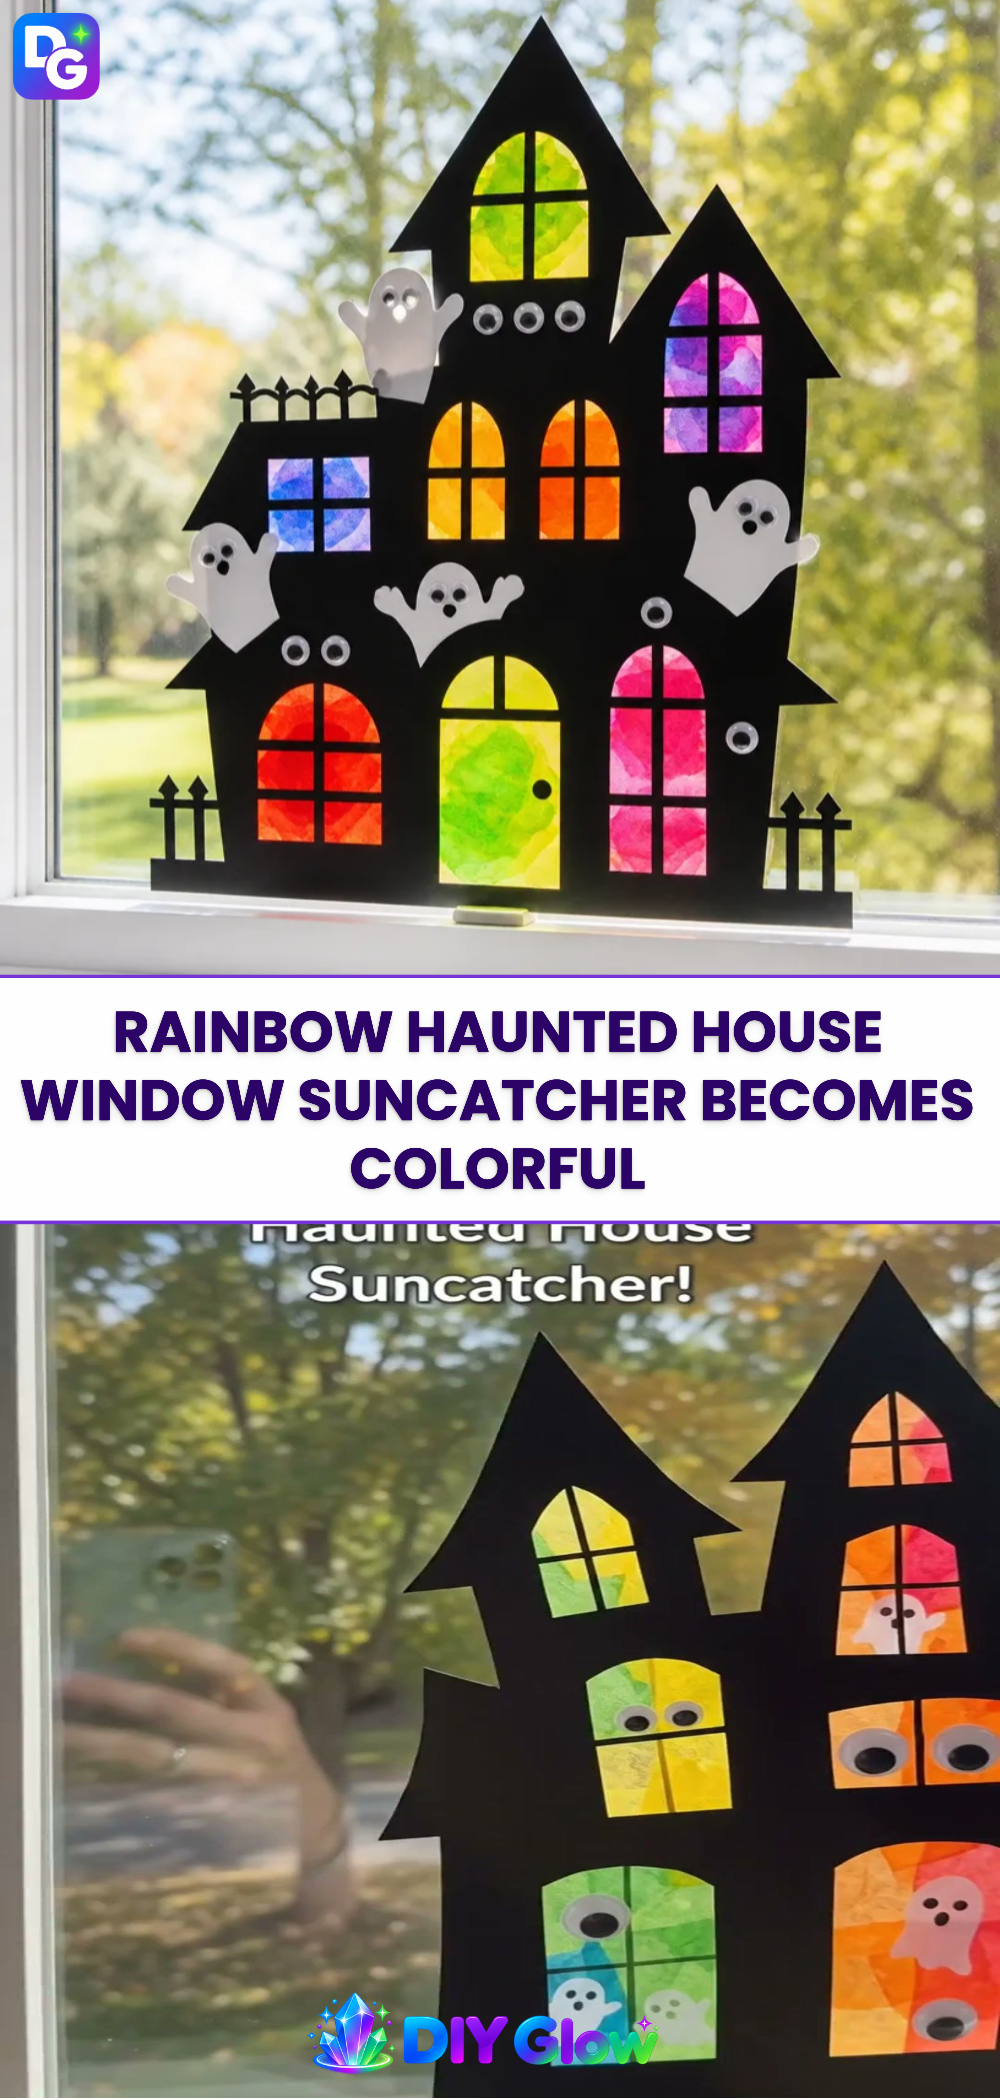
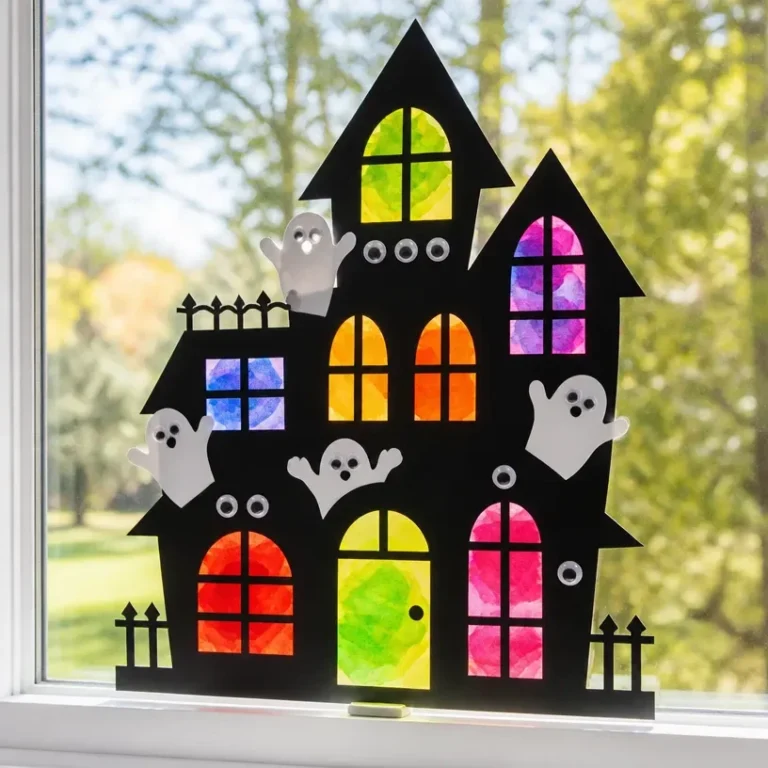
Creating a Rainbow Haunted House Window Suncatcher transforms an ordinary window into a colorful spectacle. As the sunlight streams through the suncatcher, it creates vibrant reflections that boost the ambience of any room. This project not only looks appealing but also integrates fun and creativity into the process. You may also find Melted Crayon Rainbow Haunted House Suncatcher useful.
The materials you will need include: clear plastic sheets, colored tissue paper, clear glue, scissors, a paintbrush, and optional decorations like glitter or stickers. All these supplies aid in enhancing the visual appeal of your suncatcher, making it sparkle in the sunlight. Using these components, you can construct a decorative piece perfect for a vibrant display inside your home. You may also find Clear Blue Rainbow Schoolhouse Suncatcher useful.
What Makes This Work
The science behind how this suncatcher works lies in light refraction. Clear materials like the plastic sheets allow light to pass through and bend, creating a spectrum of colors. The contrasting colors of tissue paper will enhance this effect, producing a beautiful rainbow effect that brightens up the room. You may also find Colorful Rainbow Prism Pencil Window Ornament useful.
Materials
Gather these items:
- Clear plastic sheets
- Colored tissue paper
- Clear glue
- Scissors
- Paintbrush
- Optional: glitter, stickers, or other decorations
Make sure all your materials are organized before starting the project. This will help streamline the process and make it easier to follow each step.
Steps
Prepare the Plastic Sheet: Cut the clear plastic sheets into your desired shape for the haunted house. Make sure it is large enough to capture attention but still fits your window.
Create the Suncatcher Design: Use scissors to cut the colored tissue paper into various shapes. You can choose colors of your choice but using the colors of the rainbow can be particularly striking. Place these pieces onto the plastic sheet, arranging them as you like.
Apply Glue: Using the paintbrush, apply clear glue over the tissue paper shapes. This will help seal them and create a stronger bond with the plastic sheet. Make sure to cover all edges for a neat appearance.
Layer and Dry: If you want to add depth, allow the glue to dry partially before adding more layers of tissue paper. This helps create texture. However, ensure you are looking for that non-tacky surface before proceeding.
Finish the Edges: After everything has dried, trim any uneven edges around the suncatcher to create a clean look. The smoother the edges, the better your suncatcher will look when displayed.
Add Extra Decorations: This step is optional, but adding glitter or stickers can enhance the playfulness of your suncatcher. Ensure the glue is dry before applying any embellishments.
What Goes Wrong and How to Fix It
Sometimes the glue may not dry correctly, leading to tacky surfaces. If this happens, allow more time for drying, or gently blot with a paper towel to soak up excess moisture. Additionally, if the colors do not appear vibrant enough, consider applying another layer of tissue paper. This will intensify the colors and improve the overall visual effect.
Where to Display It
This suncatcher looks stunning in various locations. You can hang it in a window where sunlight hits directly, or place it on a shelf where it can be seen from multiple angles. To find more ideas on colorful window decor, check out this guide on colorful rainbow glass suncatchers.
Variations
Feel free to customize your suncatcher further! Instead of a haunted house shape, you could make a rainbow pattern or different seasonal themes. Combining various styles can keep your decorations fresh and adaptable throughout the year. For instance, you could create a beautiful butterfly design inspired by this colorful rainbow crystal butterfly window suncatcher.
FAQs
What type of glue can I use for this project?
Any clear-drying glue works great for this project. Make sure it adheres well to both the plastic and the tissue paper.
How can I make sure my suncatcher stays bright?
Keep your suncatcher away from direct moisture or intense heat, which can cause the colors to fade over time.
Can children help with this project?
Yes, this is a kid-friendly project! Just ensure parents supervise when cutting materials or using scissors and glue.
How long does this project take to complete?
The entire process can take about 1-2 hours, depending on drying times between applications of glue.
What happens if my suncatcher doesn’t stick?
If you find that your materials are not sticking together efficiently, you may not have applied enough glue. Reapply and press firmly.
Can I add more decorations later?
Absolutely! If you want to enhance your suncatcher over time, just use clear glue to apply new decorations whenever you like.
Conclusion
Making a Rainbow Haunted House Window Suncatcher is not just a fun craft project; it’s also a creative way to bring color into your home. If you’re looking for additional suncatcher options, consider a Kikkerland Solar Powered Rainbow Maker for unique effects. For more holiday gift ideas, visit 2021 Holiday Gift Guides For Kids & Adults. Happy crafting!
Follow me on social for more recipe ideas & inspiration!
Rainbow Haunted House Window Suncatcher
Would you like to save this recipe?
By submitting you agree to receive this recipe and occasional emails. Unsubscribe anytime.
Materials
Main Materials
- 1 sheet Clear plastic sheet Cut into desired shape for the suncatcher.
- various Colored tissue paper Cut into shapes of choice, preferably in rainbow colors.
- 1 bottle Clear glue Clear-drying glue works best.
- 1 pair Scissors For cutting plastic and tissue paper.
- 1 brush Paintbrush For applying glue.
Optional Decorations
- to taste Glitter or stickers Use to enhance the suncatcher's appearance.
Instructions
Preparation
- Cut the clear plastic sheets into your desired shape for the haunted house.
- Cut the colored tissue paper into various shapes.
Assembly
- Place tissue paper pieces onto the plastic sheet, arranging as desired.
- Apply clear glue over the tissue paper shapes using a paintbrush.
- Allow glue to dry partially before adding more tissue paper layers for depth.
- Trim any uneven edges after everything has dried for a clean look.
- If desired, add glitter or stickers after the glue has dried.
Last Step: Don’t forget to leave a rating and comment below! It helps other readers find the best recipes — and it helps us too!
Tips & Notes:
Nutrition Information: Serving: 1 | Calories: | Carbohydrates: | Protein: | Fat: | Sodium: | Fiber: | Sugar:
Nutritional information is provided as a courtesy and calculated automatically. Values can vary depending on the brands and ingredients you use, so if you’re tracking closely, I recommend calculating with your own preferred tool.