Intro
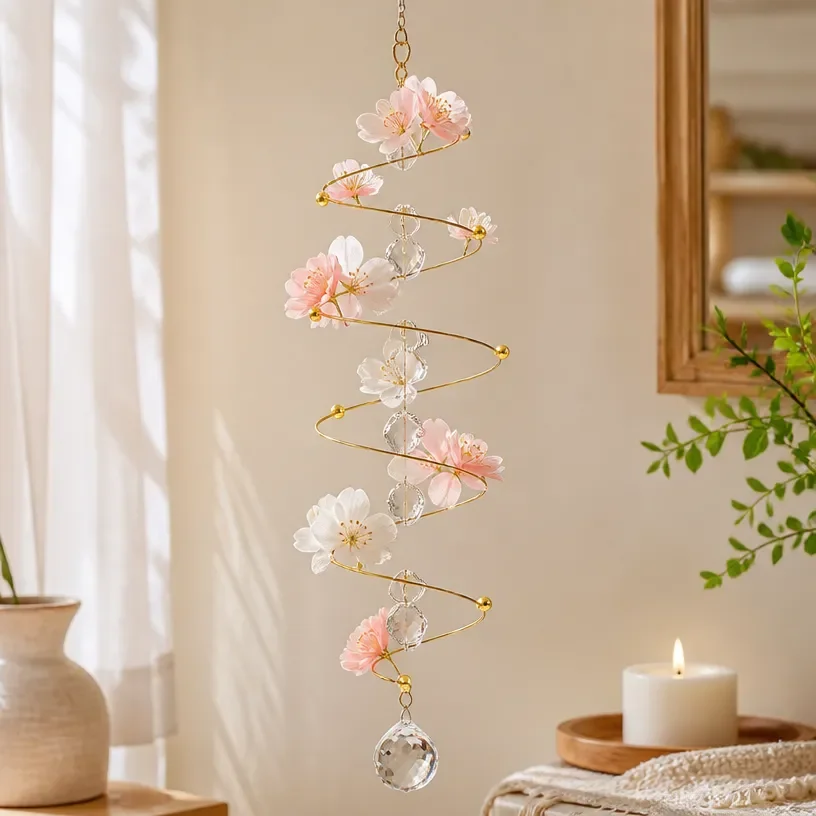
As you craft your DIY Floral Spiral Crystal Wind Chime, you will watch the colors change and sparkle. This project is not only fun but also creates a stunning decoration for your home. The DIY Floral Spiral Crystal Wind Chime Tutorial will guide you through the process step by step, ensuring you achieve a beautiful result. By following these instructions carefully, you can create a wind chime that dances with light and color. You may also find Diy Floral Crystal Wind Chime 2 useful.
What makes this work
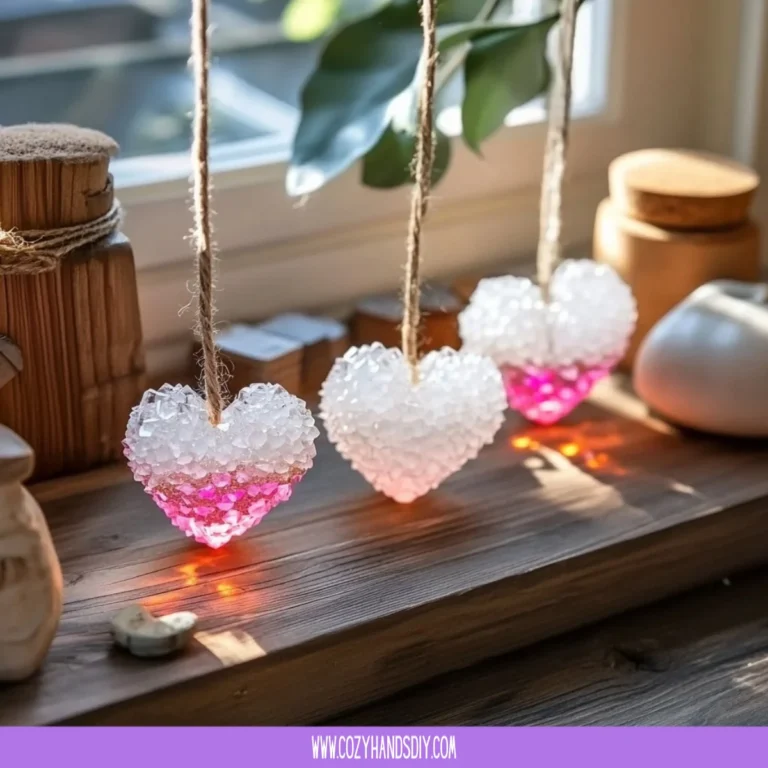
The beauty of this project lies in the materials. You will use a combination of crystals and floral decorations, both of which catch the sunlight beautifully. The crystals will create colorful reflections as they twirl in the wind. This is due to their ability to refract light, which enhances the visual effect. Knowing how to hang your wind chime is also crucial for getting the best light results. This DIY project complements other fun crafts such as baking soda crystal structures, adding another layer of creativity to your crafting.
Materials
Gather the following materials before starting your project: You may also find Diy Floral Crystal Wind Chime useful.
- Crystal beads (various colors)
- Floral wire
- Ribbon for decoration
- A small hoop or ring to hold the wind chime
- Scissors
- Wire cutters
- Optional: hot glue gun (use with caution, as it can be hot)
After collecting the materials, you are ready to start making your wind chime. You may also find How To Grow A Crystal Star At Home Diy Tutorial useful.
Steps
Cut the floral wire: First, cut lengths of floral wire. Each piece should be approximately 12 to 18 inches long. This will allow enough room for the crystals to hang freely, which enhances movement. You may also find Diy Bioplastic Suncatchers Natures Window Art 2 useful.
Attach the crystal beads: Thread crystal beads onto the floral wire. Choose a mix of colors to add vibrancy. Leave a little space at the end of the wire to ensure the beads can shift slightly as they sway.
Twist and secure: Once you reach the desired number of beads, twist the end of the wire to secure the beads in place. Use your fingers to create a small loop at the end of the wire, ensuring the beads do not slip off.
Form the design: Repeat this process for additional wires, each with different color combinations for a layered effect. Make sure to have varying lengths of wire for a more dynamic look.
Attach to the hoop or ring: Use more floral wire to tie each beaded strand to the hoop or ring. Space them evenly so they hang beautifully when finished.
Decorate: Wrap some of the ribbon around the hoop or ring for added flair. You can also attach small flowers or leaves to complete the natural look.
Hang your wind chime: Find a suitable location with enough breeze for your wind chime to sway. A porch or window is perfect for displaying your creation.
What goes wrong and how to fix it
Sometimes the crystal beads may not hang evenly, or a few may slip out of place. If this occurs, it’s often due to loose wiring. To fix it, simply tighten the wire by twisting it again or adding a small dab of hot glue if needed. For a cleaner finish, ensure that all strands are evenly spaced and that the hoop is securely tied to avoid any mishaps with falling beads.
Where to display it
Your wind chime can brighten up any space. Hang it near a window where sunlight shines through, allowing the colors to dance on your walls. You could also display it outdoors in a garden or on a patio, where it can catch the wind and create pleasant sounds. If you are interested in other decoration ideas, you might want to explore bioplastic suncatchers that can complement your wind chime perfectly.
Variations
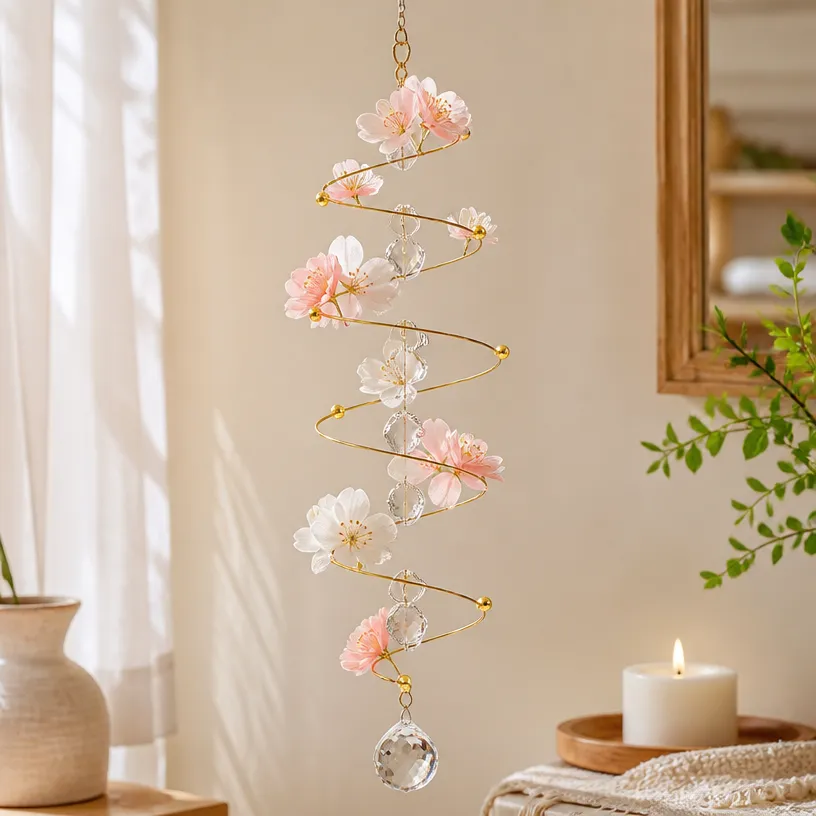
Get creative with your wind chime! You can change the types of beads used they do not all have to be crystals. Try using wooden beads, shells, or other natural items for a unique look. You can also alter the size of the hoop or ring to create a larger or smaller wind chime. Experiment with various colors of ribbon or even paint your beads to match your decor.
FAQs
How can I make a crystal wind chime with different materials?
You can use various materials such as plastic beads, shells, or even recycled items. Just make sure they are lightweight enough to hang easily and catch the wind.
Why did my wind chime not turn out as expected?
If your wind chime does not look as you anticipated, it could be due to unbalanced weight or uneven spacing of the beads. Make adjustments by shortening or lengthening the wires to balance it out.
How long will my wind chime last?
With proper care, your wind chime can last several seasons. It is best to bring it inside during extreme weather conditions to prolong its life.
Can children help with this project?
Yes, children can help with assembling the wind chime, but adult supervision is recommended when using scissors, wire cutters, or a hot glue gun.
What should I do if my beads get tangled?
If the beads get tangled, gently untwist the wires without pulling too hard to avoid breaking the strands. Maintaining even spacing can help prevent tangling.
Can I use other shapes or designs?
Yes! While the spiral design is lovely, you can create different shapes such as circles or hearts. Let your creativity guide you in making something truly unique.
Conclusion
Creating your DIY Floral Spiral Crystal Wind Chime is not just about the final product; it’s about enjoying the process of making it shine with beauty and color. For a variety of options, check out crystal wind chime kits on Etsy or explore wind spinner suncatcher kits on Amazon for more DIY adventure possibilities.
Follow me on social for more recipe ideas & inspiration!

Floral Spiral Crystal Wind Chime
Would you like to save this recipe?
By submitting you agree to receive this recipe and occasional emails. Unsubscribe anytime.
Materials
Materials for Wind Chime
- 1 pack Crystal beads (various colors) Choose a mix of colors to enhance appearance.
- 1 roll Floral wire Used to hold the beads.
- 1 roll Ribbon for decoration Used to wrap around the hoop.
- 1 piece A small hoop or ring To hold the wind chime.
- 1 pair Scissors For cutting the wire.
- 1 piece Wire cutters For cutting the floral wire.
- 1 optional Hot glue gun Use with caution since it can be hot.
Instructions
Preparation
- Cut lengths of floral wire, approximately 12 to 18 inches long for each piece.
- Thread crystal beads onto the floral wire, leaving a little space at the end.
- Twist the end of the wire to secure the beads and create a small loop at the end.
- Repeat the process with additional wires, using varying colors and lengths.
- Tie each beaded strand to the hoop or ring using more floral wire.
- Wrap ribbon around the hoop or ring and attach small flowers or leaves for decoration.
- Find a suitable location to hang your wind chime, such as a porch or window.
Troubleshooting
- If the beads don't hang evenly, tighten the wire or add a small dab of hot glue.
Last Step: Don’t forget to leave a rating and comment below! It helps other readers find the best recipes — and it helps us too!
Tips & Notes:
Nutrition Information: Serving: 1 | Calories: | Carbohydrates: | Protein: | Fat: | Sodium: | Fiber: | Sugar:
Nutritional information is provided as a courtesy and calculated automatically. Values can vary depending on the brands and ingredients you use, so if you’re tracking closely, I recommend calculating with your own preferred tool.