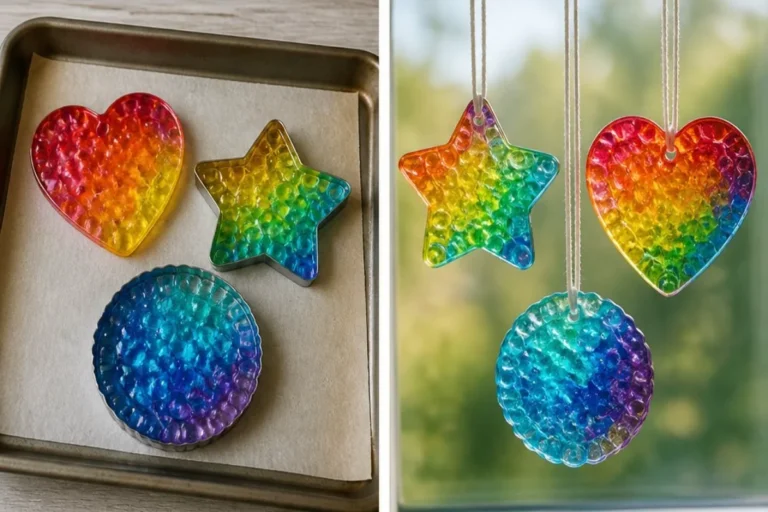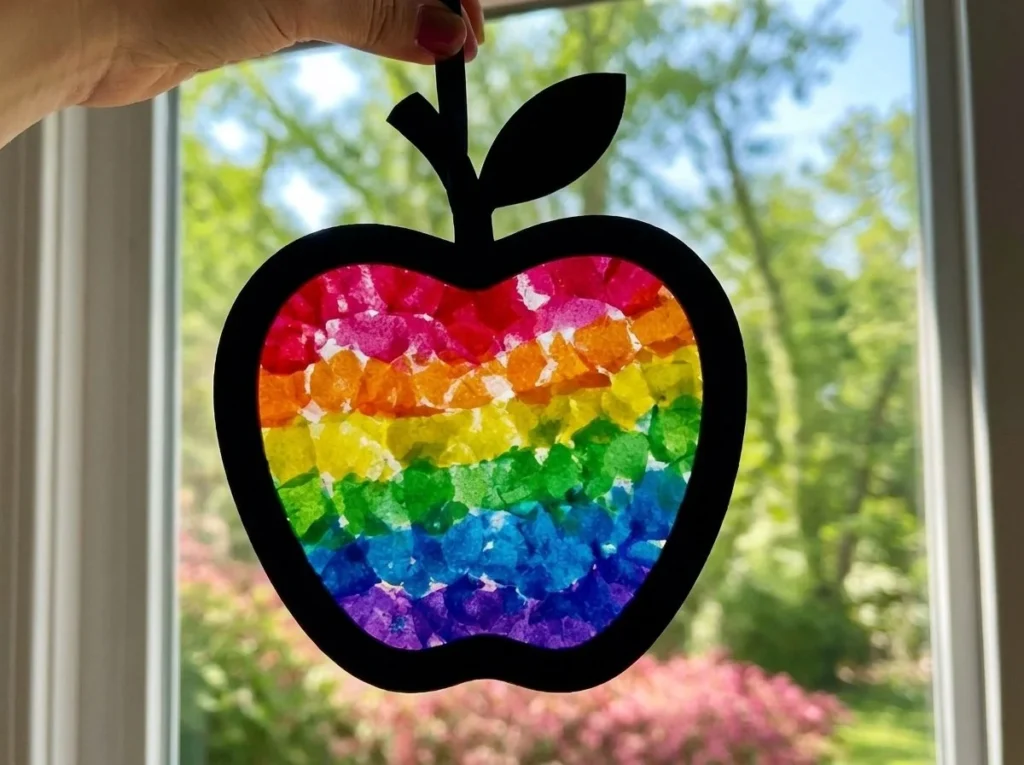
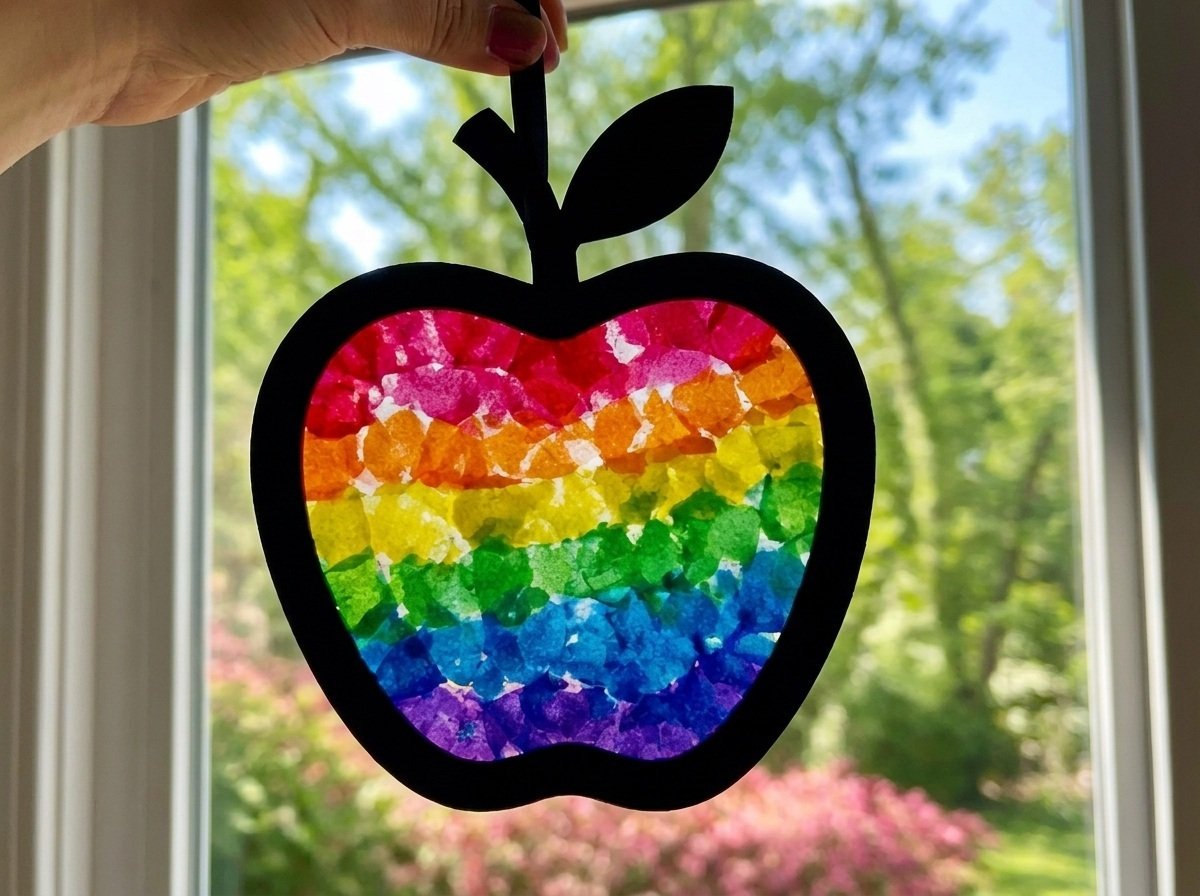
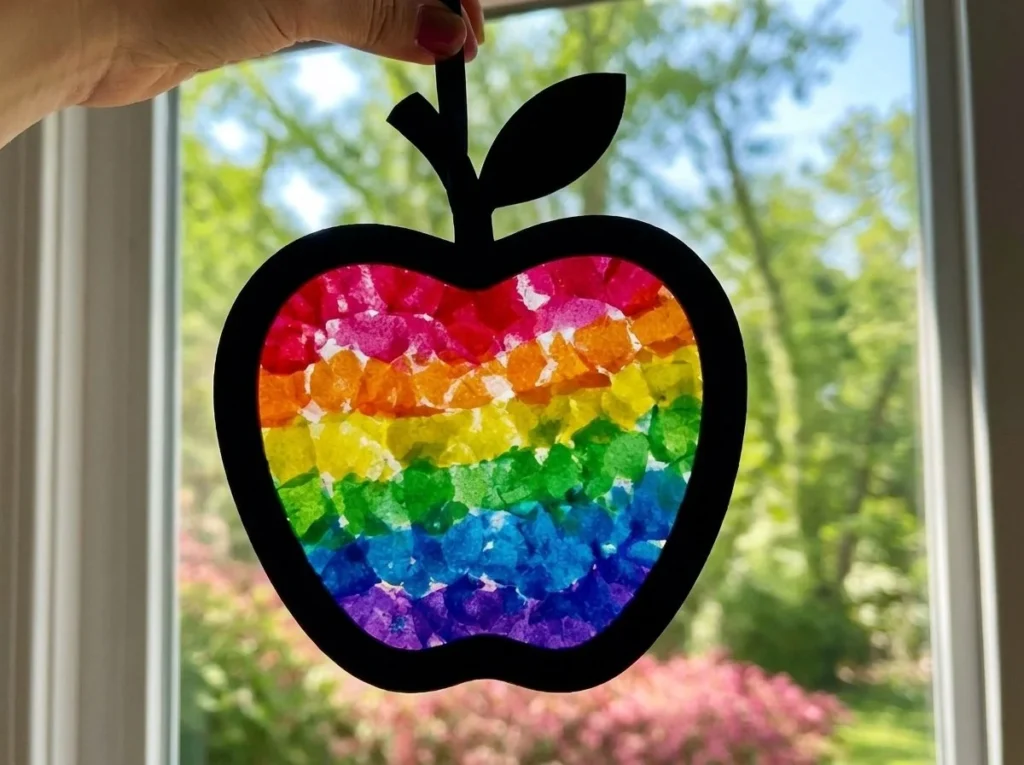
The Rainbow Apple Stained-Glass Suncatcher for Teachers is a delightful craft that transforms simple materials into a colorful and eye-catching decoration. Watching the vibrant hues filter light through your suncatcher creates a magical effect in any window. This project is not just fun; it also provides a wonderful opportunity to explore creativity and colors. You may also find Baking Soda Rainbow Crystal Forest Rainbow Crystals useful.
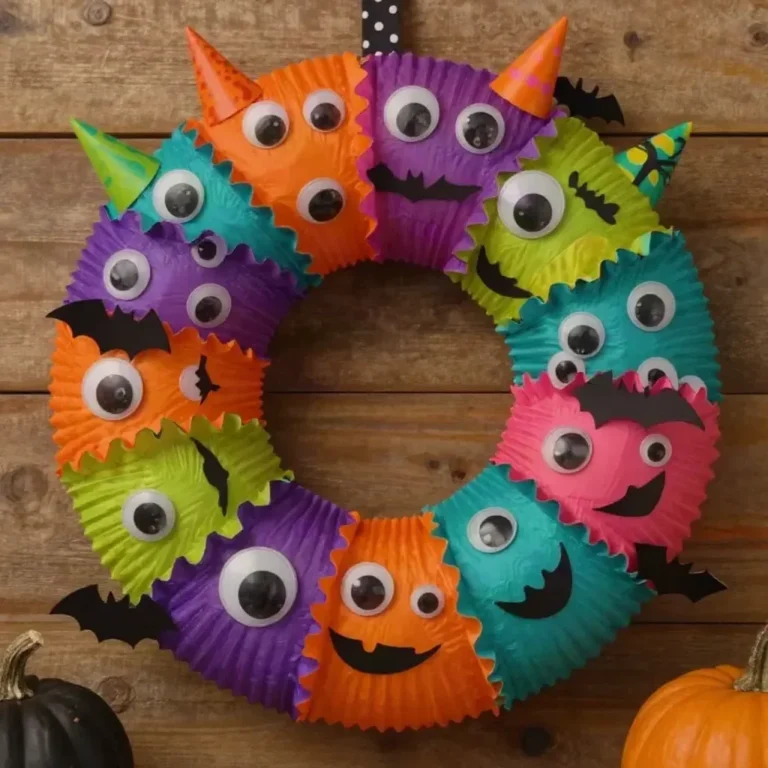
To start this project, gather your materials: contact paper, black cardstock, red or pink tissue paper, rainbow tissue, blue cellophane, green cardstock, and confetti. Each of these supplies plays a crucial role in achieving the glowing effect of the suncatcher. If you need more inspiration for colorful crafts, check out this Rainbow Apple Cupcake Liner Flower Wreath project.
What Makes This Work
The key to this suncatcher’s success lies in the contrast between the dark frame and the colorful translucent elements. When light passes through the colorful sections, it brings the suncatcher to life, making it an engaging display in any space. This project also helps children learn about color mixing and light refraction in a fun, hands-on way.
Materials
Collect the following materials:
- Contact paper
- Black cardstock
- Red or pink tissue paper
- Rainbow tissue
- Blue cellophane
- Green cardstock
- Confetti
These materials work together beautifully, allowing you to create a vibrant suncatcher that captures light in a unique way.
Steps
Step 1: Cut Apple Frame
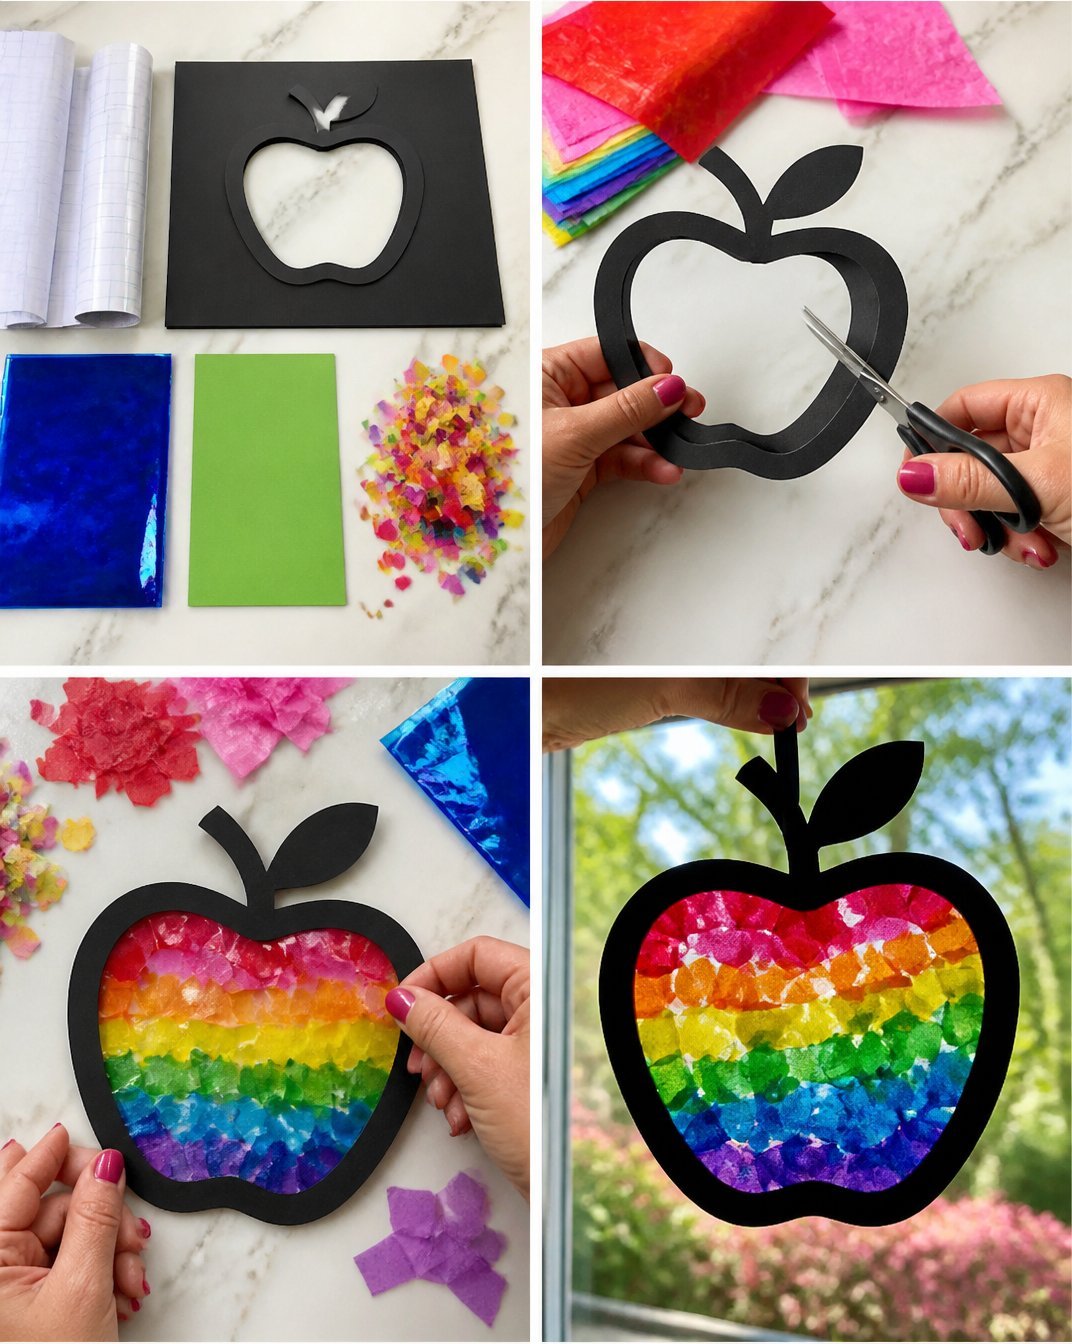
Begin by cutting the apple shape from the black cardstock. This will serve as the frame for your suncatcher. Ensure the edges are smooth and define the apple’s shape well. You can also use a template if you prefer a precise outline.
Step 2: Fill with Translucent Colors
Once the frame is ready, the next step is to fill it with shades of red, pink, rainbow tissue paper, and blue cellophane. Aim for a balanced mix, ensuring that the colors overlap slightly for an intriguing visual effect. Keep an eye on the textures as you layer: smooth, crinkled, and other variations will create a dynamic appearance.
As you fill the frame, consider adding some confetti to introduce elements of surprise and sparkle. The blend of textures and colors will make the suncatcher truly eye-catching. If you want to explore more crystal-themed projects, consider checking the Baking Soda Rainbow Crystal Forest.
Step 3: Seal and Hang
To finish the suncatcher, carefully seal the colored sections using another piece of contact paper. This step not only keeps the colors in place but also protects them from dust and damage. Press down firmly, ensuring there are no air bubbles trapped inside. Once sealed, you can hang your suncatcher in a window using string or ribbon.
What Goes Wrong and How to Fix It
Sometimes projects do not turn out as expected. Common issues include air bubbles under the contact paper or colors that blend too much. If you notice air bubbles, use a pin to puncture and gently press out the air. If the colors look muddy, think about trying different combinations of tissue paper for a fresher look in the next attempt.
Where to Display It
The ideal place for your suncatcher is in a spot where sunlight can shine through. Windows facing the sun will work best, illuminating the colors beautifully. You might also consider displaying it in a classroom, or any area where you want a splash of vibrant color. A great suggestion for additional color projects is the Clear Blue Rainbow Bat Suncatcher Wreath.
Variations
This project can be personalized in several ways. You can try different shapes, like hearts or stars, or experiment with various colors and textures. Consider using glittered tissue paper for added sparkle or transforming it into a seasonal decoration by choosing holiday-themed colors.
FAQs
Can I use other materials besides tissue paper?
Yes, you can experiment with other translucent materials like cellophane or even colored plastic sheets. Just ensure they are lightweight and allow light to shine through.
How can I make it with kids?
Involving kids in this project can be a fun experience. Just be sure to supervise when cutting and sealing. Younger children can be in charge of choosing colors and layering the materials.
How long does it last?
With proper care, your suncatcher can last for a long time. Keep it away from direct heat sources and moisture to preserve its vibrant colors.
Why did mine not turn out as expected?
Mistakes can happen! Ensure that the layers are fully sealed, and try using different colors. Experimentation is key to improving your crafting skills.
Can I hang it outside?
While this suncatcher is designed for indoor use, placing it outside is possible. Just be mindful of the weather as it could affect the materials over time.
What should I do if I have leftover materials?
You can save any leftover materials for future projects or even create smaller versions of the suncatcher as gifts or decorations.
Conclusion
Making the Rainbow Apple Stained-Glass Suncatcher for Teachers is not just a craft; it’s a way to brighten up any space while enjoying a tactile learning experience. For more crafty inspiration, check out some unique options for teacher gifts on platforms like Etsy or Walmart. Happy crafting!
Follow us on social for more DIY ideas & inspiration!
Rainbow Apple Stained-Glass Suncatcher
Would you like to save this project?
By submitting you agree to receive this project and occasional emails. Unsubscribe anytime.
Materials
Materials
- 1 piece Contact paper For sealing the colors
- 1 piece Black cardstock For the frame of the suncatcher
- 1 piece Red or pink tissue paper For adding color
- 1 piece Rainbow tissue To create a vibrant effect
- 1 piece Blue cellophane For additional color and texture
- 1 piece Green cardstock To enhance the design
- 1/4 cup Confetti To add sparkle
Directions
Preparation
- Begin by cutting the apple shape from the black cardstock. This will serve as the frame for your suncatcher.
- Once the frame is ready, fill it with shades of red, pink, rainbow tissue paper, and blue cellophane, ensuring the colors overlap slightly.
- Consider adding some confetti for surprise and sparkle.
Finalization
- Seal the colored sections using another piece of contact paper to keep the colors in place.
- Press down firmly, ensuring there are no air bubbles trapped inside.
- Hang your suncatcher in a window using string or ribbon.
Last Step: Don’t forget to leave a rating and comment below! It helps other readers find the best DIY projects — and it helps us too!