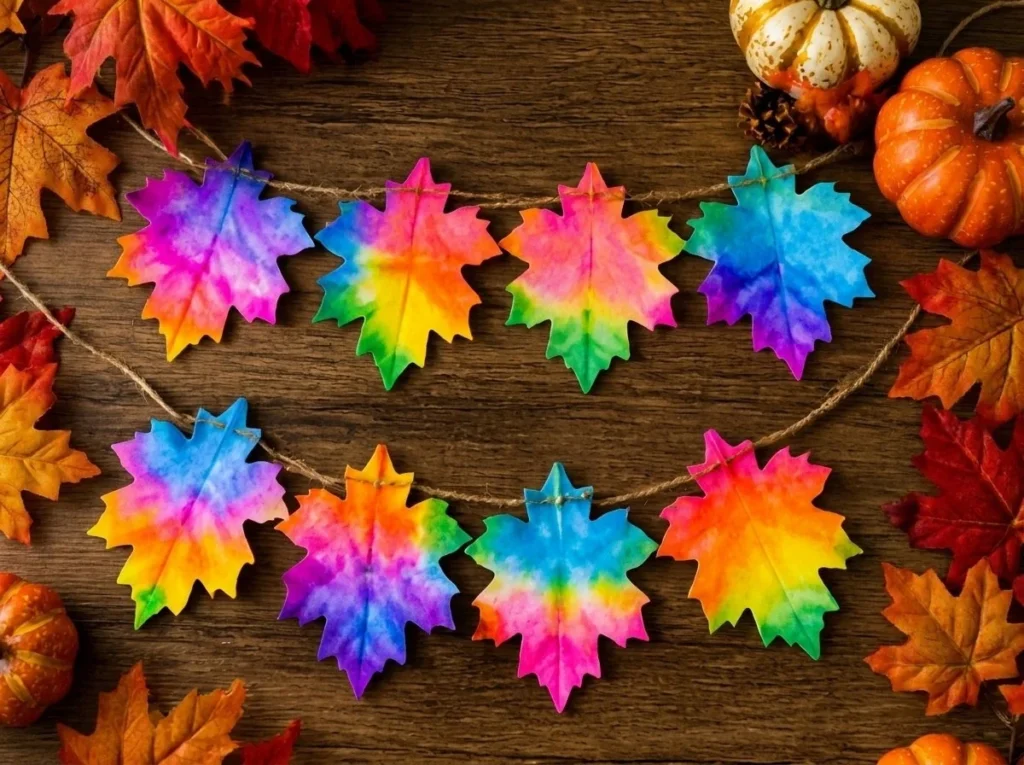
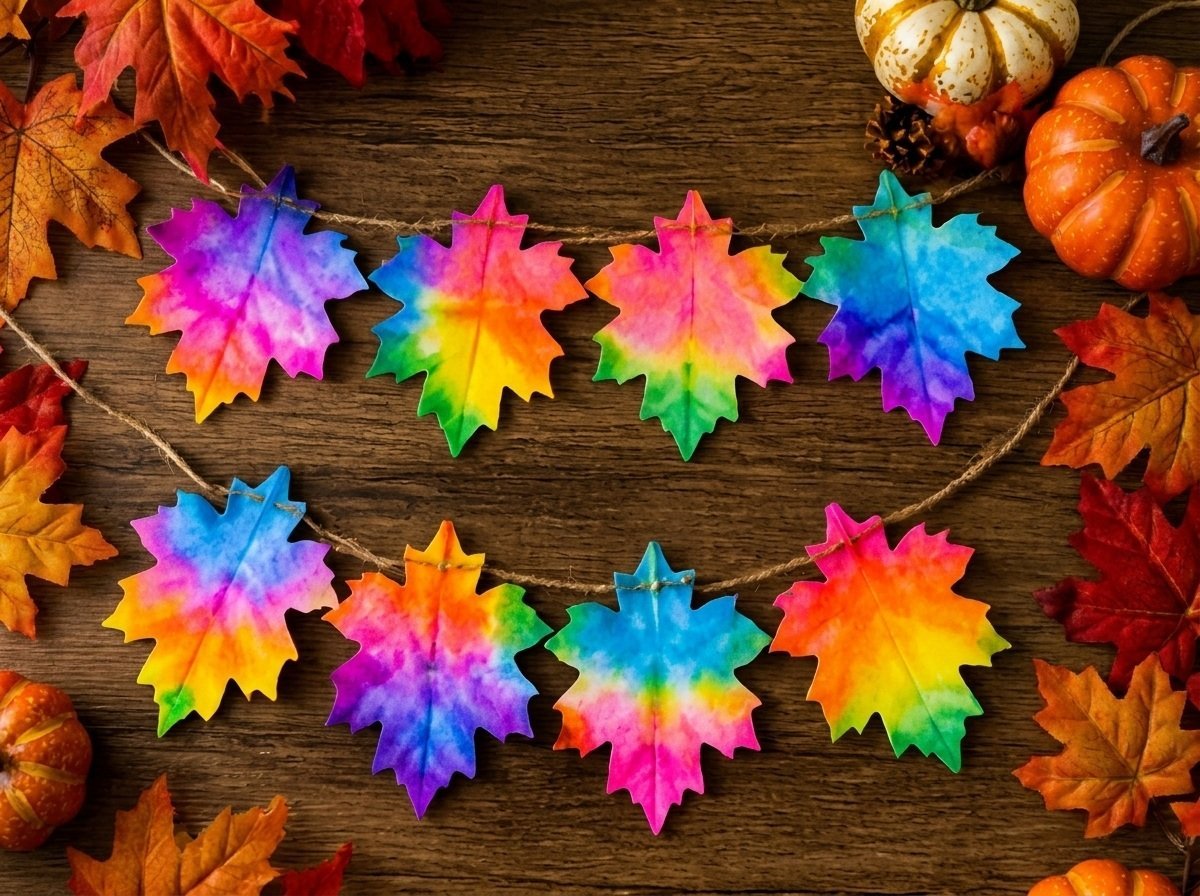
Rainbow Fall Leaf Color-Changing Chromatography is a fun project that will captivate both kids and adults. As you see the vibrant colors rising and transforming right before your eyes, you’ll be amazed at how simple materials can create such enchanting results. This project not only creates beautiful fall leaves but also teaches basic principles of chromatography and color separation. You may also find Rainbow Puppy Pinecone Fall Fairies useful.
What Makes This Work
The magic of this project lies in the materials used. Coffee filters serve as a great medium because they are porous, allowing water to travel through them. As the water moves up the filter, it carries the colors from the washable markers. The different pigments in the markers separate based on their solubility and size, creating a color gradient that is visually stunning.
Materials
To get started, you’ll need the following materials:
- White coffee filters
- Washable rainbow markers
- Clear pink marker
- Clear blue marker
- 6 small cups
- Water
- Craft sticks
- Scissors
Using these materials, you can create colorful leaves perfect for decorations or garlands. If you’re interested in additional colorful crafts, consider exploring more options such as the Rainbow Kitten Fall Leaf Suncatcher Garland.
Steps
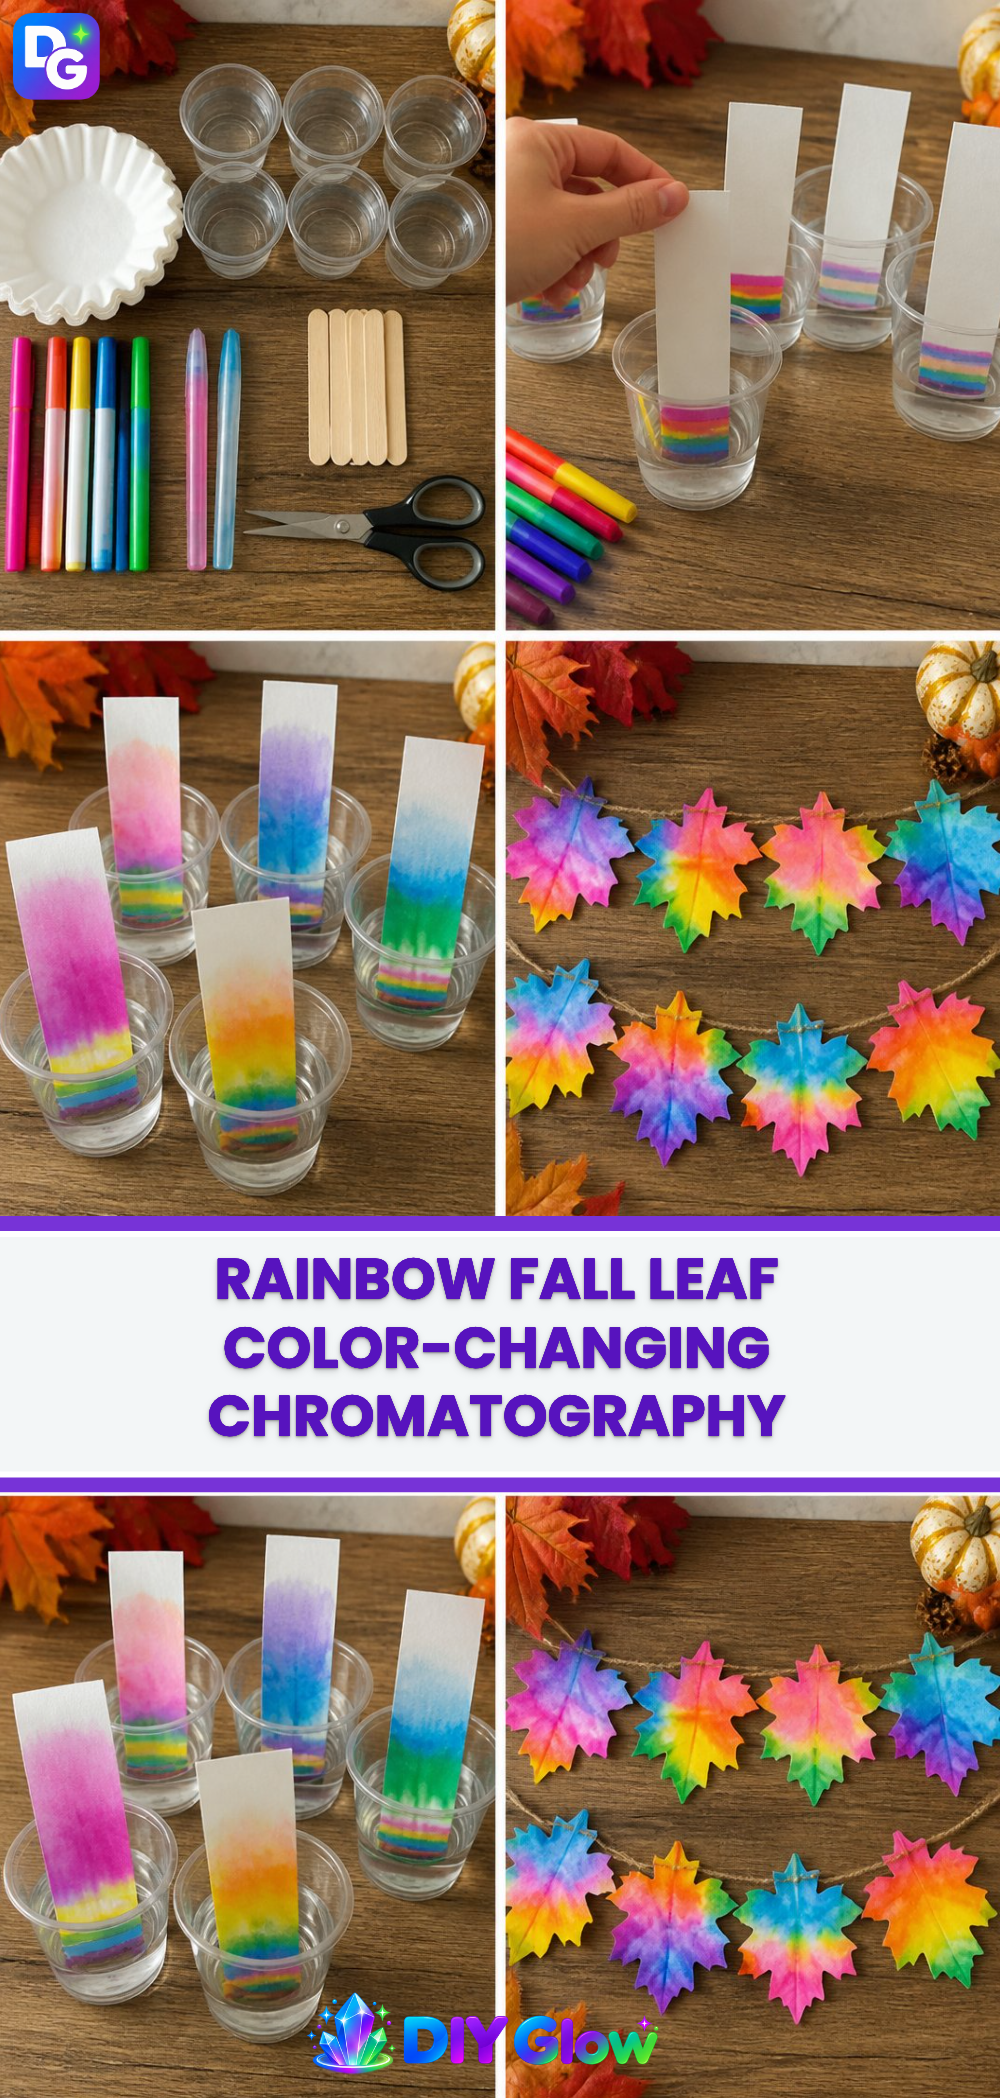
- Start by coloring bands near the bottom of the coffee-filter strips with your markers. Choose a variety of colors to give the leaves a rich appearance.
- Fill the small cups with a little water. Make sure to add enough to soak the bottom of the coffee filters but not so much that they float.
- Carefully place just the bottom edge of each coffee filter strip into the water. You’ll begin to see the colors bleed and spread as soon as the paper absorbs the water.
- Watch in awe as the water climbs upward, separating the marker pigments into a beautiful array! This is where the chromatography magic happens.
- After the filters dry, cut them into fall leaf shapes. You can use scissors to cut various leaf styles, making them unique.
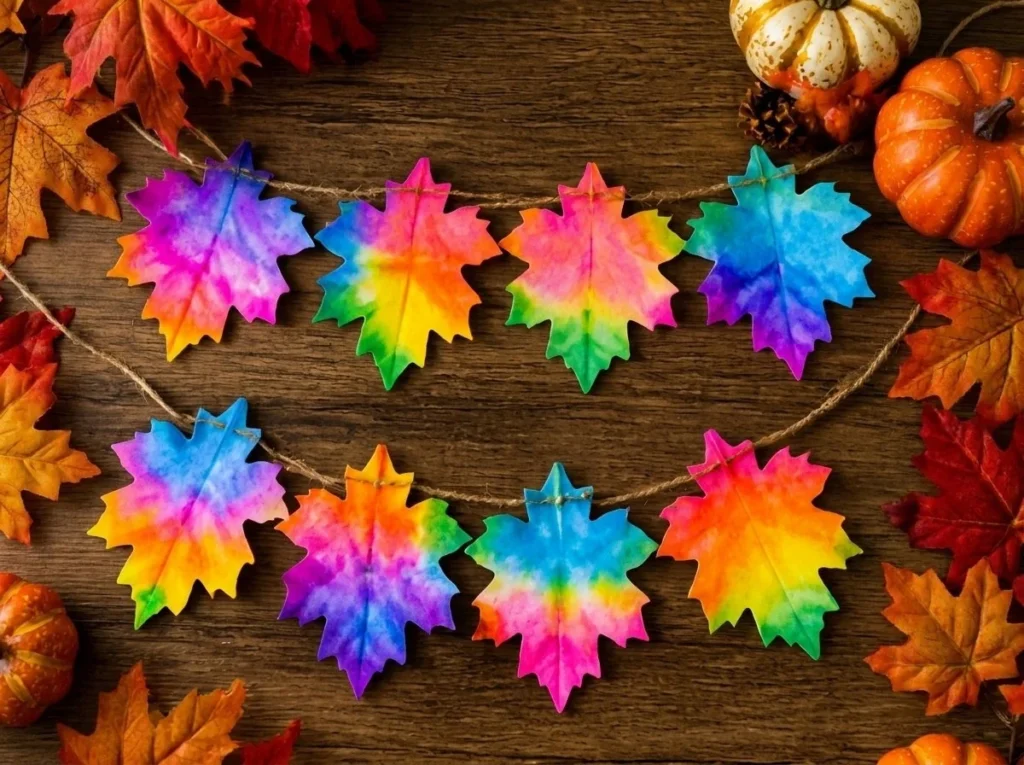
- Finally, arrange your colorful leaves into a lovely garland! This garland can become a centerpiece for your fall decorations.
This activity not only results in a beautiful garland but also helps children learn about color mixing and chemistry. As the colors spread, they can discuss how different colors interact with water.
What Goes Wrong and How to Fix It
Sometimes, the water may not climb as expected, leading to less vibrant colors. If this happens, ensure that you have enough water in your cups. The edges of the coffee filters need to be submerged adequately to allow for a good color separation. If you notice the colors are too muted, it could be due to using low-quality markers; always opt for good washable markers for the best results.
Where to Display It
This colorful garland can brighten up any space. Hang it in a window where sunlight can shine through, creating a beautiful display of colors. Alternatively, drape it across your dining table or around a bookshelf. The garland will look stunning wherever you choose to place it, and you can pair it with other crafts like the Prismatic Rainbow Crystal Waterfall Sun Catcher for added effect.
Variations
You can experiment with various sizes of coffee filters or choose different shapes for your leaves. For a more intricate design, try overlapping the colors in the filters for a marbled effect. If you have kids in the house, consider letting them design their filters before the color transformation. This allows for personalized creative expression.
FAQs
How do I make the colors more vibrant?
Using high-quality washable markers will give you the best results. Ensure the colors you choose are bold and vibrant.
Can we use regular markers instead of washable ones?
Regular markers may not work as effectively. They often don’t separate well in water compared to washable markers, which are designed to spread.
How long does the project take from start to finish?
The coloring part can take about 15-20 minutes, and the drying process for the filters will take an additional 30 minutes to an hour depending on the thickness of the filter and the humidity levels.
Can kids help with the steps?
Yes, this is a great project for kids of various ages. They can help with coloring the filters and placing them in water. Just be sure to supervise them when cutting the shapes.
What should I do if my colors mix too much?
If your colors blend too much, try reducing the amount of time they are submerged in water. You can also separate the colors more by adding them further apart on the filter.
Are there other crafts using chromatography?
Yes, chromatography can be applied to various arts and crafts. You can explore projects like the Rainbow Panda Fall Leaf Craft for Kids to discover more fun activities.
Conclusion
Rainbow Fall Leaf Color-Changing Chromatography is a colorful adventure that not only creates stunning decorations but also teaches kids about science and art. As you explore different techniques and variations, consider broadening your knowledge with engaging projects like real-life examples of color changing flowers or enhance your skills in stained glass art found at Teach Beside Me. Enjoy crafting!
Follow us on social for more DIY ideas & inspiration!
Rainbow Fall Leaf Color-Changing Chromatography
Would you like to save this project?
By submitting you agree to receive this project and occasional emails. Unsubscribe anytime.
Materials
Materials
- 1 pack White coffee filters
- 6 markers Washable rainbow markers Use bold and vibrant colors
- 1 marker Clear pink marker
- 1 marker Clear blue marker
- 6 small cups Small cups for water
- as needed cups Water Fill small cups with enough water
- as needed sticks Craft sticks
- 1 pair Scissors For cutting the filters into leaf shapes
Directions
Preparation
- Start by coloring bands near the bottom of the coffee-filter strips with your markers.
- Fill the small cups with a little water, ensuring to soak the bottom of the coffee filters without making them float.
- Carefully place just the bottom edge of each coffee filter strip into the water.
- Watch as the colors bleed and spread, creating a beautiful array of separated marker pigments.
- After the filters dry, cut them into fall leaf shapes using scissors.
- Arrange your colorful leaves into a lovely garland.
Last Step: Don’t forget to leave a rating and comment below! It helps other readers find the best DIY projects — and it helps us too!