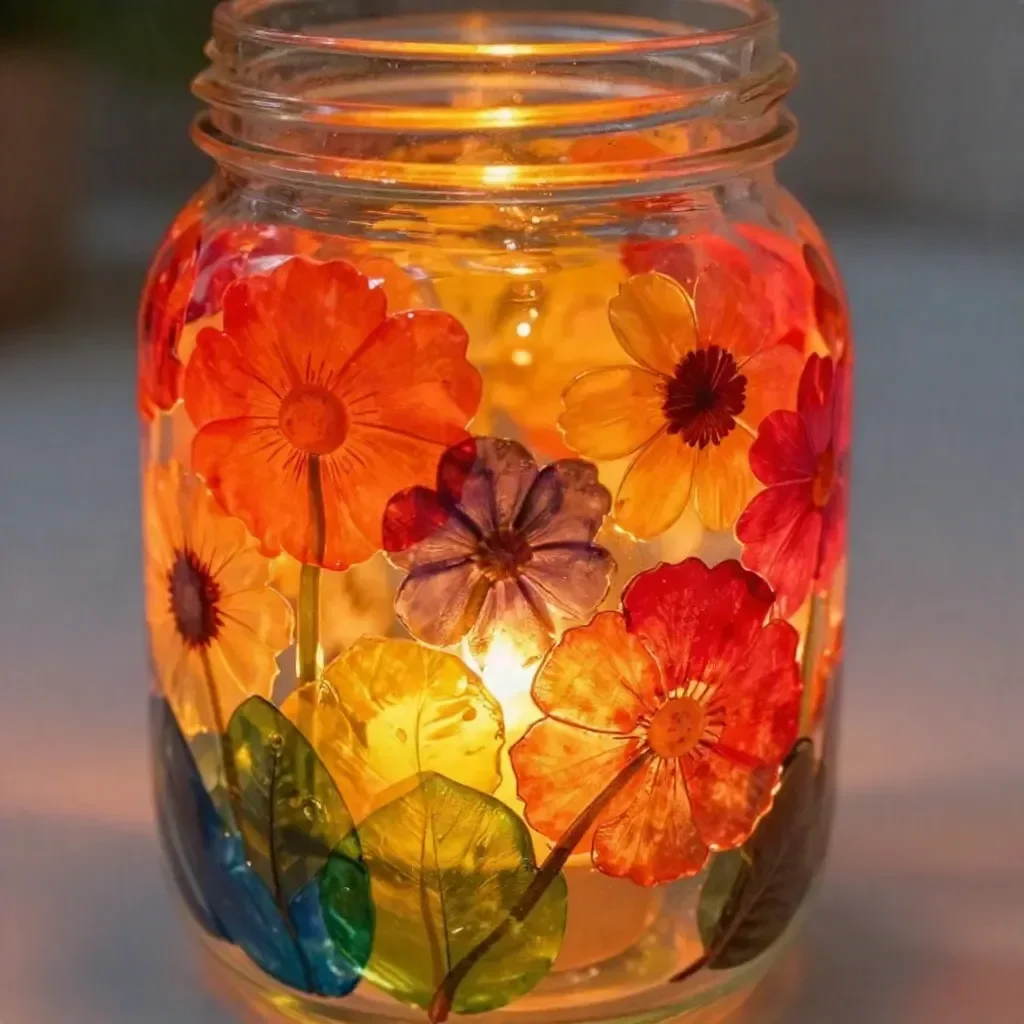
The Rainbow Tissue-Paper Flower Lantern transforms a simple jar into a beautiful display piece. As you apply layers of colorful tissue paper, the jar begins to glow, creating a warm and inviting atmosphere. This project is perfect for any craft-loving family looking to bring some light and color into their home. You may also find Broken Crayons Glowing Rainbow Flowers Recycle Art Supplies useful.
What Makes This Work
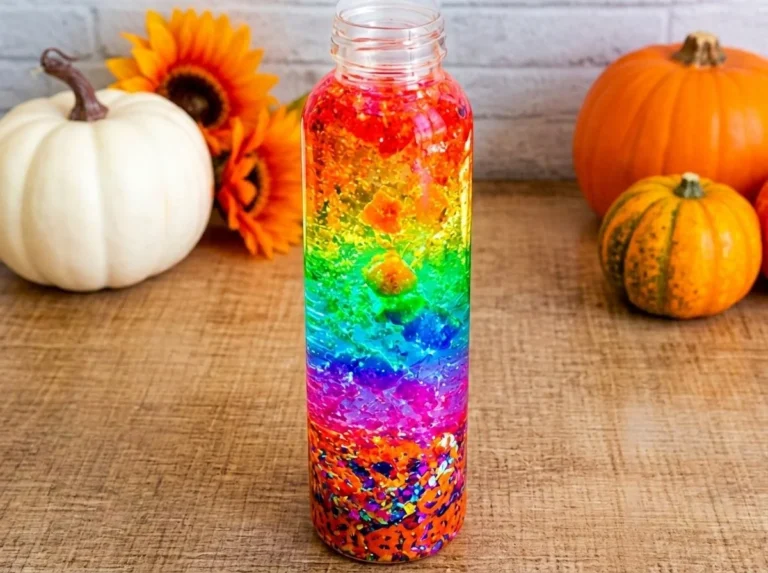
When light shines through the layers of rainbow tissue paper, it creates vibrant hues that dance around the room. The decoupage glue helps bond the tissue paper to the jar, ensuring a secure fit while adding a slight gloss that makes the lantern shine. For more glowing projects, consider checking out this awesome bottle lantern project.
Materials
You will need the following supplies: You may also find Iridescent Rainbow Flower Vase Holographic Home Decor useful.
- 1 clear plastic jar
- Rainbow tissue paper
- 2 tbsp decoupage glue
- Pressed petals (dried flowers or leaves)
- Foam brush
- LED tea light
Steps
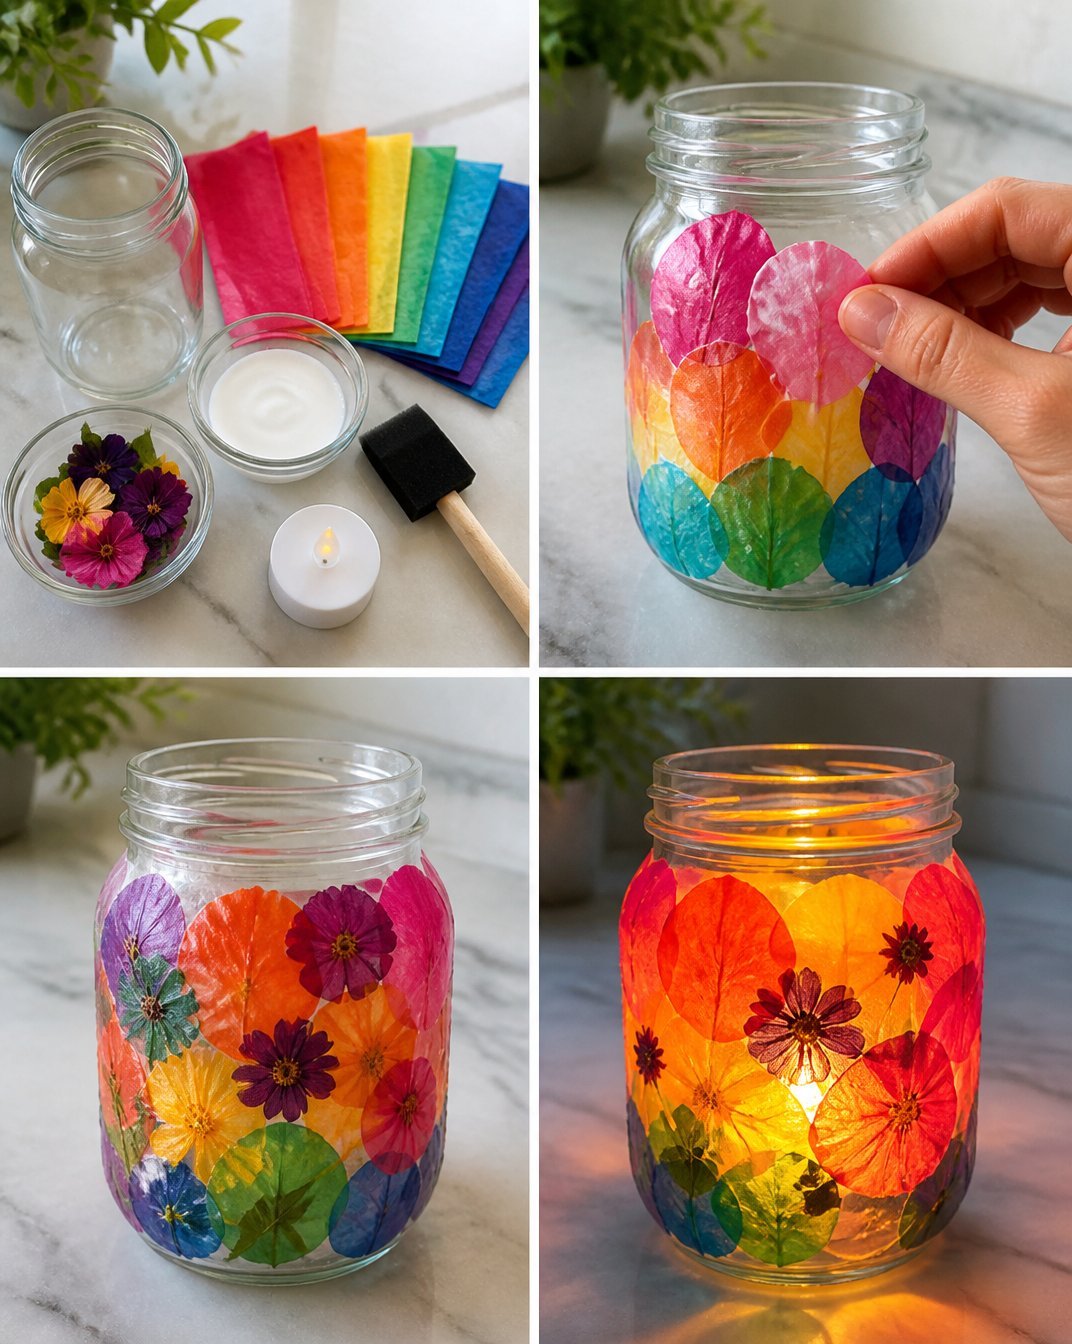
Tear the Rainbow Tissue Paper
Start by tearing the rainbow tissue paper into petal shapes. Look for uneven, organic edges, as they will create a more dynamic appearance when layered on the jar. You may also find Rainbow Crystal Flower Suncatcher Chain useful.Apply Decoupage Glue Around the Jar
Use the foam brush to apply decoupage glue around the jar. Start to place the tissue paper petals, overlapping them as you go. Watch for the glue to become tacky but not fully dry, as this gives you time to adjust the petals.Add Pressed Petals for Detail
Once the jar is covered with tissue paper, add pressed petals for detail and texture. These will add a beautiful touch to the lantern. Make sure the petals are securely glued with a bit of decoupage glue for longevity.Seal Everything with Another Thin Layer of Glue
After placing the pressed petals, cover the entire surface with another thin layer of glue. This seals the petals and tissue paper, ensuring everything stays in place.Let It Dry Completely
Patience is key at this stage. Let your lantern dry completely. You’ll notice the colors become more vibrant once dried, and the surface will stop feeling tacky.Place the LED Tea Light Inside the Jar
Finally, place the LED tea light inside the jar and enjoy the glow. The combination of the light and colored tissue paper will illuminate your space beautifully.
What Goes Wrong and How to Fix It
Sometimes the tissue paper may bubble or shift while drying. To fix this, simply lift the affected area gently, apply more glue, and smooth it back down. If the edges curl up, a light hand with more glue can help secure them back into place. Remember, this project is forgiving, so minor mistakes can usually be fixed with a bit of creative adjustment.
Where to Display It
The Rainbow Tissue-Paper Flower Lantern looks stunning in various places. It can be a centerpiece for a table, or you can display it on a windowsill. The light glowing through the colorful paper adds charm and character in any location. For more ideas on colorful decorative projects, check out this flower vase for inspiration.
Variations
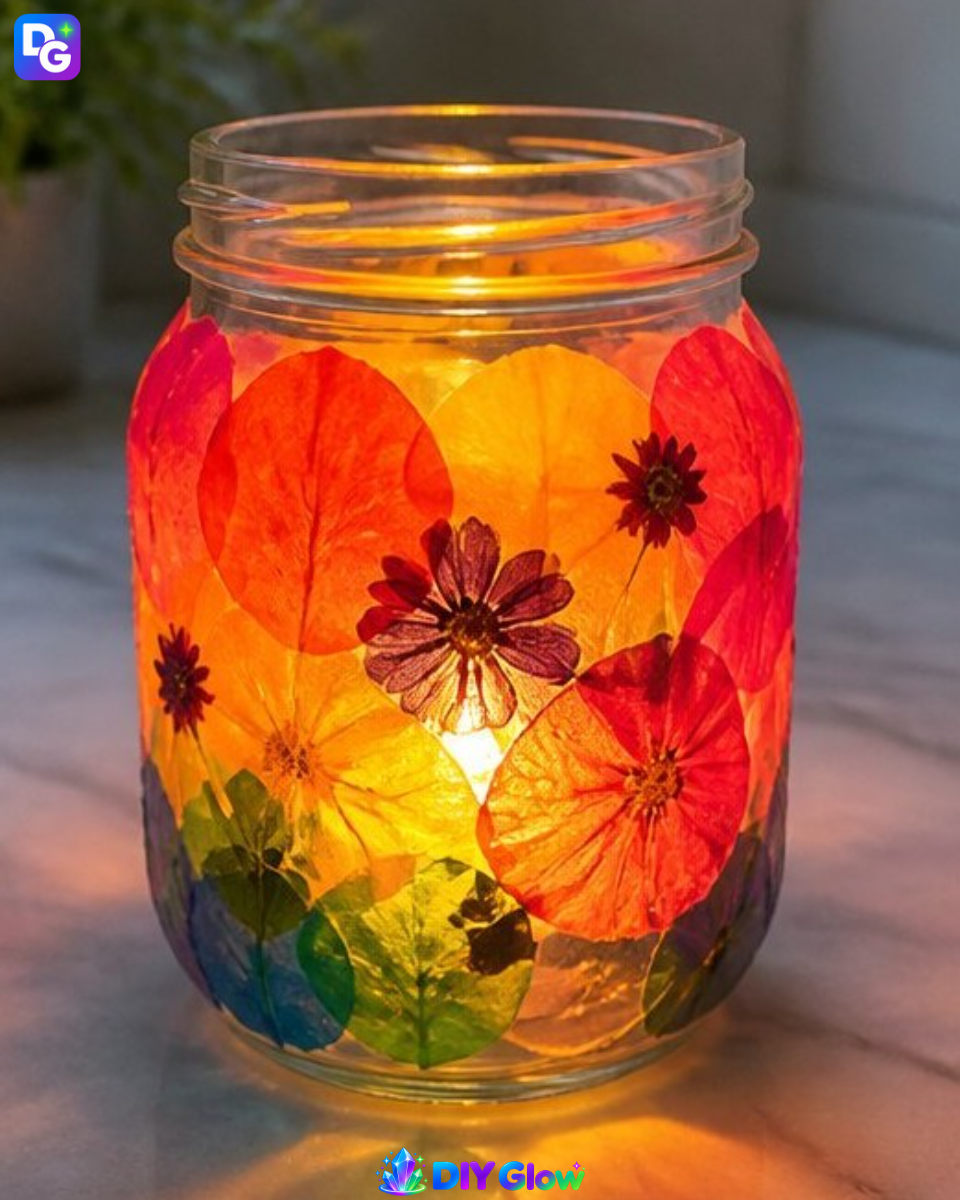
Feel free to experiment with different colors of tissue paper and types of pressed petals. You can use leaves, flowers, or even fabric to give unique textures to your lantern. Adding a layer of glitter under the tissue paper can also enhance the sparkle.
FAQs
How long does it take for the lantern to dry?
The drying time varies based on your environment, but generally, allow 1-2 hours for the glue to set fully.
Can I use different types of jars?
Yes, any clear jar will work well for this project. You can use glass or even thicker plastic jars. Just ensure the light can shine through well.
Why did my tissue paper fall off?
If the tissue paper fell off, it likely wasn’t secured properly. Ensure to apply enough glue and give extra time for drying.
How can I add more color?
To add more color, layer additional petals of different colors on top after the first layer dries. This will create a more vibrant appearance.
Can kids participate in this project?
Absolutely! This craft is safe for kids, but an adult should handle the cutting and application of the decoupage glue.
How long will this lantern last?
With proper care, your lantern can last for several months. Just keep it out of direct sunlight and moisture to preserve its condition.
Conclusion
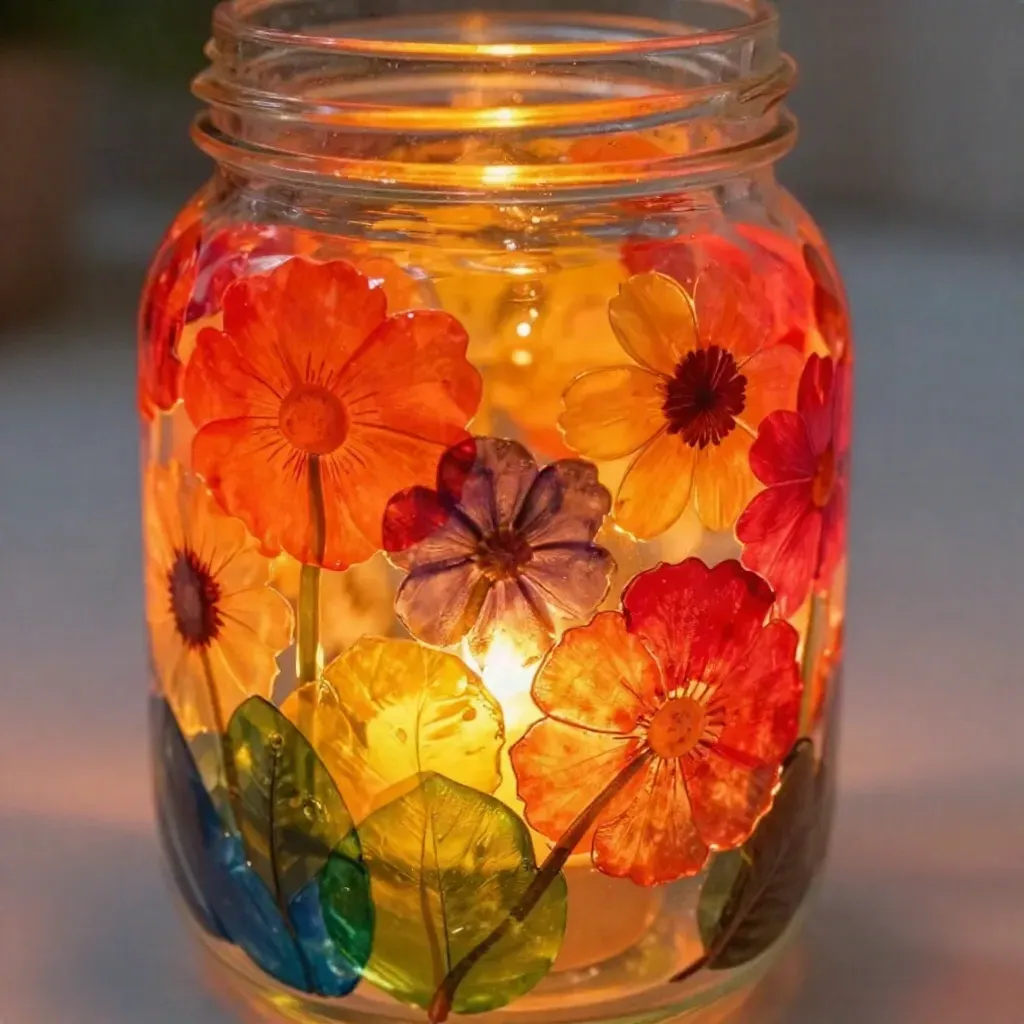
Creating your Rainbow Tissue-Paper Flower Lantern is a fun and colorful project that can brighten up any space. For those looking to expand their decorating ideas, you might enjoy browsing offerings like Pastel Rainbow Colorful Party-Decorations Paper Flowers Lanterns. For further inspiration on DIY projects, consider checking out this dimensional paper lantern guide. Enjoy crafting!
Follow us on social for more DIY ideas & inspiration!
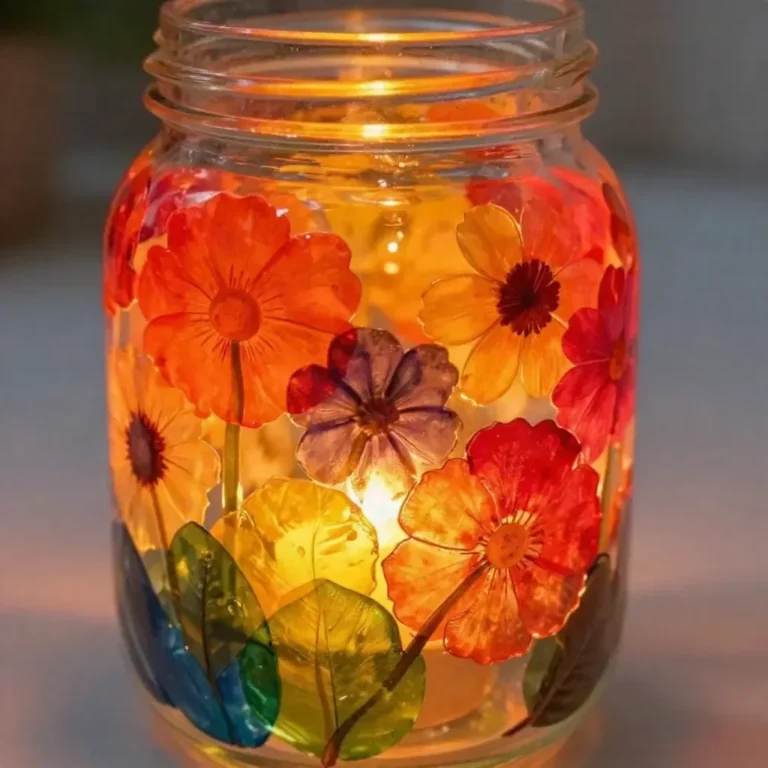
Rainbow Tissue-Paper Flower Lantern
Would you like to save this project?
By submitting you agree to receive this project and occasional emails. Unsubscribe anytime.
Materials
For the Lantern
- 1 piece clear plastic jar Any clear jar will work well for this project.
- 2 tbsp decoupage glue Used to bond tissue paper to the jar.
- 1 pack rainbow tissue paper Torn into petal shapes.
- 1 pack pressed petals (dried flowers or leaves) For added texture and detail.
- 1 piece foam brush For applying glue.
- 1 piece LED tea light For illuminating the lantern.
Directions
Preparation
- Tear the rainbow tissue paper into petal shapes, favoring uneven, organic edges.
- Use the foam brush to apply decoupage glue around the jar and start placing the tissue paper petals, overlapping as you go.
- Add pressed petals for detail and securely glue them down.
- Seal the entire surface with another thin layer of glue.
- Let the lantern dry completely, which may take 1-2 hours.
- Once dry, place the LED tea light inside the jar and enjoy the glow.
Last Step: Don’t forget to leave a rating and comment below! It helps other readers find the best DIY projects — and it helps us too!