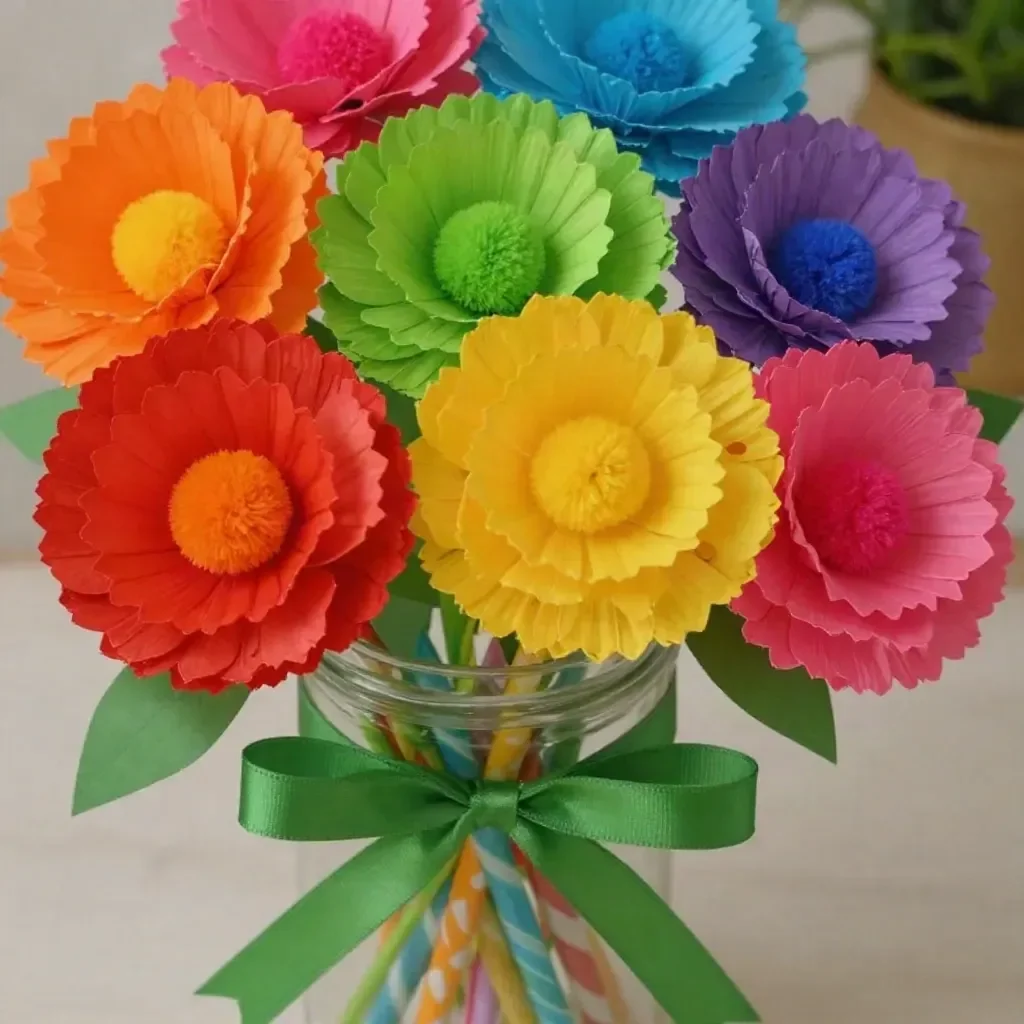
The Rainbow Cupcake-Liner Dahlia Bouquet transforms vibrant cupcake liners into beautiful flowers, adding a touch of color to any space. As you stack the liners, you’ll notice how the colors blend, creating a stunning effect. This project not only delights the eyes but also allows for creativity and fun. You may also find Baking Soda Rainbow Crystal Forest Rainbow Crystals useful.
What Makes This Work
The use of cupcake liners as flower petals showcases how everyday materials can create lasting impressions. The texture and colors play an essential role in making these flowers visually striking. When combined with pom-poms and paper straws, the result is a lively bouquet that can brighten up any corner of your home. You may also find Baking Soda Rainbow Crystal Forest useful.
Materials
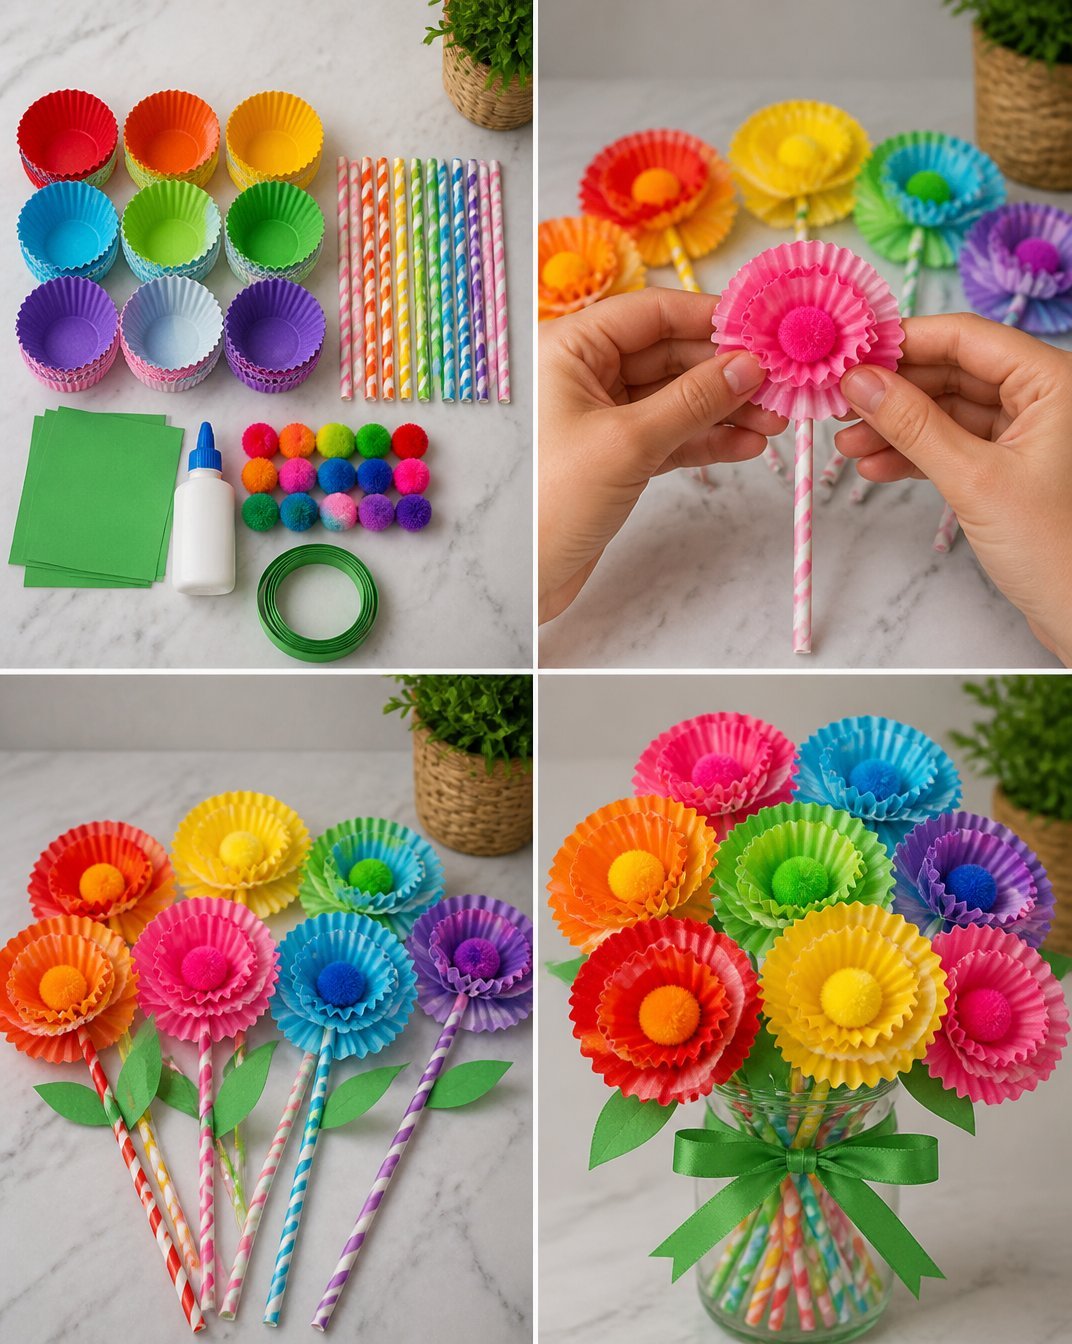
To create this colorful bouquet, you’ll need the following supplies: You may also find Crystal Rainbow Butterfly Tree Vibrant Garden Decor useful.
- 24 colorful cupcake liners
- 8 paper straws
- 8 pom-poms
- Green cardstock
- Craft glue
- Ribbon
These materials are simple yet effective in helping you craft your gorgeous bouquet.
Steps
Create the Flowers: Take three cupcake liners and stack them on top of each other, mixing colors for vibrancy. Ensure that you alternate colors; this layering leads to a more dynamic flower appearance.
Add the Center: Use craft glue to attach a pom-pom to the center of the stacked cupcake liners. This will not only act as a focal point but also adds texture to your flower.
Make the Stems: Push the bottom of the cupcake-liner flower onto a paper straw and glue the base to secure it. Look for a firm bond here, as this foundation holds your flowers upright.
Add Leaves: Cut leaf shapes from green cardstock and glue them to the straw below the flower. The addition of leaves gives a natural touch, enhancing the overall look of your bouquet.
Finish the Bouquet: Gather all your flowers, tie them with ribbon, creating either a bow or a simple knot. This step unites your flowers and completes the bouquet elegantly.
Making this bouquet adds an element of creativity to your space. If you’re interested in similar projects, you might enjoy exploring recycling art supplies into delightful crafts.
What Goes Wrong and How to Fix It
Sometimes the cupcake liners may not stick together well during assembly. Ensure you apply enough glue and allow time for it to dry fully before moving to the next step. If your pom-pom is falling off, a reinforcing layer of glue around the base can help it adhere better. Similar issues can occur with the flowers, which is why strong connections are crucial.
Where to Display It
The Rainbow Cupcake-Liner Dahlia Bouquet can brighten any space, whether placed on a shelf or in a window. These flowers can catch sunlight, adding a cheerful element to your room. Consider creating a vibrant display by mixing in other colorful crafts. For example, adding decorative pieces enhances your floral setup by integrating various textures and forms.
Variations
Feel free to experiment with colors that match your interior decor. You can also try different sizes of cupcake liners for an added dimension to your bouquet. If you’d like to incorporate more textures, consider alternating between cupcake liners and other lightweight materials for your creations. This will lead to diverse flower types in your arrangement.
FAQs
Can I use regular paper instead of cupcake liners?
Yes, you can use regular paper, but colorful cupcake liners work better as they are more durable and have a nice texture that resembles flower petals.
How long does it take to complete the bouquet?
Creating the Rainbow Cupcake-Liner Dahlia Bouquet can take about an hour. It’s a delightful project that can be enjoyed without the rush.
Why did my flowers not turn out as expected?
There are a few reasons. Ensure your glue is strong enough and that you let each part dry fully before moving on. If the flowers appear flat, try using more layers of liner.
Can kids help with the project?
Absolutely! Children can assist with stacking the liners and gluing. However, an adult should manage any steps that involve sharp scissors.
Can I change the colors of the flowers?
Certainly! Customizing the colors adds a personal touch. You can choose any color palette that suits your style or matches your home’s aesthetic.
How can I store my bouquet once created?
To keep your Rainbow Cupcake-Liner Dahlia Bouquet safe, store it in a dry place. If placed in a vase, avoid areas with direct sunlight to preserve the colors.
Conclusion
The Rainbow Cupcake-Liner Dahlia Bouquet is a fun and creative craft project that transforms simple materials into an eye-catching display. For those looking to expand their crafting ideas, you can find inspiration from other colorful projects, such as the Colored Sugar and Dahlia Cupcakes. Additionally, you may enjoy crafting bright and cheerful blooms like Rainbow Paper Dahlia Flowers to complement your bouquet.
Follow us on social for more DIY ideas & inspiration!
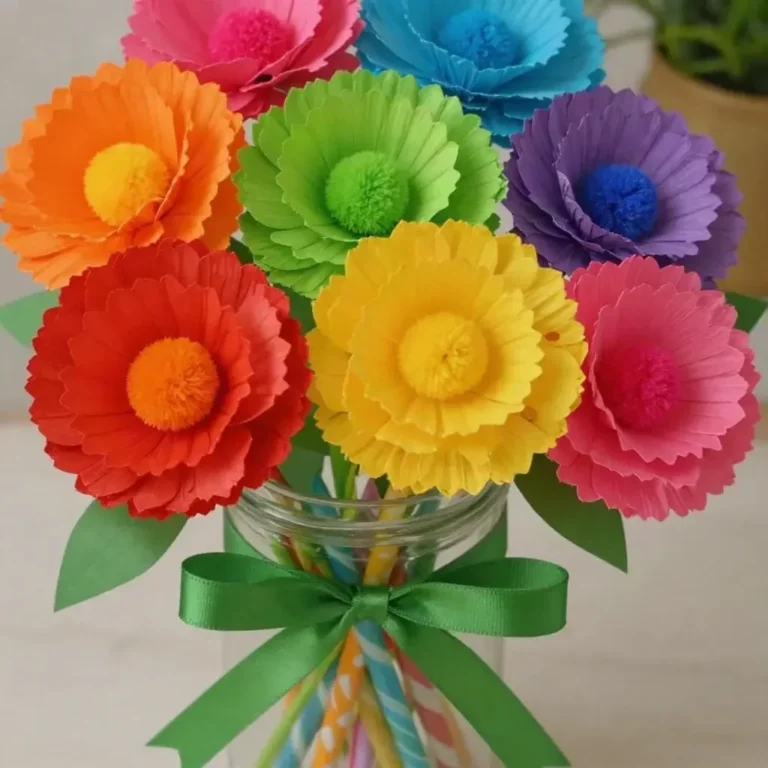
Rainbow Cupcake-Liner Dahlia Bouquet
Would you like to save this project?
By submitting you agree to receive this project and occasional emails. Unsubscribe anytime.
Materials
For the bouquet
- 24 pieces colorful cupcake liners
- 8 pieces paper straws
- 8 pieces pom-poms
- 1 sheet Green cardstock
- 1 bottle Craft glue
- 1 roll Ribbon
Directions
Creating the Flowers
- Take three cupcake liners and stack them on top of each other, mixing colors for vibrancy. Ensure that you alternate colors for a dynamic flower appearance.
Adding the Center
- Use craft glue to attach a pom-pom to the center of the stacked cupcake liners to act as a focal point and add texture.
Making the Stems
- Push the bottom of the cupcake-liner flower onto a paper straw and glue the base to secure it, ensuring a firm bond for stability.
Adding Leaves
- Cut leaf shapes from the green cardstock and glue them to the straw below the flower to give a natural touch.
Finishing the Bouquet
- Gather all your flowers and tie them with ribbon, creating either a bow or a simple knot to unite your bouquet elegantly.
Last Step: Don’t forget to leave a rating and comment below! It helps other readers find the best DIY projects — and it helps us too!