Would you like to save this recipe?
By submitting you agree to receive this recipe and occasional emails. Unsubscribe anytime.
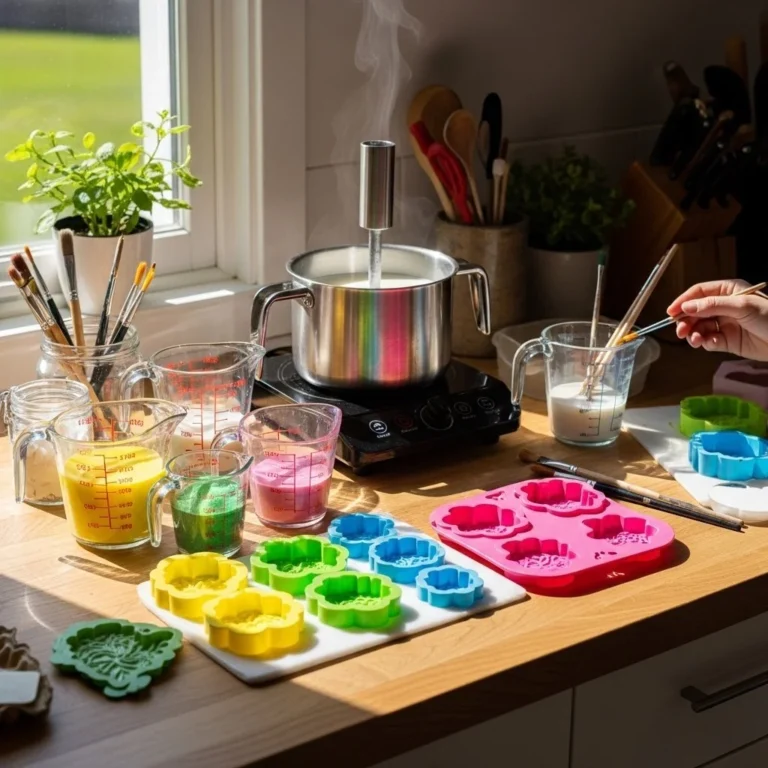
Materials
- Tapioca starch or cornstarch (easy to find; tapioca gives slightly clearer pieces)
- White vinegar (small amount; helps the mix set)
- Glycerin (optional; adds a little flexibility)
- Water (clean, room temperature)
- Natural food coloring or diluted acrylic ink (optional; use small amounts)
- Small silicone molds or cookie cutters (simple shapes work well)
- Nonstick baking paper or silicone mat (to protect the surface)
- A small saucepan and heatproof spatula (stirring gently matters)
- A glass measuring cup or bowl for pouring (helps with control)
- Wooden cocktail sticks or a small paintbrush for patterns (optional)
- Thin string, fishing line, or twine for hanging
- A small hole punch or a sharp skewer to make hanging holes after drying
- Dried flowers, glitter, or small pressed leaves (optional; press thin items flat)
- Sandpaper (fine grit) for smoothing edges if needed (optional)
Instructions
- Gather your tools and line a tray with nonstick baking paper. Keep everything within reach and take a breath before you begin. Arrange your molds and any tiny decorations nearby.
- Working calmly keeps the pour steady.
- Measure 2 tablespoons of tapioca starch into the saucepan and add 3 tablespoons of water. Stir gently with a spatula until the mix looks smooth and free of lumps.
- The mix starts as a milky liquid; focus on the soft sound of stirring.
- Add 1 teaspoon of white vinegar and 1 teaspoon of glycerin if you use it. These liquids help the bioplastic set with a bit of gentle give.
- Keep stirring slowly to combine.
- Heat the pan on low to medium-low heat and stir continuously. The mixture will thicken slowly and then become glossy.
- When it pulls away from the sides in a lumpy, translucent mass, remove it from heat.
- Transfer the hot mixture to a heatproof glass measuring cup or bowl for easier handling. Let it rest for a minute so it cools just enough to touch without burning.
- If you add color, mix a tiny pinch into the cup and stir until even.
- Pour or spoon the bioplastic into molds or spread it on the baking paper. Keep the layer thin for delicate translucence; thicker layers take longer to dry.
- Smooth the surface with the back of a spoon or a small spatula in long, calm strokes.
- Place any pressed flowers, glitter, or tiny bits on the surface and press them gently. Use a wooden stick to nudge items into place; the touch should be light, almost weightless.
- Avoid overcrowding so the light can shine through each element.
- Let the pieces cool and dry at room temperature on a flat surface. Drying can take several hours to a day depending on thickness and humidity.
- You can rotate the tray once if drying seems uneven.
- When fully dry, peel the pieces from the paper. If edges feel sharp, sand them lightly with fine-grit sandpaper. Smooth edges make the piece feel gentle in your hand.
- Use a small skewer to make a hole near the edge for a thread.
- Thread each suncatcher with twine or fishing line and tie a small knot. Hang them near windows where morning or late afternoon light is soft.
- If you like, group several together to create a small mobile that moves with a breeze.
Last Step: Don’t forget to leave a rating and comment below! It helps other readers find the best recipes — and it helps us too!