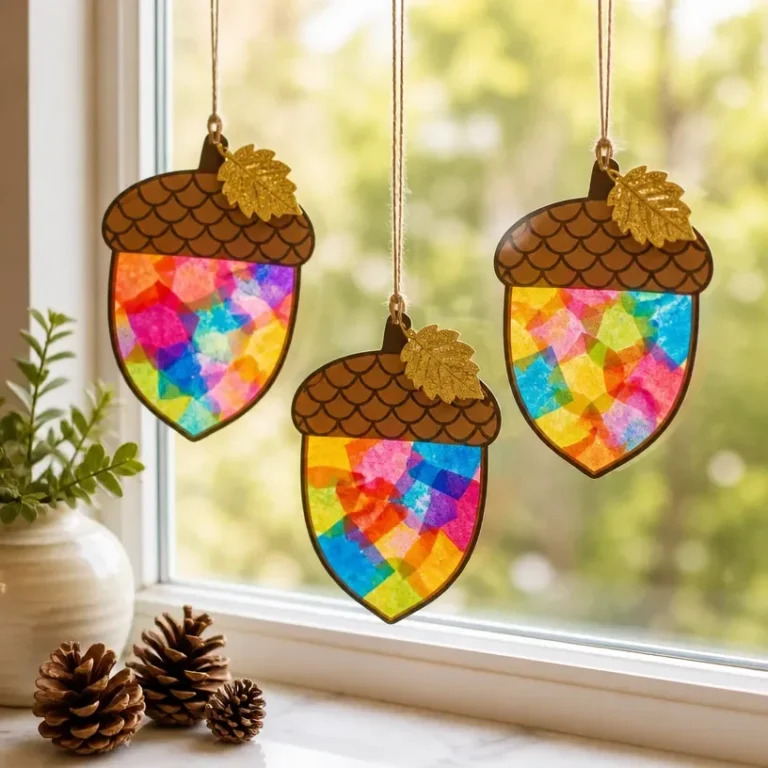
Would you like to save this recipe?
By submitting you agree to receive this recipe and occasional emails. Unsubscribe anytime.
Materials
Materials
- 1 kit Clear epoxy resin Follow package instructions for mixing
- various drops Color dyes in vibrant shades Use dyes specifically made for epoxy resin
- 4-6 pieces Acorn caps Choose caps that are clean and intact
- 2-3 cups Mixing cups For dividing resin and mixing colors
- 1 pair Disposable gloves For safety when handling resin
- 1 sheet Craft sheet or parchment paper To protect workspace and assist with cleanup
Instructions
Preparation
- Ensure your crafting area is clean and well-ventilated. Wear disposable gloves for safety.
Mixing the Resin
- In a mixing cup, combine the clear epoxy resin and hardener in equal amounts as per package instructions.
- Stir slowly to avoid creating bubbles in the mixture.
Color Mixing
- Divide the resin mixture into several smaller cups and add a different color dye to each cup.
- Stir gently but thoroughly until the colors are well incorporated.
Marble Effect
- Pour different colors of the resin into a central location in the acorn cap, allowing them to blend naturally.
- Observe the swirling and interaction of colors to create marbled patterns.
Curing
- Set the filled acorn cap aside to cure, adhering to the resin manufacturer’s instructions for curing times.
Finishing Touches
- Once cured, gently peel the suncatcher from the craft sheet and make a small hole in the cap if desired.
- Use thread or twine to hang your suncatcher in a window or branch.
Last Step: Don’t forget to leave a rating and comment below! It helps other readers find the best recipes — and it helps us too!
Tips & Notes:
Feel free to experiment with different shapes and colors. Incorporate glitter for additional sparkle or themed designs for holidays. Kids can help with adult supervision during mixing and color selection phases.