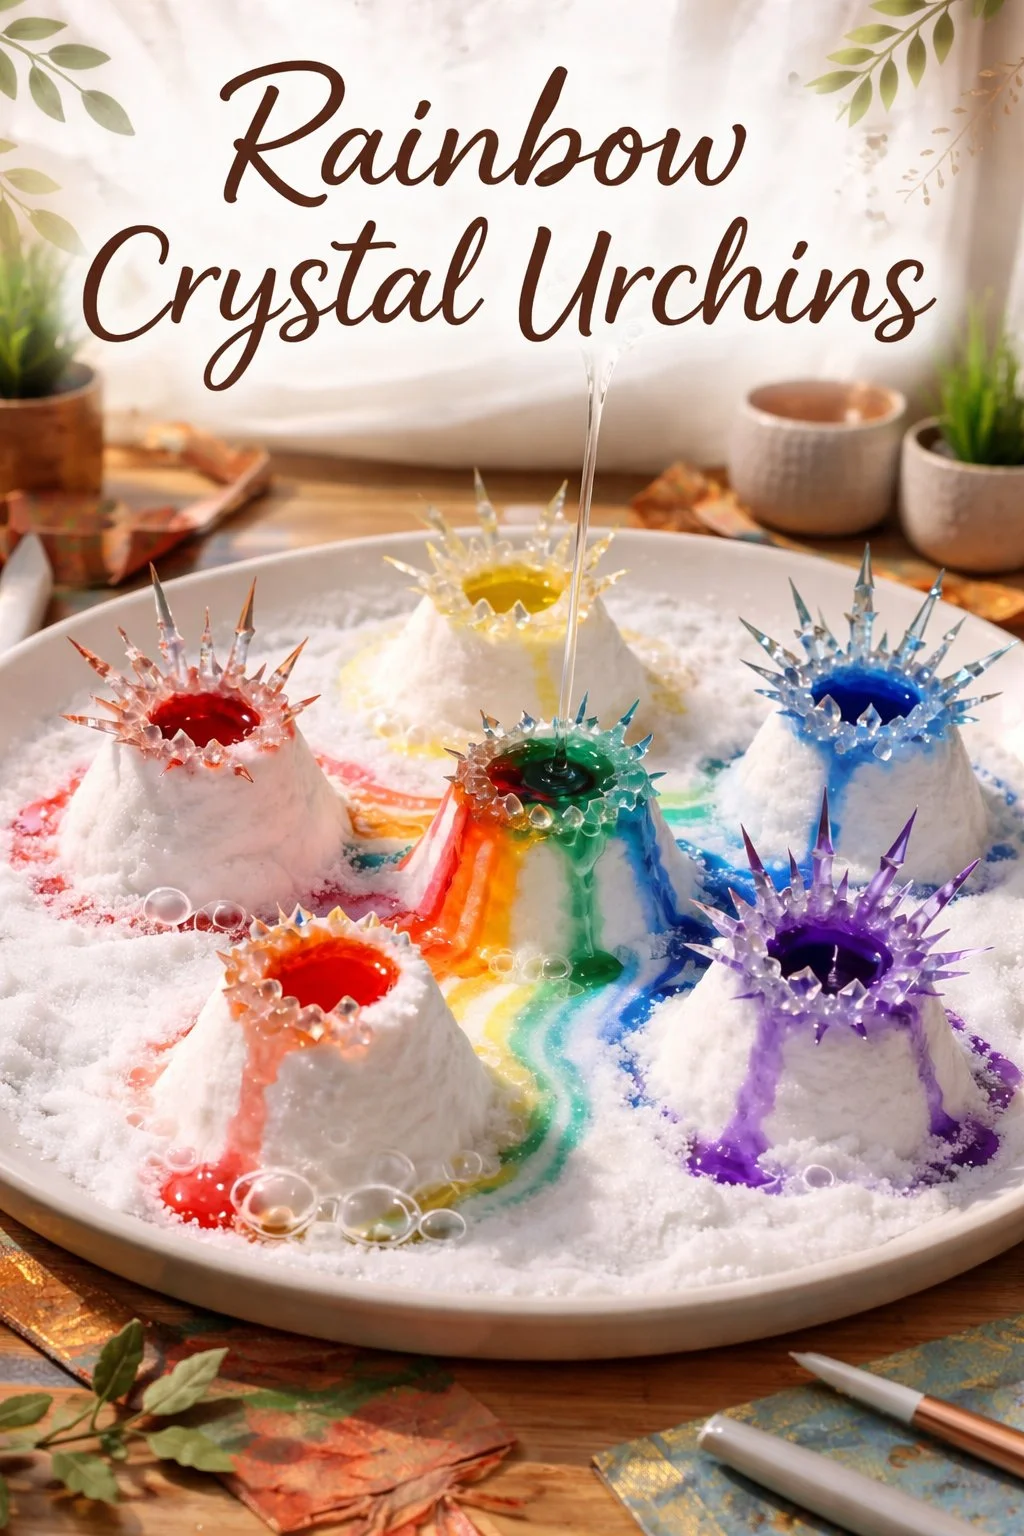
Would you like to save this recipe?
By submitting you agree to receive this recipe and occasional emails. Unsubscribe anytime.
Materials
- Baking soda or sodium bicarbonate - easy to find in most kitchens.
- Table salt or Epsom salt - optional for texture variation.
- White glue with a gentle sheen - choose one that dries clear.
- Clear craft glue or resin for a glossy finish - optional.
- Food coloring or liquid watercolor - small amounts stretch far.
- Small silicone molds or cups - silicone is soft and releases gently.
- Fine glitter or iridescent mica powder - optional for sparkle.
- Small paintbrush or toothpick - for detailing and smoothing.
- Measuring spoons and a mixing bowl - keep them separate for crafts.
- A shallow tray or plate to catch drips - makes cleanup calm and neat.
- A lightweight wire or tiny loop if you want to hang urchins - optional.
- Clear drying spray or a sealant if you plan to use them outdoors - optional.
Instructions
- Prepare your workspace.Set a shallow tray on a table and gather your silicone molds.Keep a bowl of warm water and a cloth nearby for gentle wiping.
- Mix the base paste.Stir 2 parts baking soda with 1 part white glue until a soft, moldable paste forms.The texture should feel slightly tacky but hold shape when pinched.
- Color small batches gently.Add a drop or two of liquid color and mix slowly until the hue appears.Work in tiny amounts; color deepens as crystals form.
- Shape the urchin forms.Press small domes of paste into molds or onto a nonstick surface.Smooth the surface with a damp fingertip or brush to remove fingerprints.
- Create spines and texture.Use a toothpick to add small indentations or press in tiny points for spines.For softer spikes, roll small cones and press them onto the dome surface.
- Add sparkle where you like.Lightly dust with iridescent mica or a pinch of fine glitter.Sprinkle from a height so particles land gently and distribute evenly.
- Let the pieces dry slowly.Place the tray in a warm, dry spot out of direct sunlight.Allow at least 24 to 48 hours for full hardening, depending on size.
- Seal for longevity.Brush a thin coat of clear craft glue or resin to seal and strengthen.Work in a ventilated area and allow curing as directed on the product label.
- Add hanging loops if you wish.Push a tiny wire loop into the top before sealing, or glue a loop afterward.Ensure the loop sits secure and the sealant has dried fully before hanging.
- Rest and admire.Place finished pieces on a soft cloth or in a small dish.Hold them up to the light and notice the way color and shine change with movement.
Last Step: Don’t forget to leave a rating and comment below! It helps other readers find the best recipes — and it helps us too!