Would you like to save this recipe?
By submitting you agree to receive this recipe and occasional emails. Unsubscribe anytime.
Materials
- Table salt, sugar, or Epsom salts (easy to find; choice affects crystal shape)
- Warm water (tap water works; filtered if your water is very hard)
- Clear jars or shallow dishes (repurpose a jar for a cozy look)
- Small pebbles, glass beads, or stones to seed crystals (optional)
- Food coloring or liquid watercolors (few drops per color)
- A stirring stick or spoon (use a wooden spoon for a quieter stir)
- Measuring cup and teaspoon (simple kitchen tools)
- Paper towels and a tray to catch drips (keep your surface calm)
- A fine-mesh strainer (optional, for cleaner solution)
- Labels or small sticky notes (to name colors or dates)
Instructions
- Warm gentle water in a kettle or microwave until it feels warm to the wrist.Stir in salt or sugar slowly, listening for the soft hiss as it dissolves.Stop adding when a few grains remain undissolved at the bottom.
- Let the solution settle until it looks clear and still.If you see cloudiness, stir gently for another minute.Use a strainer to remove any undissolved bits for a cleaner result.
- Add a few drops of color to the warmed solution.Stir slowly and watch the tint spread like a soft wash.Mix colors in separate jars if you want a rainbow array.
- Place stones or beads in the bottom of your jars or tray.These act as seeds where crystals like to gather.I choose textured pebbles for more surface to catch growth.
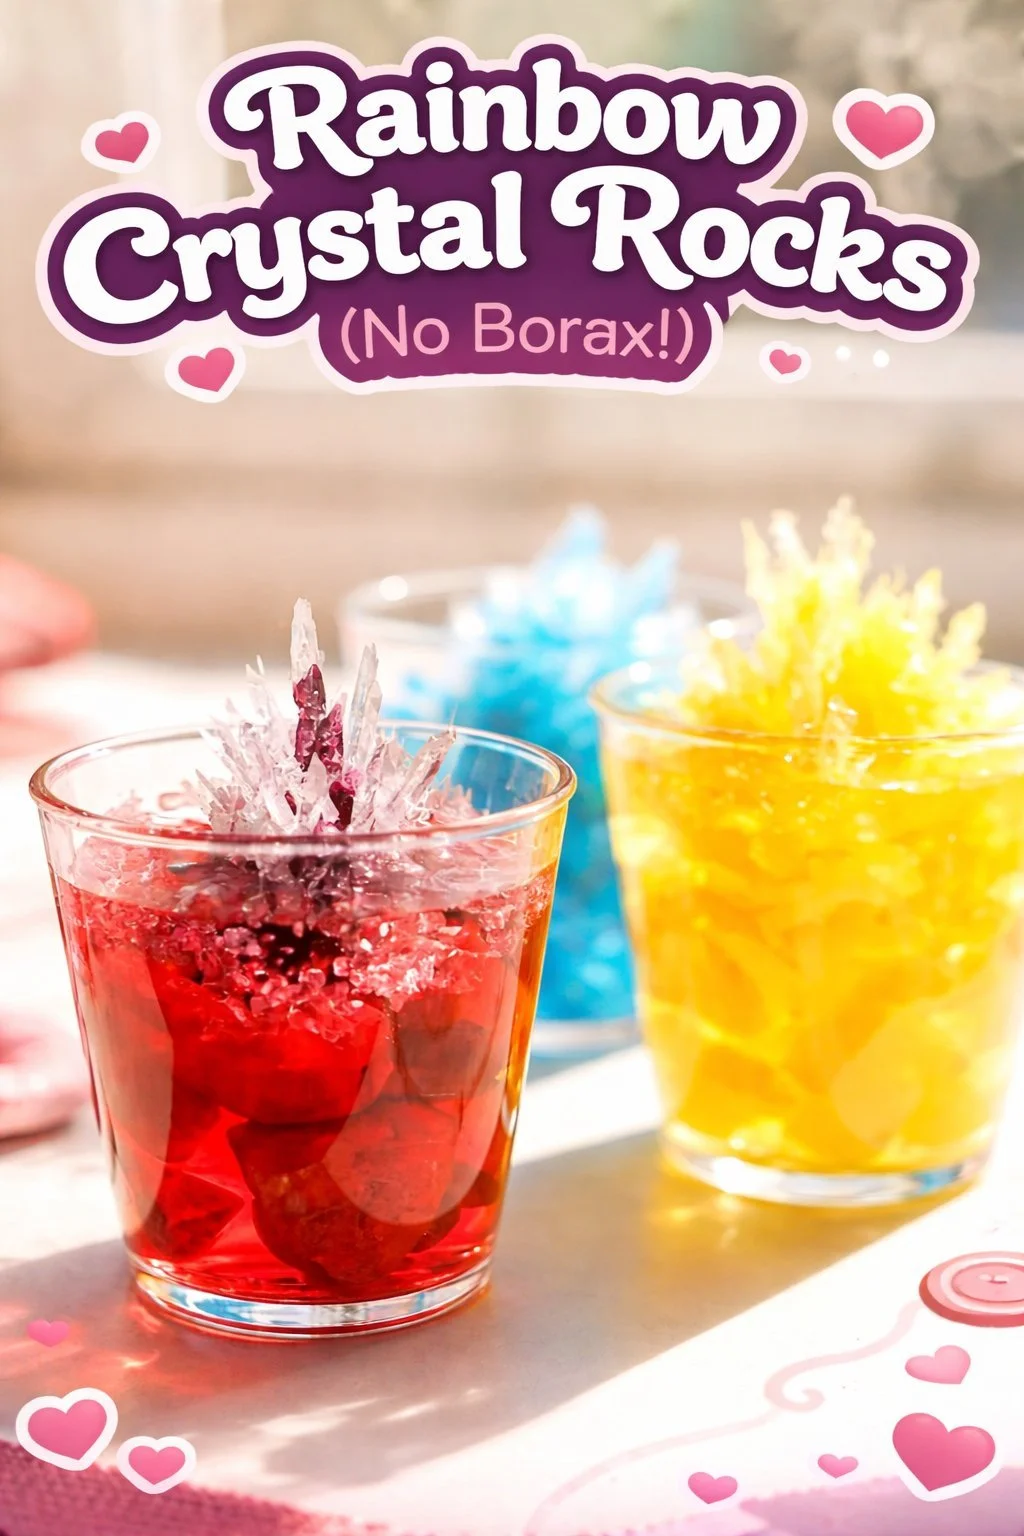
- Pour the colored solution slowly over the stones or into the shallow dish.Fill to a level that allows air at the top; do not overfill.Cover loosely with a paper towel to keep dust out and let air move.
- Find a quiet, steady place to leave the jars where they will not be jostled.Avoid direct sunlight and drafts; steady temperature helps crystals form evenly.Label each jar with color and date so you can watch the changes.
- Check after 12 to 24 hours and then once each day.Gently tilt a jar to peek at new growth without disturbing the base.Resist the urge to rearrange stones; crystals prefer to build undisturbed.
- When crystals reach a size you like, lift them carefully and let excess liquid drain.Place them on paper towels to dry for a day or two.If you want a glossy finish, you can mist very lightly with diluted glue and let dry.
- If growth slows or stops, refresh the solution by warming and adding more salt or sugar.You can reuse the same stones for a new batch after rinsing and drying.Keep notes about what worked so you can repeat the calm parts you loved.
Last Step: Don’t forget to leave a rating and comment below! It helps other readers find the best recipes — and it helps us too!