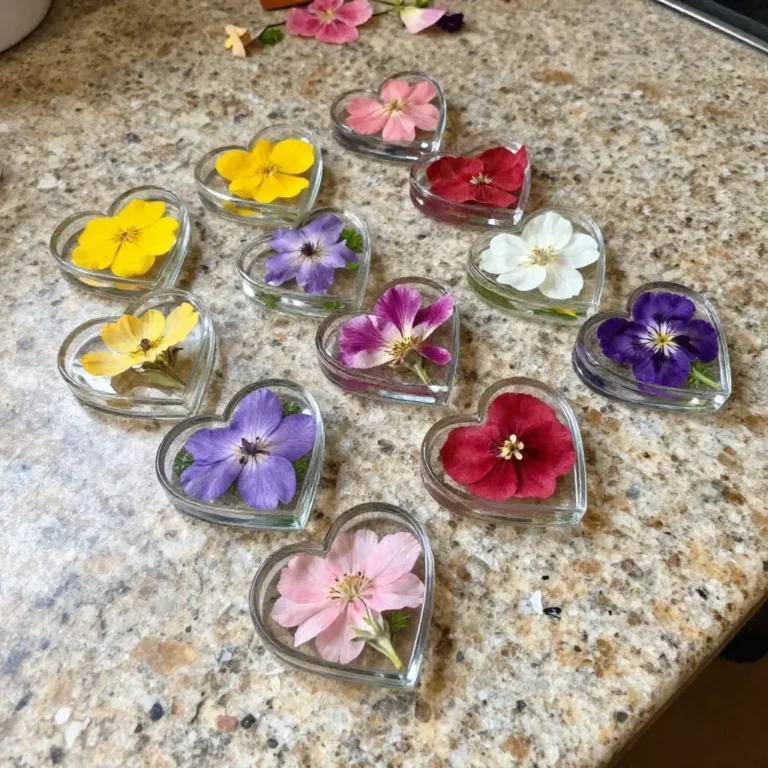
Would you like to save this recipe?
By submitting you agree to receive this recipe and occasional emails. Unsubscribe anytime.
Materials
- Fresh flowers (like violets, pansies, or daisies; field-gathered or store-bought)
- A heavy book or flower press (to flatten and preserve your blooms)
- Parchment paper (for layering between the flowers)
- Craft glue or Mod Podge (for securing the dried flowers)
- Cardstock or wooden shapes (to finish the hearts)
- Optional: scissors, ribbon, or other embellishments for decoration
Instructions
- Select Your Flowers: Choose fresh flowers, looking for those with robust colors and an overall good shape. Feel their soft petals and notice their texture.
- Prep the Flowers: Trim the stems and remove any leaves. Ensure each bloom is clean and dry for the best results.
- Layer the Flowers: Place your flowers between two pieces of parchment paper, ensuring they lay flat. This setup allows the heat and pressure to work effectively.
- Press the Flowers: Stack a heavy book on top of the layered flowers or use a flower press. Leave them for 4-6 weeks to fully dry. Listen to the silence while imagining their vibrant potential.
- Arrange and Glue: Once dried, gently remove the flowers and begin to arrange them on your cardstock or wooden shapes to create heart designs. Use craft glue to secure each flower, placing them in a pleasing pattern.
- Seal the Heart: After arranging, apply a thin layer of Mod Podge over the flowers for protection. This step preserves their beauty while enhancing their colors.
- Add Finishing Touches: If desired, trim the edges or add embellishments like ribbon to give your Pressed Flower Hearts a personal flair.
Last Step: Don’t forget to leave a rating and comment below! It helps other readers find the best recipes — and it helps us too!