Would you like to save this recipe?
By submitting you agree to receive this recipe and occasional emails. Unsubscribe anytime.
Materials
- Clear casting resin or a low-heat melting crystal medium (choose one you know and trust; clear resin gives glass-like clarity)
- Pink mica powder or pastel pigment (easy to blend; start with a small amount)
- Small seashell-shaped silicone molds (flexible for easy release)
- Mixing cups and wooden stir sticks (disposable or dedicated to crafts)
- Disposable gloves (protect your skin; essential for resin)
- Fine-point syringe or a small pouring spout (helps with detailed fills)
- A toothpick or pin for coaxing bubbles (gentle tools work best)
- A mask rated for organic vapors if using resin (safety first)
- A heat gun or small torch, optional (for removing surface bubbles)
- A soft cloth and mild soap (cleaning spills)
- String, ribbon, or small eye pins for hanging (optional)
- Small tray or cardboard to protect your work surface (substitute-friendly)
Instructions
- Clear and calm your space. Lay down a tray or cardboard and gather all your supplies within reach. Put on gloves and your mask. Breathe slowly once, in and out.
- Measure the resin or crystal medium per the product instructions into a mixing cup. Keep the parts accurate; resin needs precise ratios to cure clearly. Stir with a steady hand until the mix turns glossy and uniform.
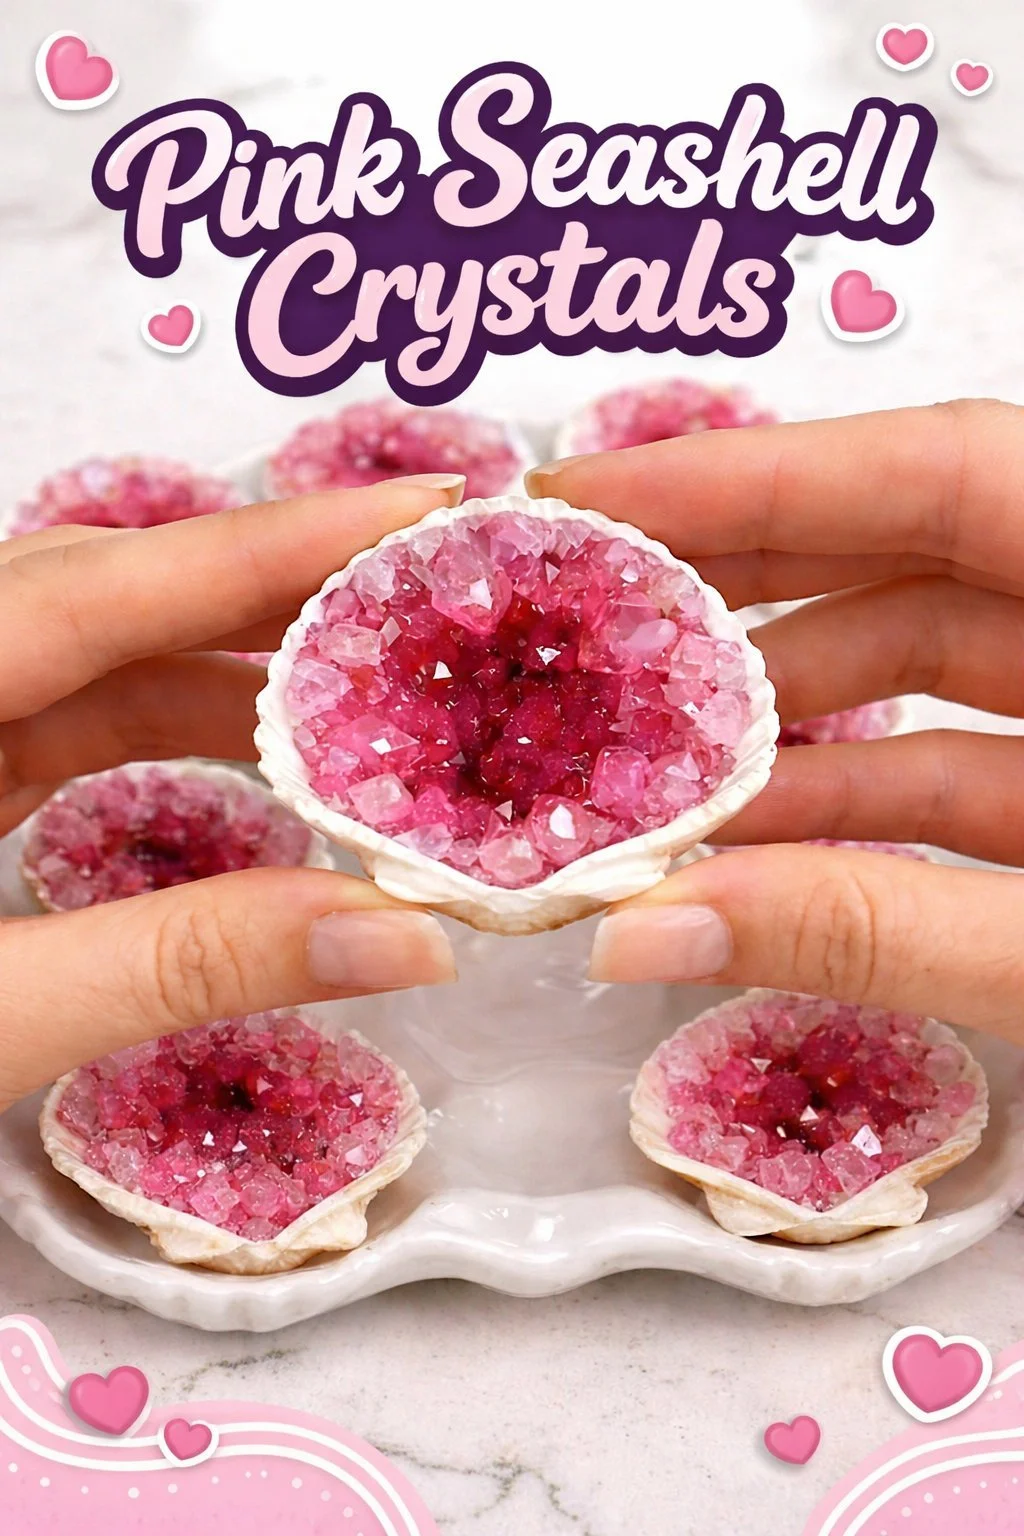
- Add a pinch of pink mica powder. Start small. Fold the color in slowly so you can watch the hue bloom. Aim for a soft wash of color rather than an intense paste.
- Let the mix rest for a minute. Small bubbles will rise to the surface. Use a toothpick to coax stubborn bubbles toward the edge, or hold the mix high and pour slowly to minimize trapped air.
- Prepare your molds. Place them on a flat tray. If you plan to make hanging crystals, thread a tiny eye pin or loop into each mold first so it sits where you want the hole to be.
- Pour the mixture into each shell mold with a gentle, steady stream. Fill to the rim and let the mixture settle. You will feel the weight as the resin finds its shape. Tap the tray softly to encourage bubbles to surface.
- Use a small torch or heat gun briefly across the tops to smooth the surface and reduce bubbles. Keep the flame moving and at a distance to avoid overheating. If you do not use a torch, a slow breath or the tip of a heated toothpick works too.
- Cover the molds to shield from dust. Place the tray somewhere level and undisturbed. Let the pieces cure for the amount of time the product recommends. The wait is part of the craft.
- Unmold slowly. Flex the silicone and let the edges release first. If any pieces resist, turn them over and press from the back rather than forcing the front.
- Lightly sand the edges if they feel sharp, using fine-grit sandpaper. Rinse the pieces and pat them dry with a soft cloth. The shells should feel smooth and cool in your hand.
- Add hanging hardware or a small dab of clear glue to attach ribbon. If you want a subtle shimmer, brush on a thin coat of clear varnish mixed with a whisper of mica.
- Arrange on a shelf or hang in a window where a soft breeze can make them sing. Take a moment and notice how the light warms the pink color.
Last Step: Don’t forget to leave a rating and comment below! It helps other readers find the best recipes — and it helps us too!