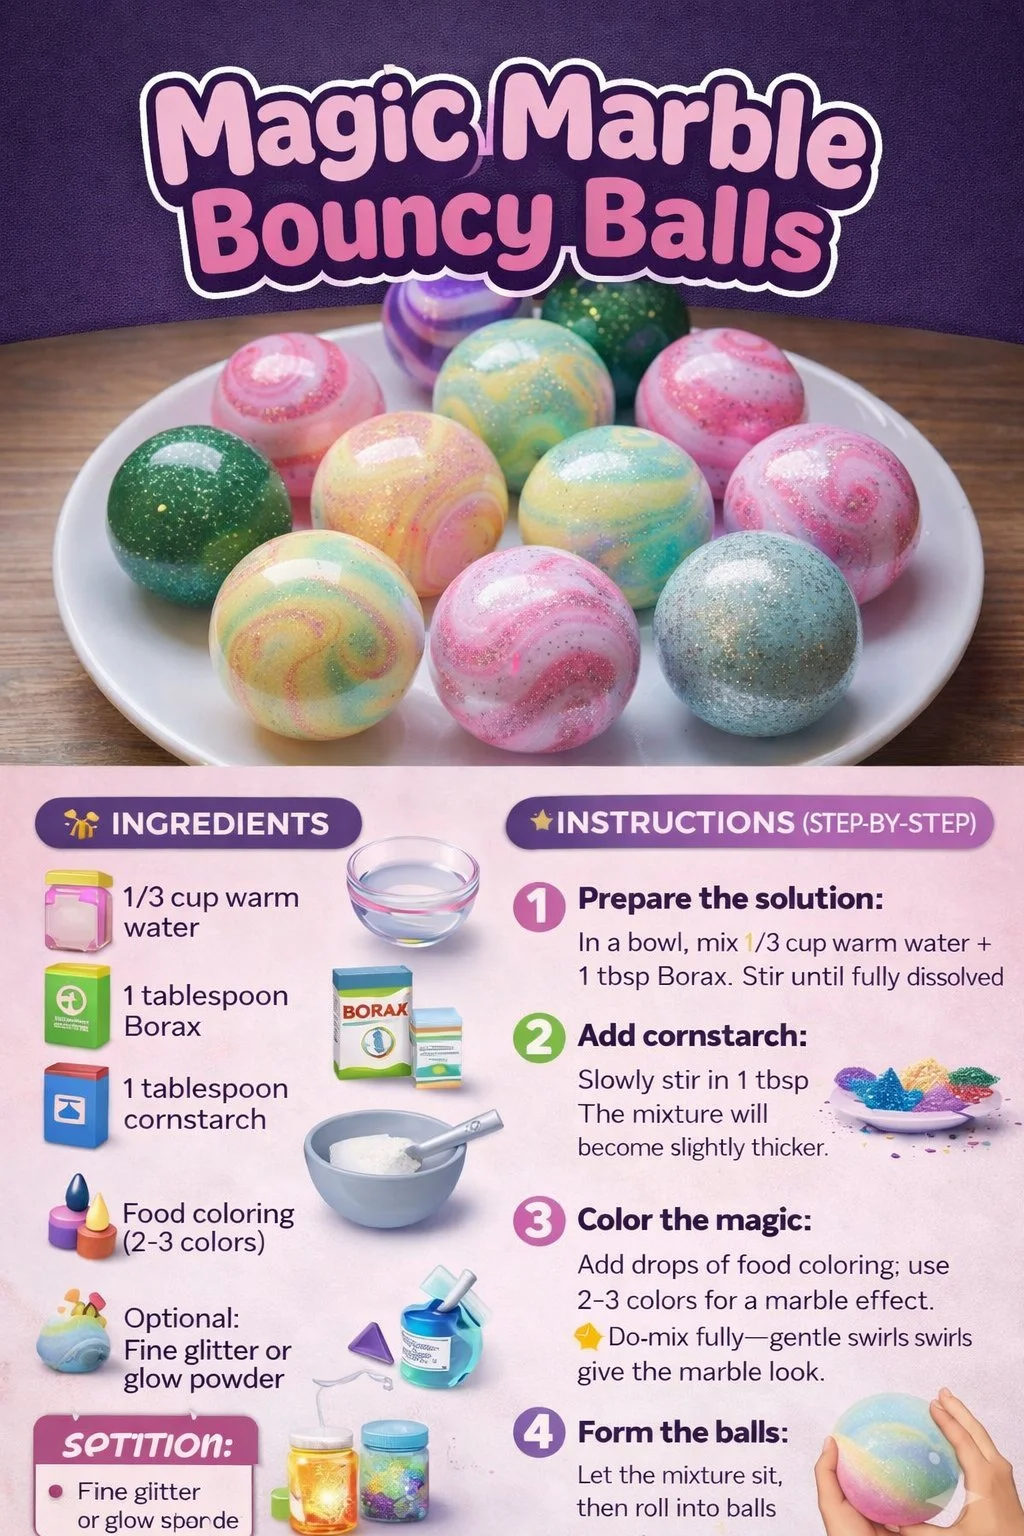
Would you like to save this recipe?
By submitting you agree to receive this recipe and occasional emails. Unsubscribe anytime.
Materials
- Clear glue (school glue or craft glue), easy to find and gentle to use
- Borax powder or a gentle bouncy ball activator, optional and used carefully
- Warm water, for dissolving and mixing
- Food coloring or liquid watercolors, small drops give vibrant swirls
- Small glass marbles or silicone molds for shaping, optional
- Measuring spoons and cups, simple and exact
- A shallow tray or lined surface to catch drips, helpful for a tidy workspace
- Disposable or reusable mixing bowls, one for each color if you plan multiple marbles
- A small spoon or stir stick, smooth and comfortable in hand
- Gloves, optional for skin sensitivity and neat hands
- A toothpick or needle for fine swirling, optional and small
Instructions
- Gather your supplies and arrange them within easy reach.Take a slow breath. Notice the bowl cool against the table. Keep a towel nearby for small spills.
- Measure clear glue into a bowl, keeping your movements calm.Three to four tablespoons makes one medium ball. Watch the glue shine under the light as it settles.
- Add a small amount of warm water and stir gently.The mixture loosens and becomes glossy. Move the spoon in steady circles and feel the soft rhythm.
- Drop a tiny bit of color and swirl it in with a toothpick.Watch the marbling form slowly. A little color goes a long way, so add with restraint.
- Prepare the activator solution in a separate cup.If using borax, dissolve a teaspoon in a small cup of warm water. Stir until mostly clear and cool before combining.
- Slowly add activator to the glue mix, a few drops at a time.Stir between each addition. The mixture starts to cling together. Pause and notice the texture change from sticky to cohesive.
- When it pulls away from the bowl, begin to knead with clean hands.Work slowly so the ball becomes smooth. The surface will feel cool at first, then soften with your touch.
- Shape into a round with gentle rolling motions on the towel.Covering the ball with your palms keeps it warm and helps seal a smooth surface. Roll until you like the form.
- Test the bounce on a soft surface and listen to the small click.If it feels too soft, you can knead in a drop more activator and test again. Keep adjustments light and measured.
- Let the ball rest for an hour on a clean tray before longer use.Resting helps the interior firm up and evens the texture. Use this time to breathe and admire the colors you made.
Last Step: Don’t forget to leave a rating and comment below! It helps other readers find the best recipes — and it helps us too!