Would you like to save this recipe?
By submitting you agree to receive this recipe and occasional emails. Unsubscribe anytime.
Materials
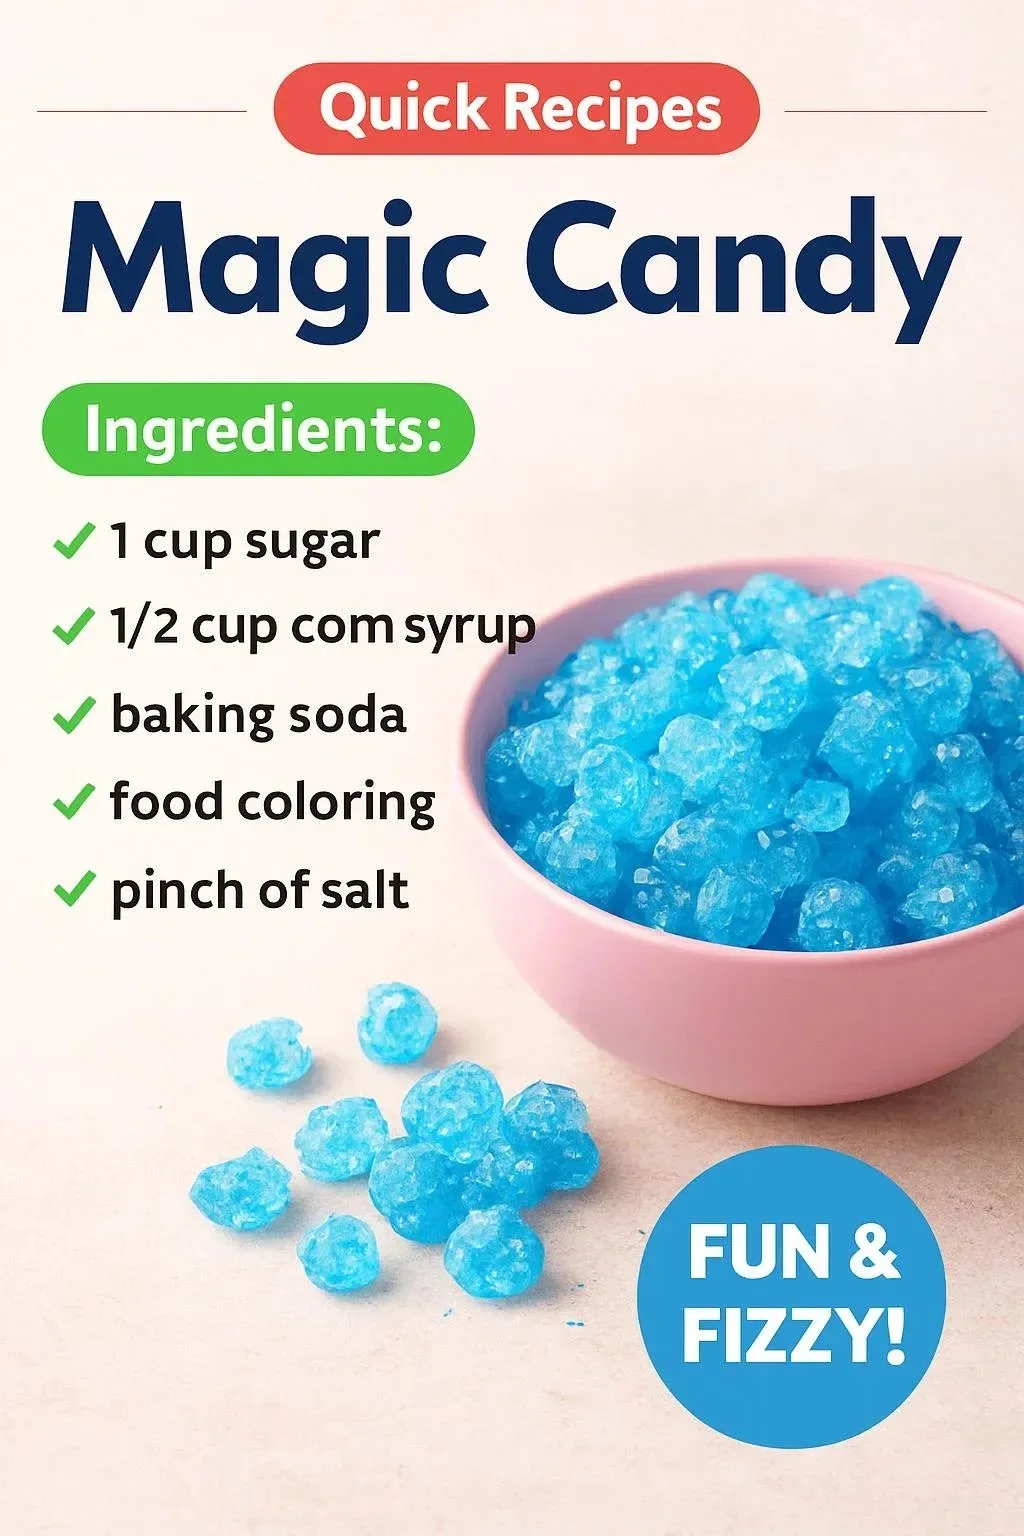
- Granulated sugar, 2 cups (easy to find)
- Light corn syrup, 1/2 cup (helps keep pieces glossy)
- Water, 1/2 cup
- Candy thermometer (optional, but helpful for steady results)
- Food coloring, a few drops (gel or liquid)
- Natural flavoring oil or extract, 1/2 to 1 teaspoon (citrus, vanilla, or berry)
- Small silicone molds or parchment paper for shaping (substitute-friendly)
- Clean, dry jars or paper bags for storage
- Small spoon or lollipop stick for stirring
- Lightly greased tray or heatproof surface
- Cotton gloves or silicone finger protectors for handling warm pieces (safety-conscious)
Instructions
- Prepare your workspace and tools. Tidy a clear area and lay out molds and jars. Keep a bowl of warm water nearby for quick cleaning.
- Combine sugar, corn syrup, and water in a small pan. Stir briefly to moisten the sugar so it heats evenly. Warm the pan on low and let the sugar dissolve without splashing.
- Bring the mixture to a gentle boil. Stop stirring once it warms and begins to simmer. Watch for a steady, soft rolling boil and clear, glossy bubbles.
- Monitor temperature or color. If you use a thermometer, aim for a firm-batch stage around 250 to 265°F. If you do not use a thermometer, watch for a deeper honey color and a change in the bubble size.
- Remove from heat and cool slightly. Tilt the pan to check clarity and to let steam soften. Let the syrup rest for a minute so it stops bubbling fiercely.
- Add color and flavor with calm, deliberate strokes. Drop in a little food color and a small measure of flavor. Stir slowly so the liquid stays glossy and the scent lifts gently.
- Pour and shape with soft movements. If you have molds, pour slowly and let each cavity fill without overflow. If you make freeform pieces, drop small spoonfuls onto parchment and use the back of the spoon to flatten gently.
- Let pieces set undisturbed. Move them to a cool, dry place away from drafts. Listen to the tiny, settling pop and notice when the surface matures to satin.
- Remove from molds or peel from paper with care. Wear gloves or use cool fingers to prevent melting by touch. Arrange finished pieces in a single layer to fully cool.
- Store or gift with mindful wrapping. Place in a dry jar or wrap in wax paper for a tender presentation. Label with flavor and make note of the day you made them.
Last Step: Don’t forget to leave a rating and comment below! It helps other readers find the best recipes — and it helps us too!