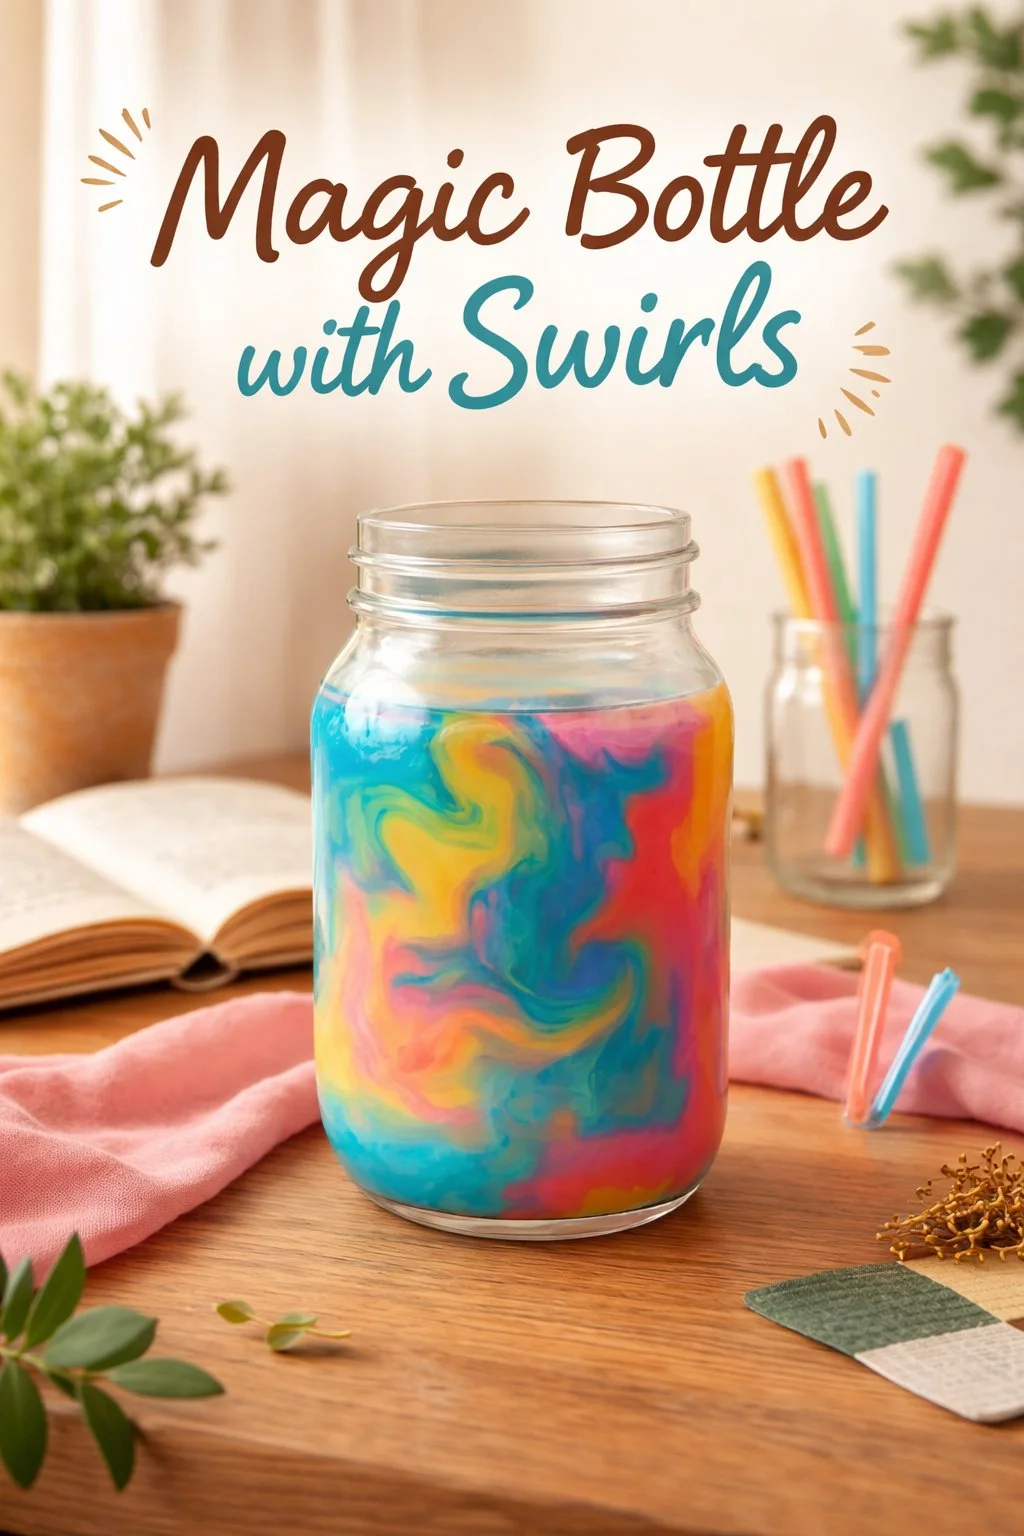
Would you like to save this recipe?
By submitting you agree to receive this recipe and occasional emails. Unsubscribe anytime.
Materials
- Clear glass or sturdy plastic bottle with a tight-fitting lid (easy to find; small recycled bottles work well)
- Distilled water (helps keep the water clear and prevents cloudy buildup)
- Light oil such as baby oil or mineral oil (optional: sunflower oil for a natural option)
- Glycerin or clear liquid glue (adds weight to the water so swirls move slowly; optional but recommended)
- Food coloring or liquid watercolor (use small amounts for gentle hues)
- Fine glitter, mica powder, or sequins (optional; choose child-safe, non-toxic varieties)
- Small charms, beads, or tiny natural items like polished stones (optional; avoid metal or anything that rusts)
- Funnel (helps pour without spills)
- Pipette or dropper (for controlled color placement)
- Hot glue gun or strong adhesive (to seal the lid securely)
- Paper towel and bowl (for gentle cleanup)
- Safety supplies: gloves and eye protection if you prefer, and a well-ventilated space (especially when using glue)
Instructions
- Clean and dry your bottle thoroughly so it feels smooth and clear in your hands. Take a moment to enjoy the cool surface and the quiet in the room.
- Fill the bottle about two thirds full with distilled water. Pour slowly and listen to the soft, steady stream as it settles.
- Add a few drops of glycerin or a teaspoon of clear glue to the water. This slowly changes the water’s weight so swirls glide and do not rush to the bottom.
- Use a pipette to add 3 to 6 drops of food coloring into the water. Place drops near the center and watch them spread into soft tendrils.
- Add small glitter, mica dust, or a few tiny sequins if you like sparkle. Let these settle gently; they will ride the water and catch light.
- Fill the remaining space with light oil, leaving a small air pocket. Pour the oil slowly along the bottle wall to avoid dramatic mixing.
- Cap the bottle and test the motion by tipping it gently. Notice how the colored water moves through the oil and pauses in soft swirls.
- Adjust the balance: add more water if colors ride too quickly, or add more glycerin if they fall too fast. Make small changes and observe; this is part of the quiet experimentation.
- Once satisfied, seal the lid with hot glue or strong adhesive. Press gently with care and let the glue cool; this step keeps the bottle safe for handling.
- Wipe the bottle clean with a paper towel and let it rest upright for an hour. This quiet waiting gives the contents time to settle and any small bubbles to rise.
- Carry your finished bottle to a window or a soft lamp and watch the light play through the swirls. Tilt it slowly and breathe as the motion unfolds at your command.
- If you plan to gift it, add a soft label or tie a ribbon around the neck, and tuck a short note about how to enjoy it. A simple invitation to use it as a calming pause makes the gift more meaningful.
Last Step: Don’t forget to leave a rating and comment below! It helps other readers find the best recipes — and it helps us too!