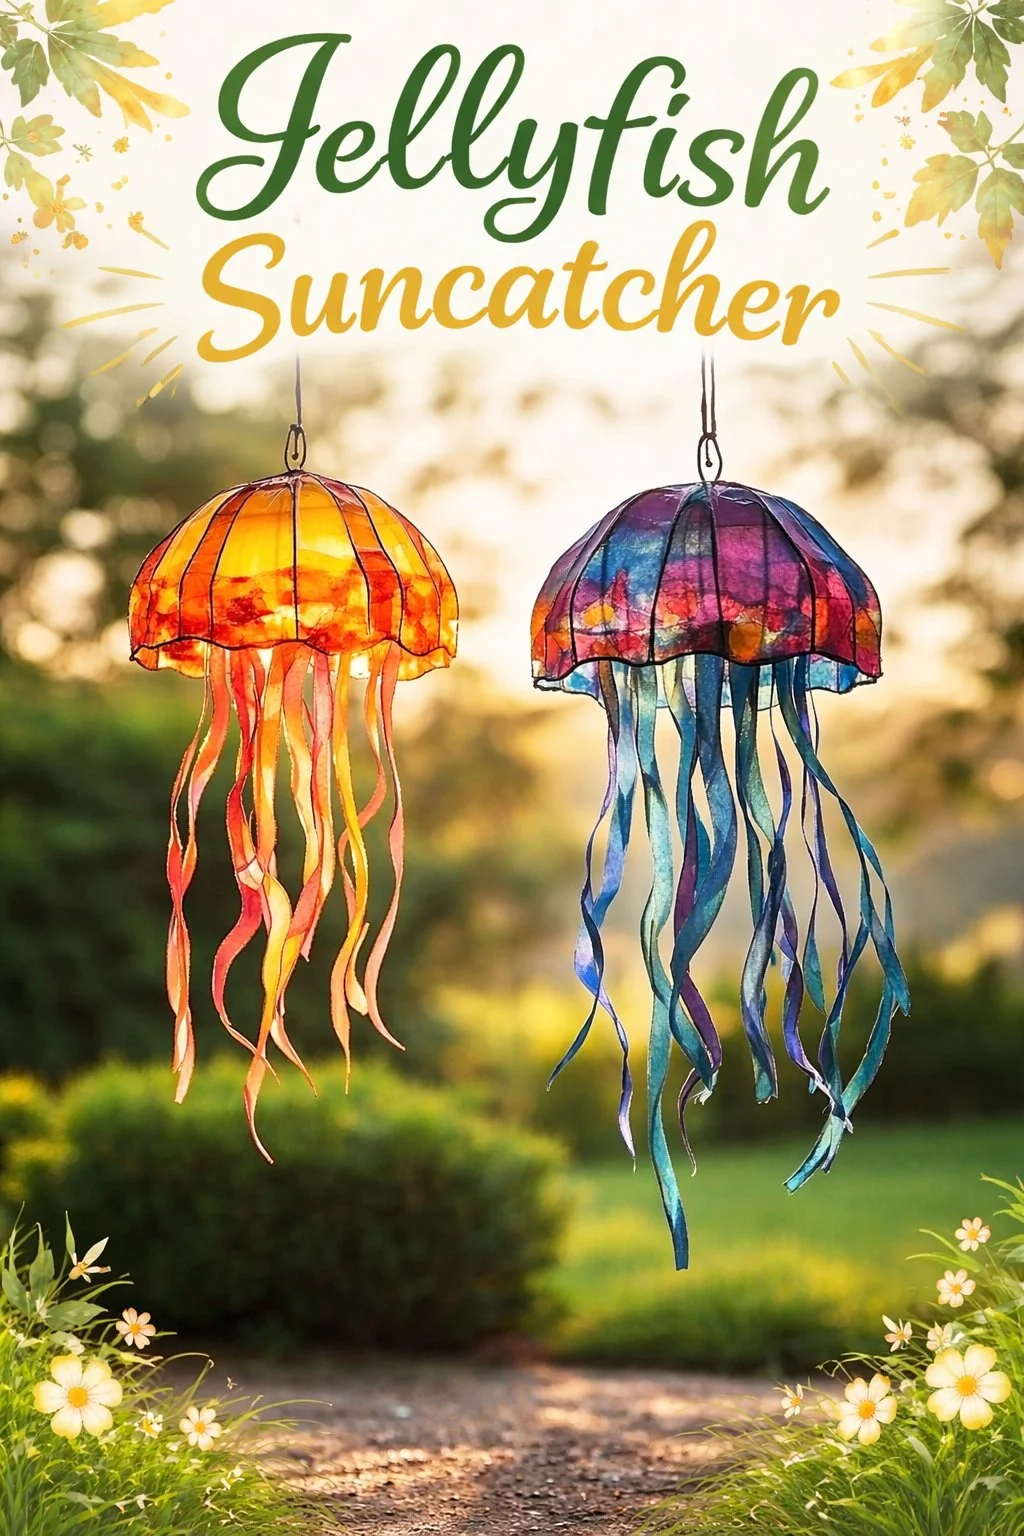
Would you like to save this recipe?
By submitting you agree to receive this recipe and occasional emails. Unsubscribe anytime.
Materials
- Clear shrink plastic sheet or clear craft plastic, easy to find at craft stores or online.
- Permanent markers in colors you love, simple and stable on plastic.
- Scissors, sharp and comfortable in your hand.
- Hole punch or awl, for neat holes.
- Thin ribbon or fishing line for hanging, light and nearly invisible.
- Small beads for weight and decoration, optional and delightful.
- Paper towel or soft cloth to protect surfaces when heating, safety-minded.
- Pencil or dowel to curl tentacles, substitute-friendly with a straw.
- Baking sheet and oven or heat tool for shrinking plastic, choose what you have.
- Small paintbrush and rubbing alcohol for light cleaning, gentle and safe.
Instructions
- Preheat your oven if the shrink plastic recommends it, or prepare your heat tool. Lay a paper towel on your work surface to catch stray marker dust and to protect the table. Take a slow breath and touch each material so your hands feel the textures.
- Draw a simple jellyfish body on the shrink plastic. Keep lines clean and gentle. Color the inside with markers, adding small dots or soft gradients. Remember the ink will intensify as the plastic shrinks, so trust light marks rather than heavy pressure.
- Cut the jellyfish shape, leaving longer strips below for tentacles. Snip slowly so the edges feel smooth under your fingers. Each cut is a small, mindful action. Notice the thin sound of the scissors.
- Punch a small hole at the top of the jellyfish for hanging. Use a steady hand and a firm workspace. If you feel unsure, make the hole slightly larger; you can always tighten the ribbon later.
- Arrange beads on tentacle strips if you like. Slide tiny beads onto a strip until the weight feels balanced. The beads add a soft clink and gentle motion when the jellyfish sways.
- Bake or heat according to the shrink plastic instructions. Place the jellyfish on a baking sheet lined with parchment. Watch through the oven window; the plastic will curl and then flatten. This little dance feels like a quiet show.
- After shrinking, let the piece cool completely on a flat surface. It will firm up and the colors will settle. Cooling helps the shape stabilize, so resist the urge to touch it too soon.
- Curl the tentacles around a pencil or straw as desired to create gentle spirals. Work slowly and feel the warmth of the plastic if it is still slightly warm. The tentacles will move more freely when they are slightly warm but be careful not to burn your fingers.
- Thread ribbon or fishing line through the top hole. Tie a secure knot and trim any extra. Test the balance by holding the hanger. Adjust bead placement if one side droops. A balanced piece swings evenly and catches light gracefully.
- Find a window or light source and hang your jellyfish at a height where it can sway without knocking into other objects. Watch the colors shift as the sun moves. Pause and enjoy the slow show.
Last Step: Don’t forget to leave a rating and comment below! It helps other readers find the best recipes — and it helps us too!