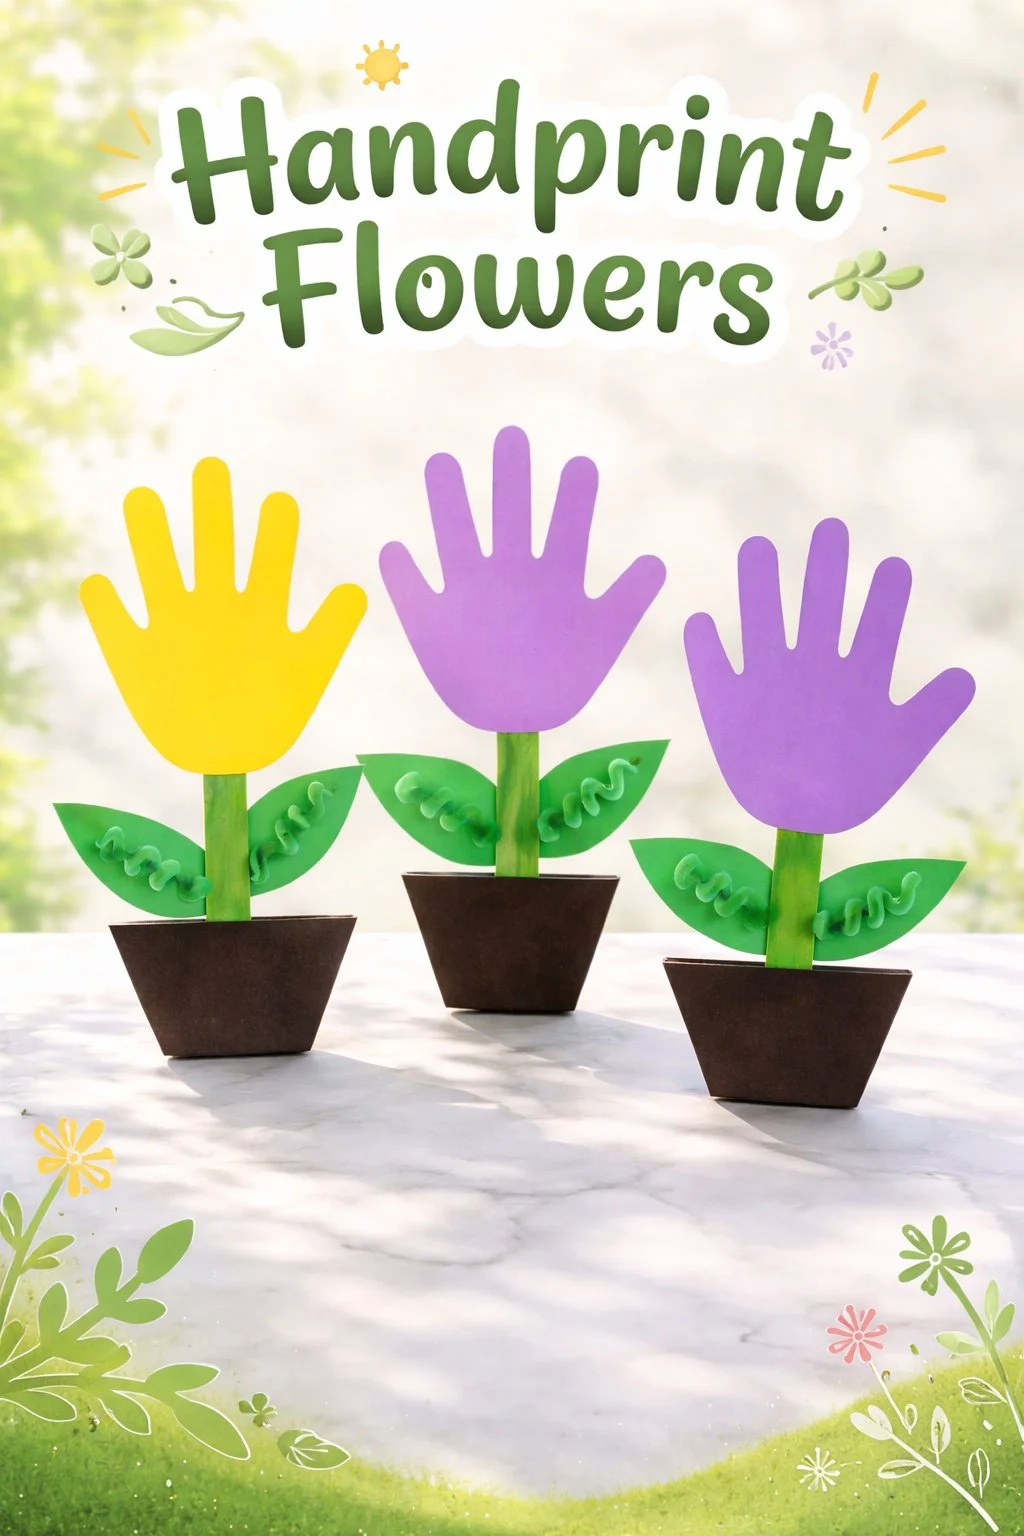
Would you like to save this recipe?
By submitting you agree to receive this recipe and occasional emails. Unsubscribe anytime.
Materials
- Heavyweight paper or watercolor paper - sturdy and kind to paint, easy to frame.
- Non-toxic washable paint - safe for skin, easy to wash off little hands.
- A small bowl of warm water - for rinsing hands and brushes; feels calming.
- Soft brushes in a couple of sizes - small for details, medium for filling.
- A sponge or wet wipes - optional, for quick cleanups.
- Pencil and eraser - for faint placement marks, erased after drying.
- Thin marker or archival pen - for gentle outlines or adding names and dates.
- Matte frame or simple scrapbooking supplies - optional, to protect and display.
- Tracing paper or kraft paper - substitute-friendly for initial practice prints.
- Slow-drying clay or air-dry clay - optional, if you want a three-dimensional keepsake.
Instructions
- Prepare your surface and materials so everything feels ready and calm. Take a moment to set out the paint, water, and paper where light falls evenly. This little preparation reduces interruptions and keeps the flow gentle.
- Choose the color and test a small print on scrap paper. Rub a thin layer of paint over the palm, feeling its cool, slightly creamy texture. Press the hand firmly but softly onto scrap to check coverage before the keepsake.
- Make the handprint on your final paper, pressing evenly from wrist to fingertips. Hold still for a second, then lift straight up to keep edges soft and clear. You will notice the tiny whorls and lines become part of the petal shapes.
- Let the print dry a little, then sketch stems and leaves in pencil. Use soft, flowing strokes and follow the natural direction of the fingers. Pencil allows you to adjust gently before committing with ink or paint.
- Paint stems and add details around each finger to turn them into petals. Layer thin washes of color to build depth without overwhelming the print. The brush strokes should feel smooth and slow, inviting the paint to settle.
- Add small accents like dots, veins, or a little golden center if you like. These details bring the flower to life and celebrate the uniqueness of the print. Use a fine brush or archival pen for crisp marks that will last.
- If using clay, press the same hand into soft clay for a matching 3D piece. Let the clay dry completely in a dust-free place, following the maker's guidance. Place the clay piece beside the framed print or nestle it in a keepsake box.
- When everything dries, optionally write a name and date along the edge. Use a calm hand and simple script to keep the look intimate and understated. Frame under matte glass or store flat to protect the piece from light and humidity.
Last Step: Don’t forget to leave a rating and comment below! It helps other readers find the best recipes — and it helps us too!