Would you like to save this recipe?
By submitting you agree to receive this recipe and occasional emails. Unsubscribe anytime.
Materials
- Air-dry clay (easy to find at craft stores)
- Essential oils (your favorites, for personalization)
- Rolling pin (or a smooth bottle)
- Cookie cutters or your hands (to shape the stones)
- Water (for softening, if needed)
- A baking tray (for drying the stones)
- Optional: natural pigments (to color your stones)
Instructions
- Start by prepping your workspace. Enjoy the warmth of the light and the calming sounds around you. Welcome the moment.
- Take a piece of air-dry clay and knead it between your fingers. Feel its texture soften under your touch as you work it into a smooth ball.
- Roll the clay into a flat disc using your rolling pin or a smooth bottle. Aim for about half an inch thick for a sturdy stone.
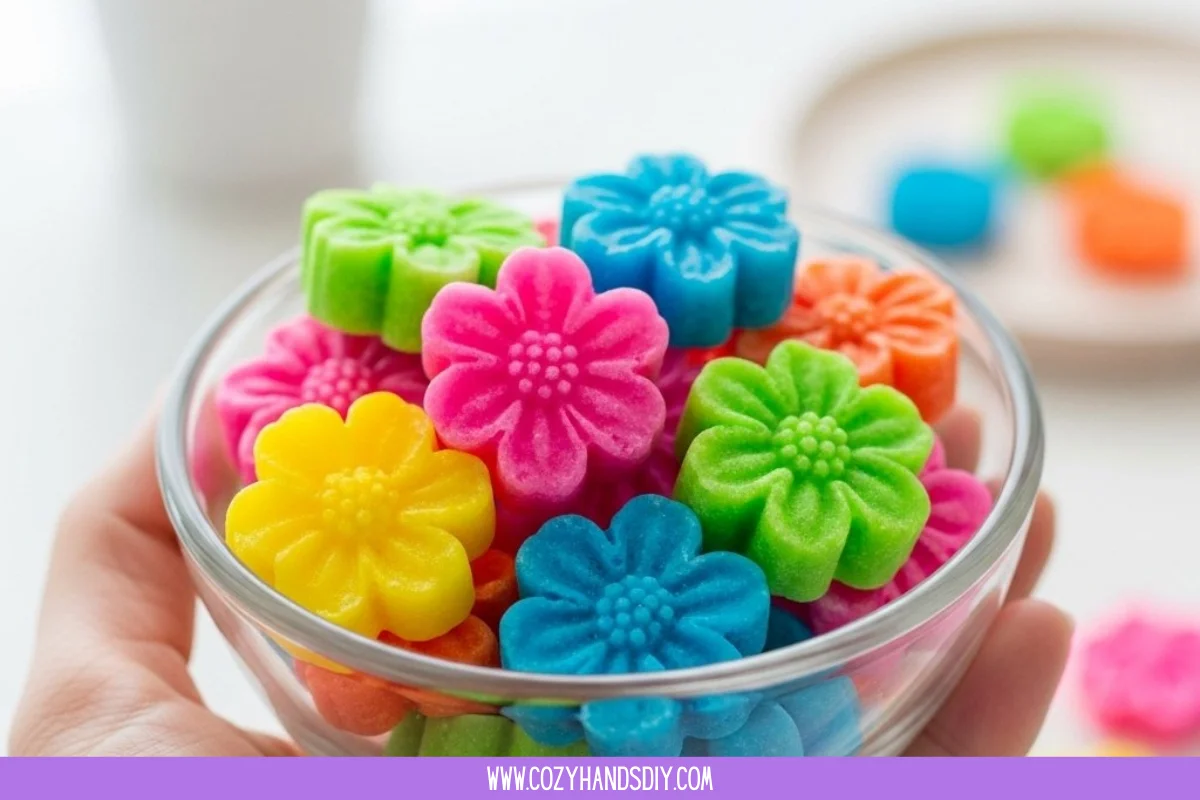
- Use cookie cutters or your hands to shape the stones. Let your creativity flow; enjoy the process of forming unique designs.
- Once shaped, press a small indentation in the center of each stone. This space is where your chosen essential oil will rest, releasing fragrance as it sits around you.
- Place your stones on a baking tray. Allow them to air dry completely, typically for 24 hours. Embrace the stillness during this waiting period.
- Once dry, choose your essential oils. A few drops in the indentation will awaken your creations with delightful scents.
Last Step: Don’t forget to leave a rating and comment below! It helps other readers find the best recipes — and it helps us too!