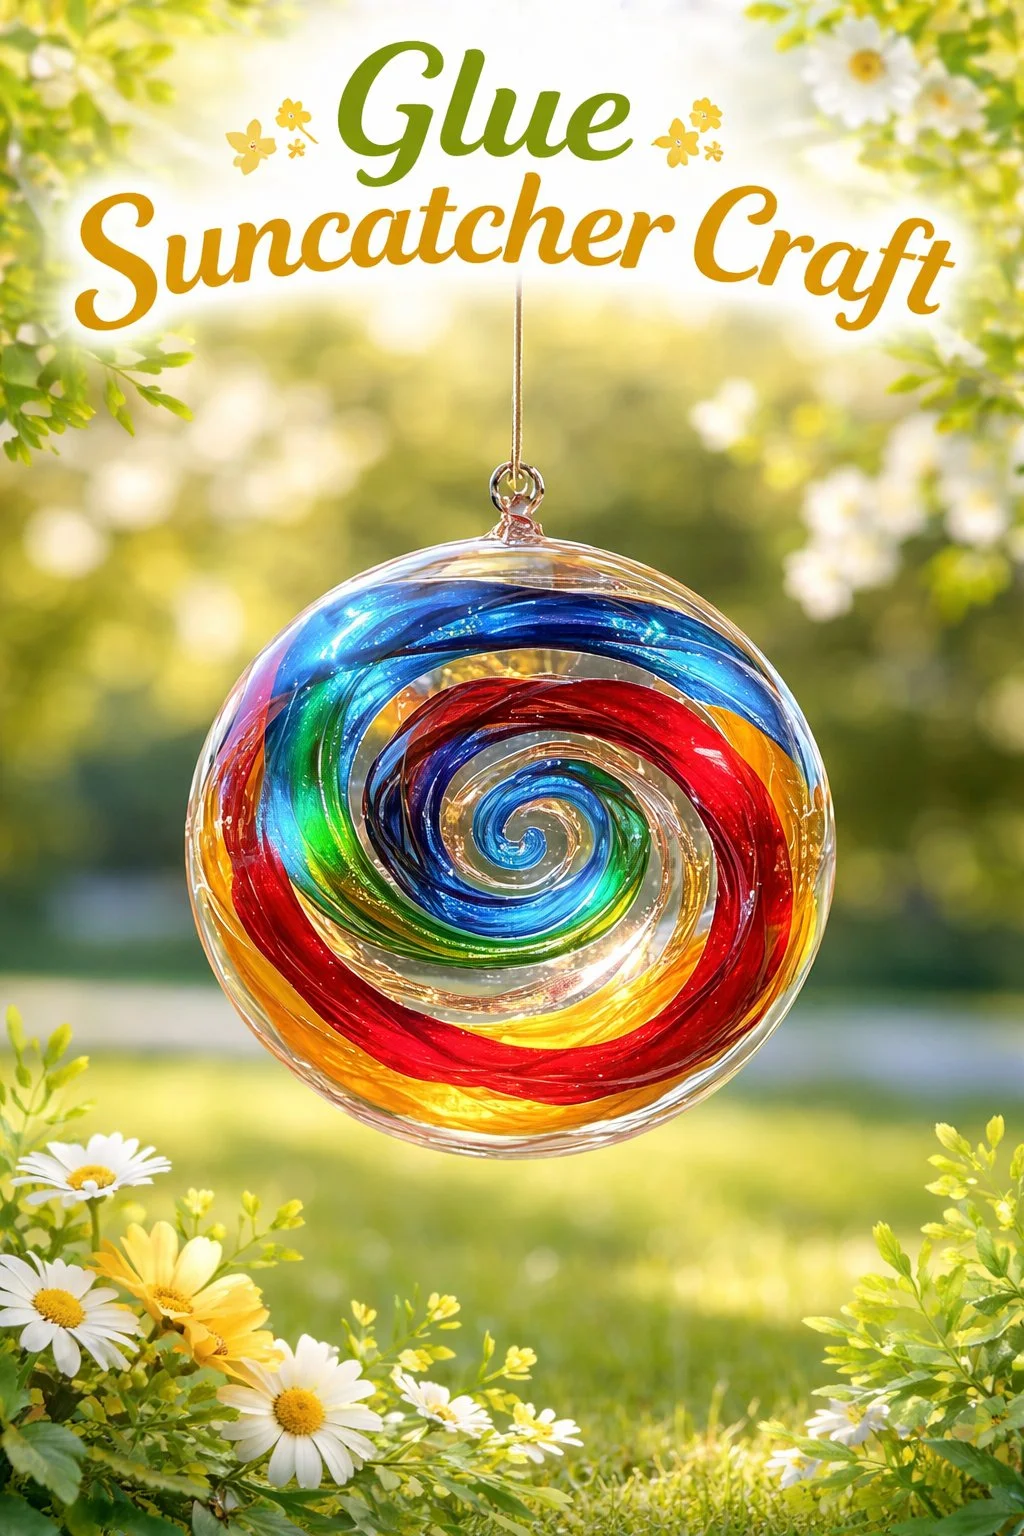
Would you like to save this recipe?
By submitting you agree to receive this recipe and occasional emails. Unsubscribe anytime.
Materials
- Clear white school glue (easy to find, the classic choice)
- Food coloring or liquid watercolors (small amounts add color)
- Plastic lids or silicone molds (smooth surfaces work best)
- Wax paper or a nonstick mat (keeps pieces from sticking)
- Toothpicks or a sewing needle (for gentle shaping and stirring)
- Small pieces of tissue paper, glitter, or dried flower bits (optional)
- A fine-tip squeeze bottle or a well-fitting glue nozzle (for control)
- Thin fishing line or ribbon and small eyelet hooks (for hanging)
- A shallow dish with warm water and mild soap for cleanup (safety and ease)
- Paper towels and a small tray for drying (keeps your space tidy)
Instructions
- Prepare your surface and tools. Lay wax paper or a nonstick mat on a flat table. Place your molds or lids on top so they do not wobble. Have your toothpicks and color drops within easy reach.
- Pour a base layer of clear glue. Gently squeeze a small puddle of clear glue into the center of a mold. Aim for a thickness that feels sturdy but not too heavy. The glue should spread slowly and hold a glossy surface.
- Add color and texture. Drop one or two tiny drops of food coloring or liquid watercolor into the glue. Use a toothpick to swirl the color gently. Work slowly so pigments blend without overmixing.
- Press in small inclusions. If you want tissue flecks, dried flowers, or glitter, press them lightly into the glue. Keep items flat and thin so light can pass through easily. These touches create interesting shadows.
- Shape the edges and form a hanging point. Use a toothpick to tidy the edge into a neat circle or your chosen shape. Make a small loop of glue or leave a thin protrusion where you will attach fishing line later. Ensure it connects well to the main piece.
- Let the glue skin over naturally. Leave the pieces to dry in a warm, dust-free spot. You will notice the surface become less glossy as a thin skin forms. This step takes patience; resist moving them too soon.
- Cure fully overnight. After the skin forms, let the suncatcher rest undisturbed overnight. The center continues to cure and harden. By morning the piece will feel firm and slightly cool to the touch.
- Remove from the mold and trim. Gently lift the suncatcher from the mold. If edges feel delicate, trim with small scissors. Smooth any tiny rough spots with a fingertip dipped in warm water.
- Attach hanging hardware. Screw in a tiny eyelet or tie fishing line through the loop you made. Test the balance so the piece hangs flat and catches light evenly.
- Hang and enjoy the changing light. Place the suncatcher near a window or under a soft lamp. Watch how the color and texture shift through the day. If a piece feels too heavy, consider using a lighter thread or reducing inclusions on the next one.
Last Step: Don’t forget to leave a rating and comment below! It helps other readers find the best recipes — and it helps us too!